
Intro to Torso Anatomy (chaer)
Preview:
A beginner’s crash course into understanding the human torso by breaking it into simple shapes.
Synonyms: chest; torso; body; core
Summary
By breaking down the human torso into simple shapes, we can more easily understand human anatomy, building a strong foundation we can rely on and study more on.
Basics
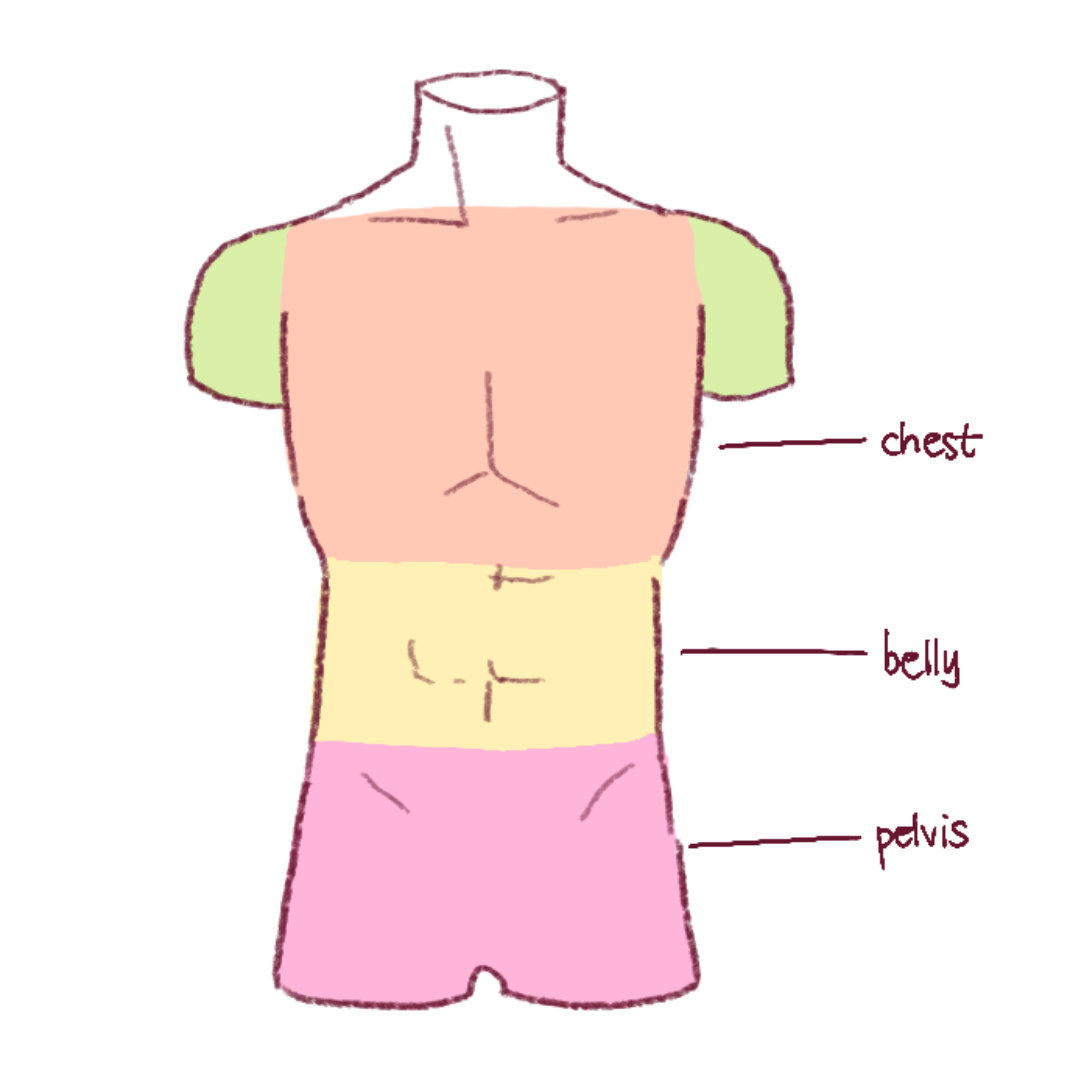
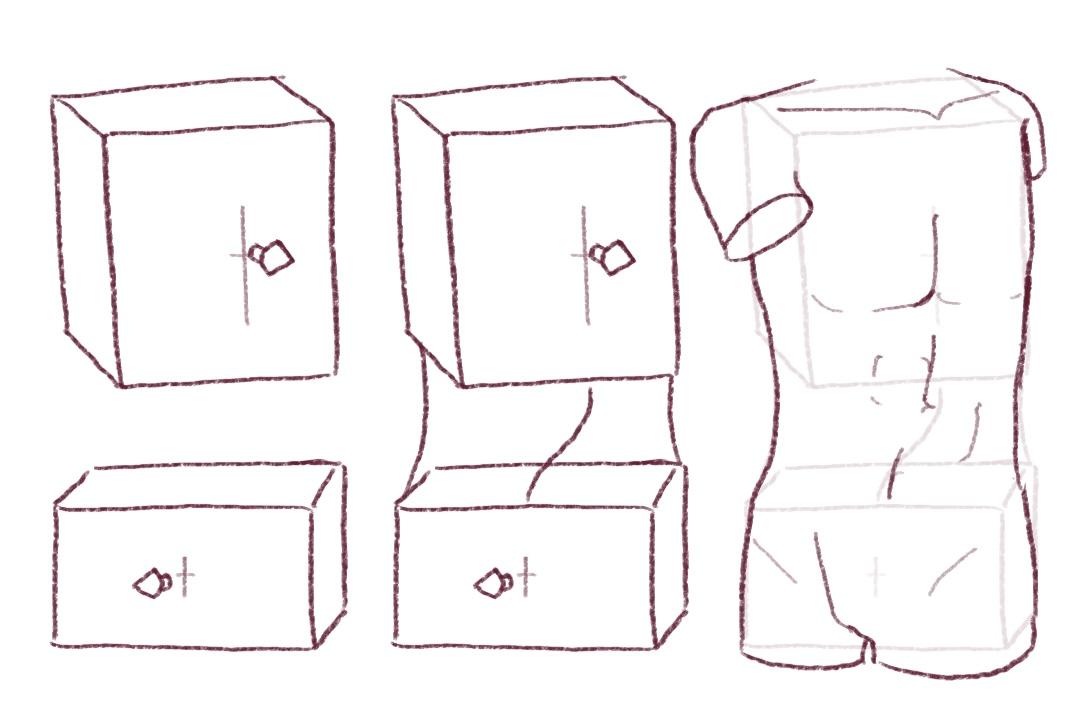
The torso can be broken down into three main sections: the chest, the belly, and the pelvis.
How to draw it
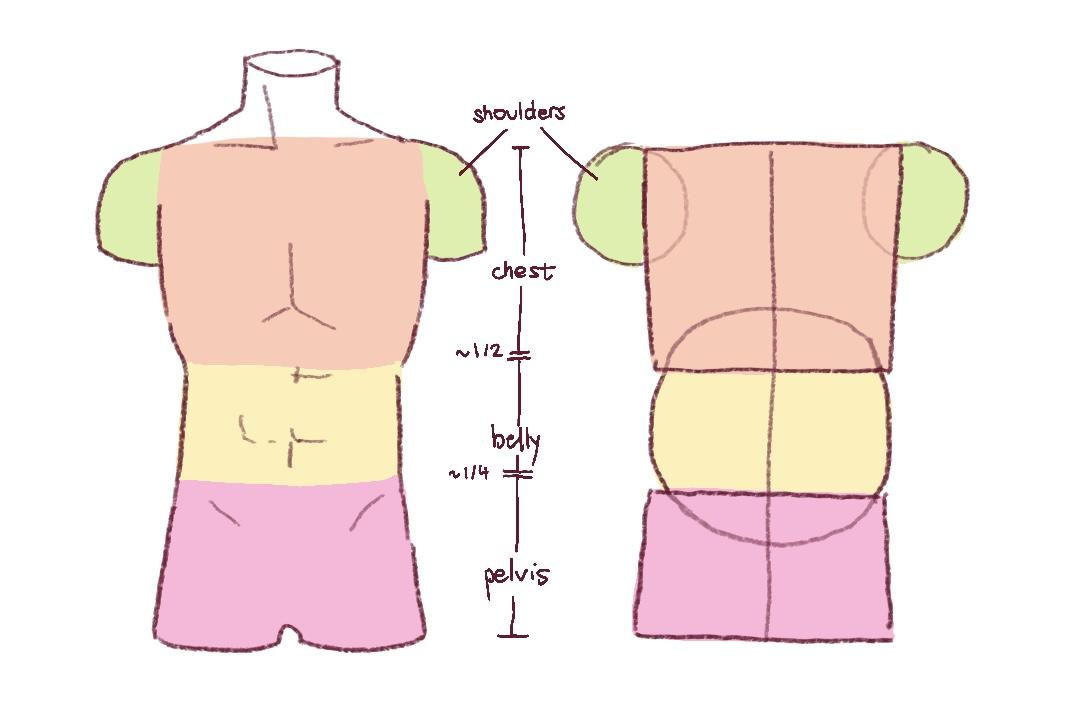
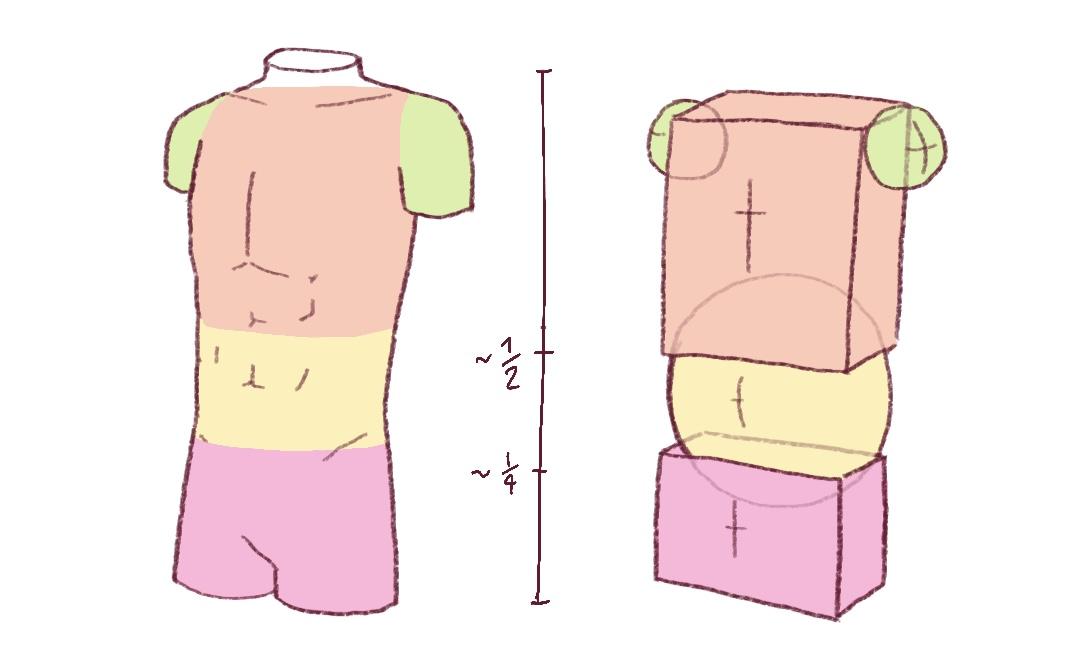
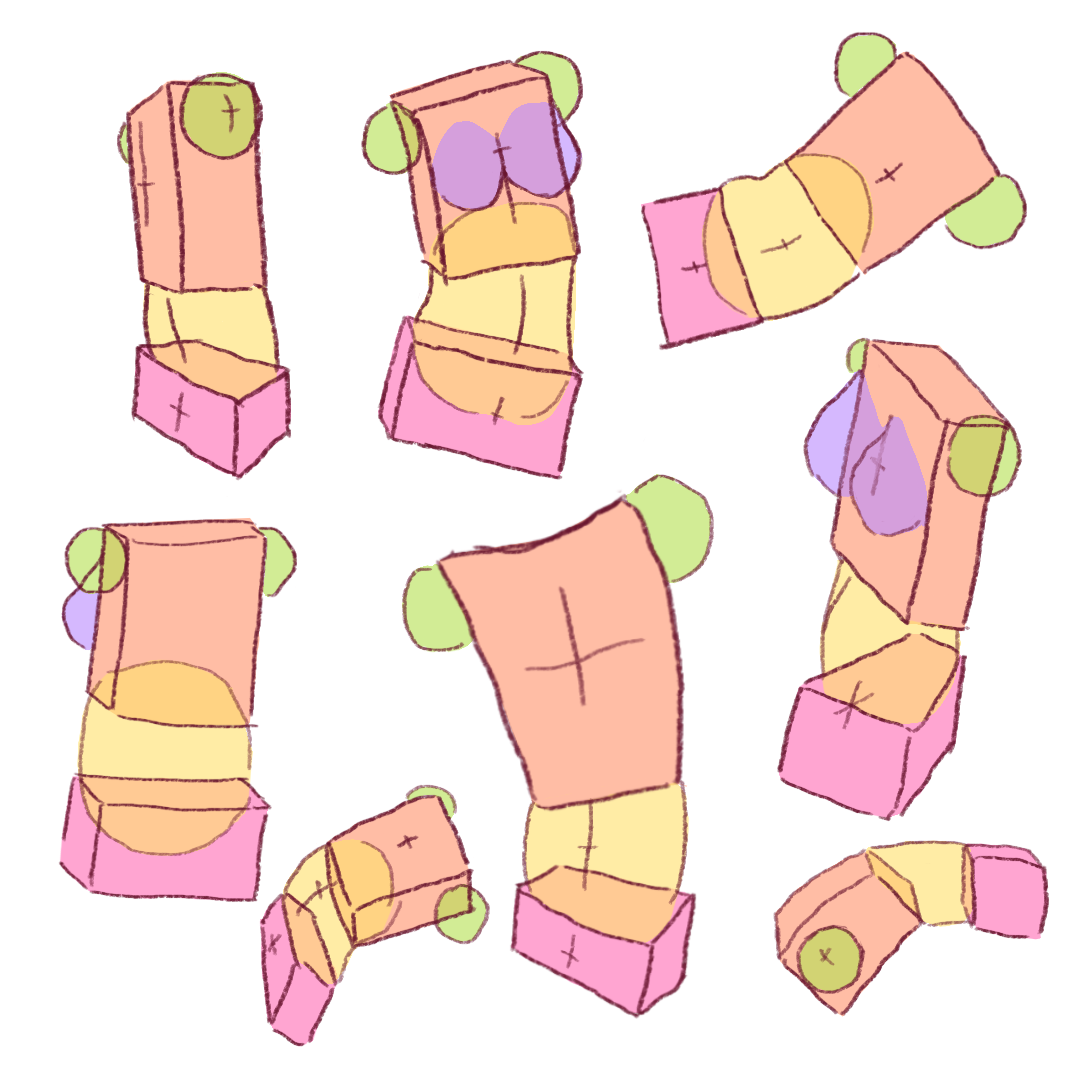
The chest and pelvis can be simplified as rectangles and the belly and shoulders can be approximated as circular shapes. The chest shape falls at roughly 1/2 mark in the human torso, and the belly and pelvis fall at the 1/4 mark. By drawing a straight line down the center of these shapes, we can create a guideline for the center of the chest, the abs, and the belly button.
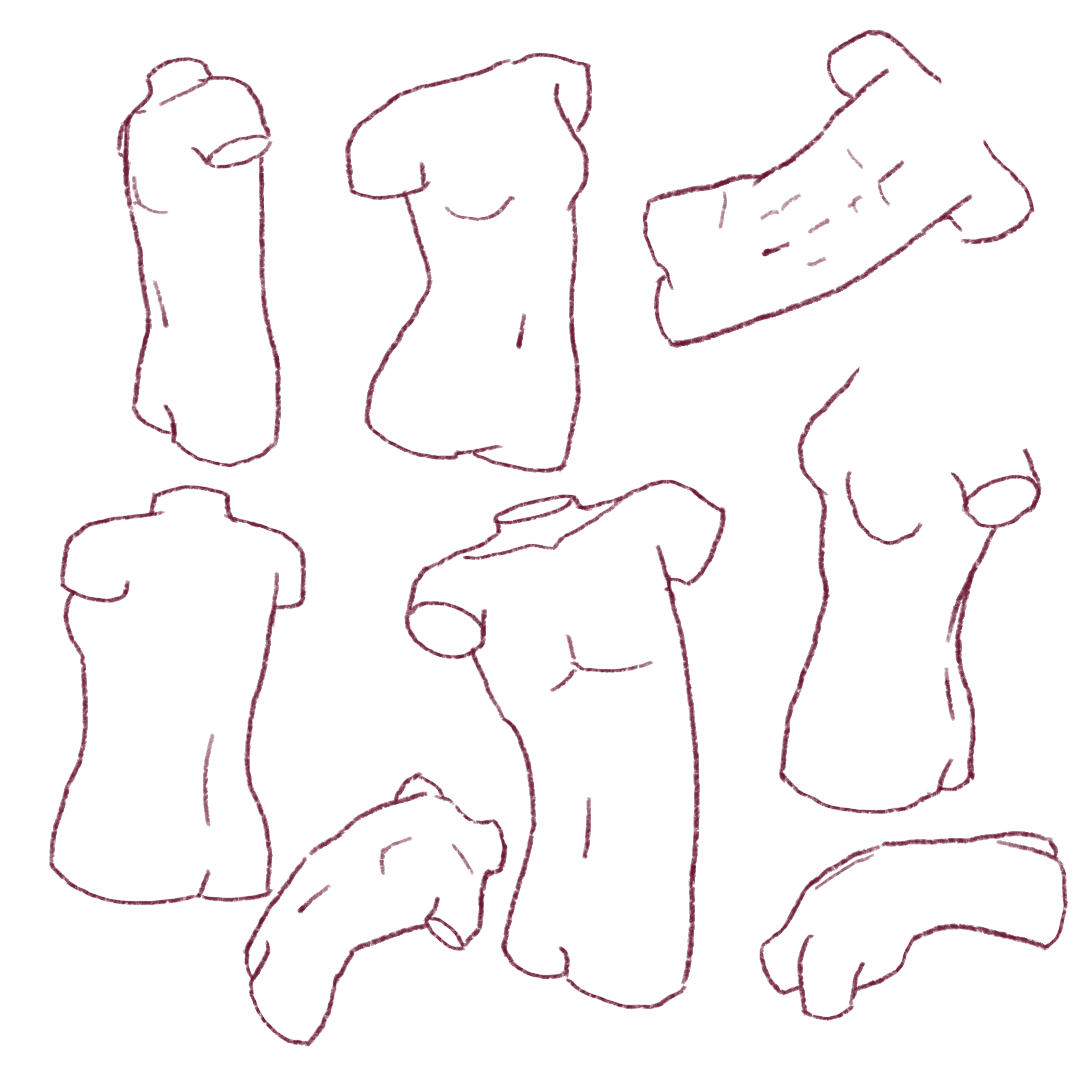
When we translate these 2D shapes into 3D forms, we can draw the human torso in any angle!
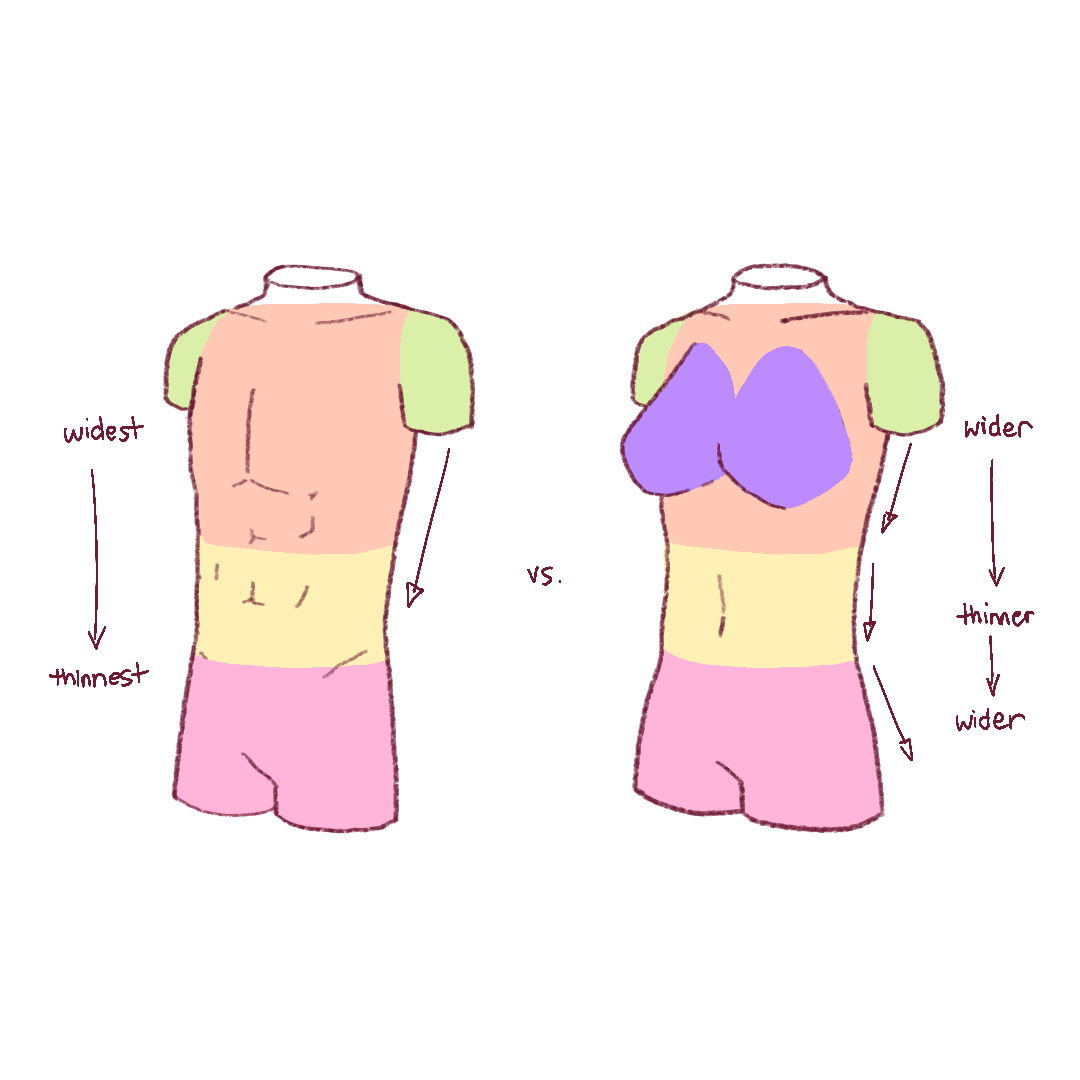
Both male and female bodies can be drawn with the same technique, but note key differences in proportions: while male torsos generally have a similar shape to an upside-down triangle with the widest part at the shoulders and narrowest part at the pelvis, female torsos generally take an hourglass shape, narrowing at the waist before widening at the hips.
Advanced
When drawing the female form, the breasts can be roughly approximated as rounded teardrop shapes. Don’t use perfect spheres; keep in mind that breasts are soft and affected by the pull of gravity.
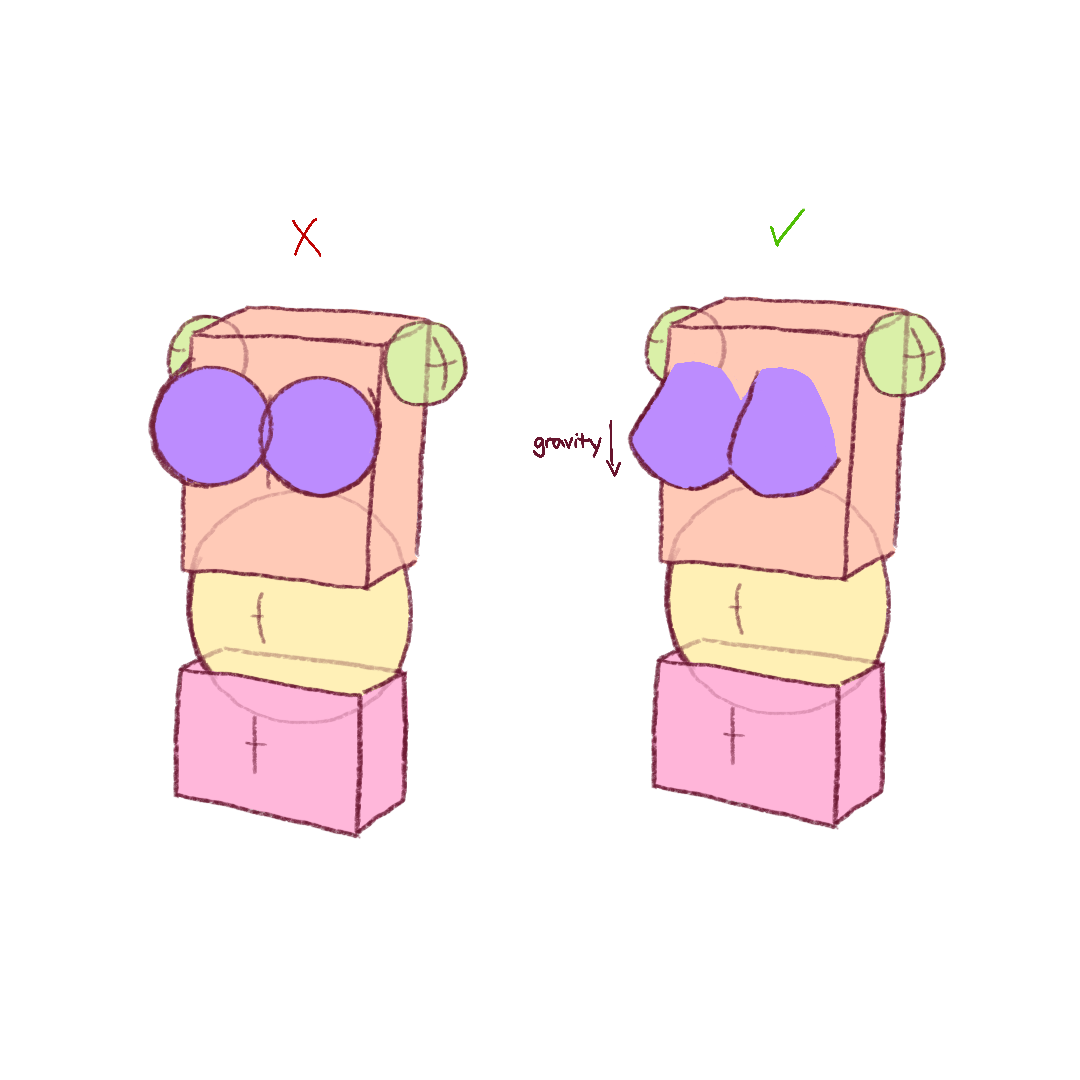
In addition, keep in mind that while the torso and pelvis are fairly firm and do not twist or stretch much, the belly is soft and can squish, stretch, and twist fairly freely. At times, the chest and pelvis may be facing different directions, with the majority of the “twist” in the human torso occurring in the belly. This principle comes in handy when drawing dynamic poses!
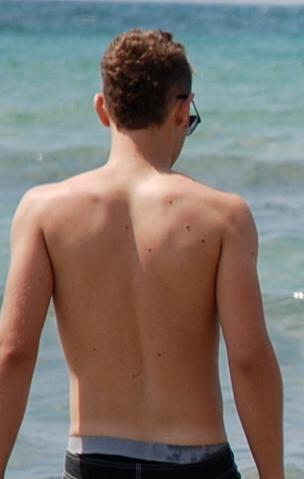
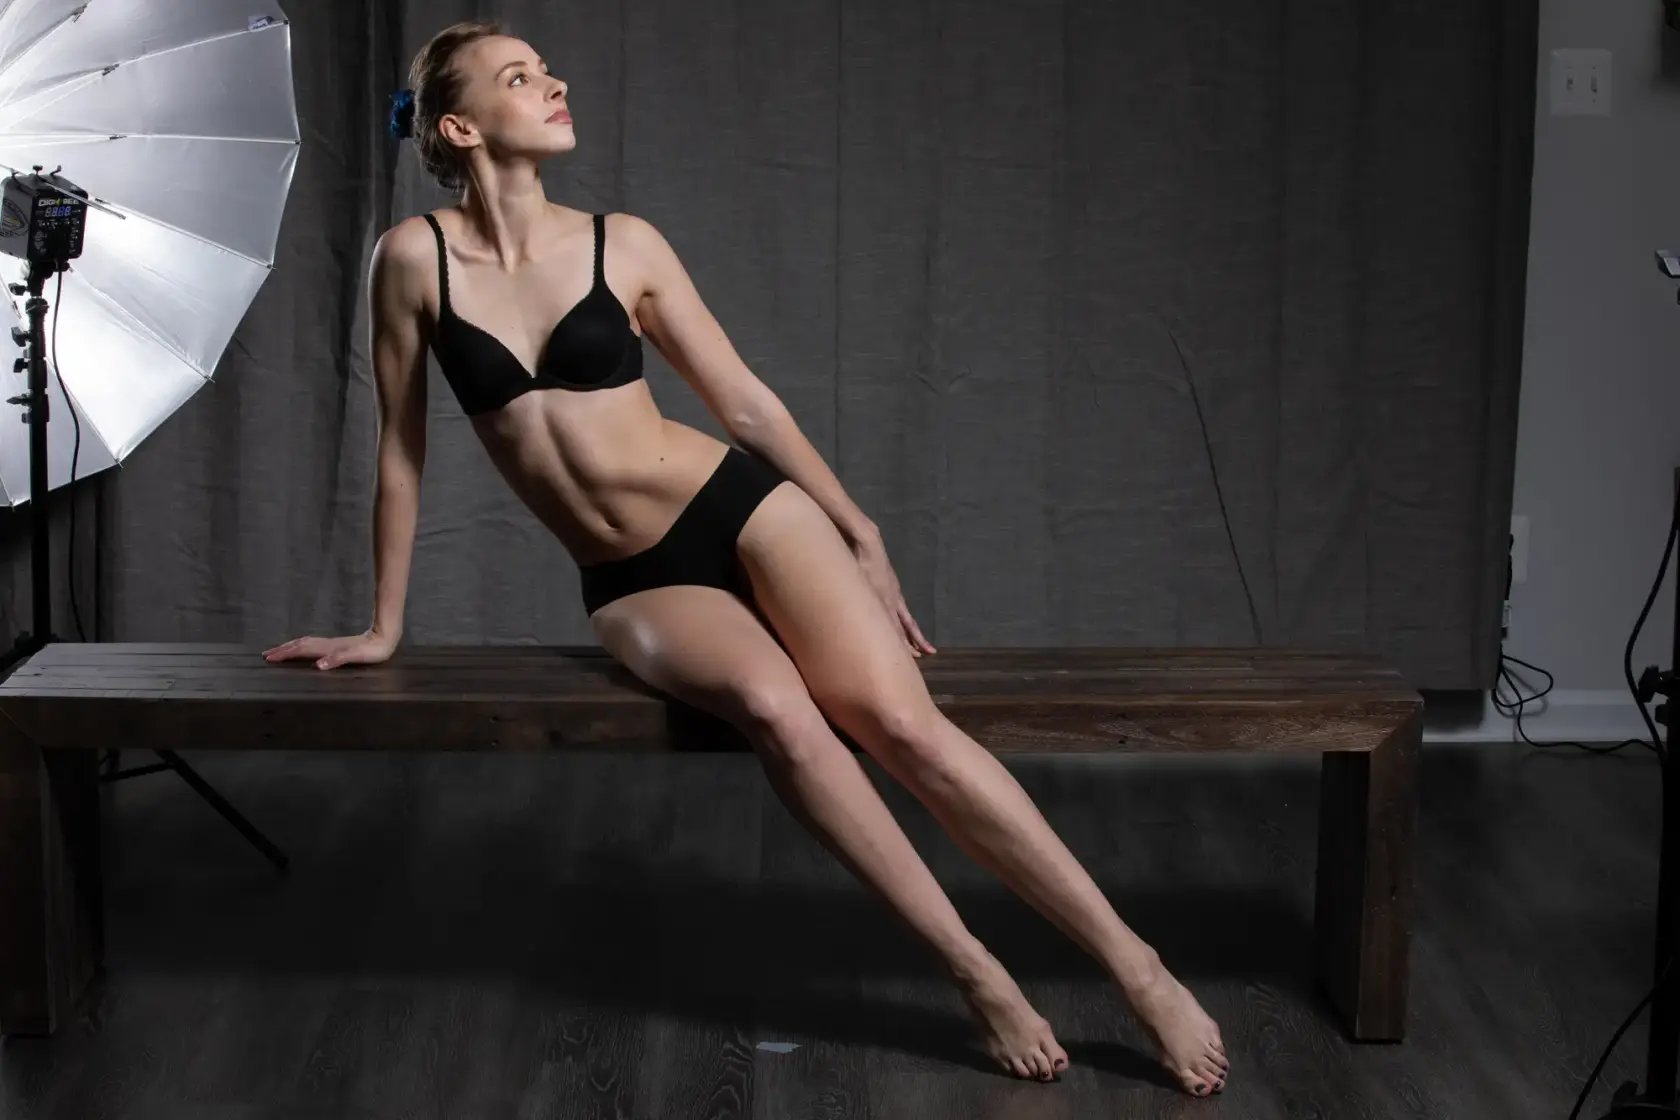
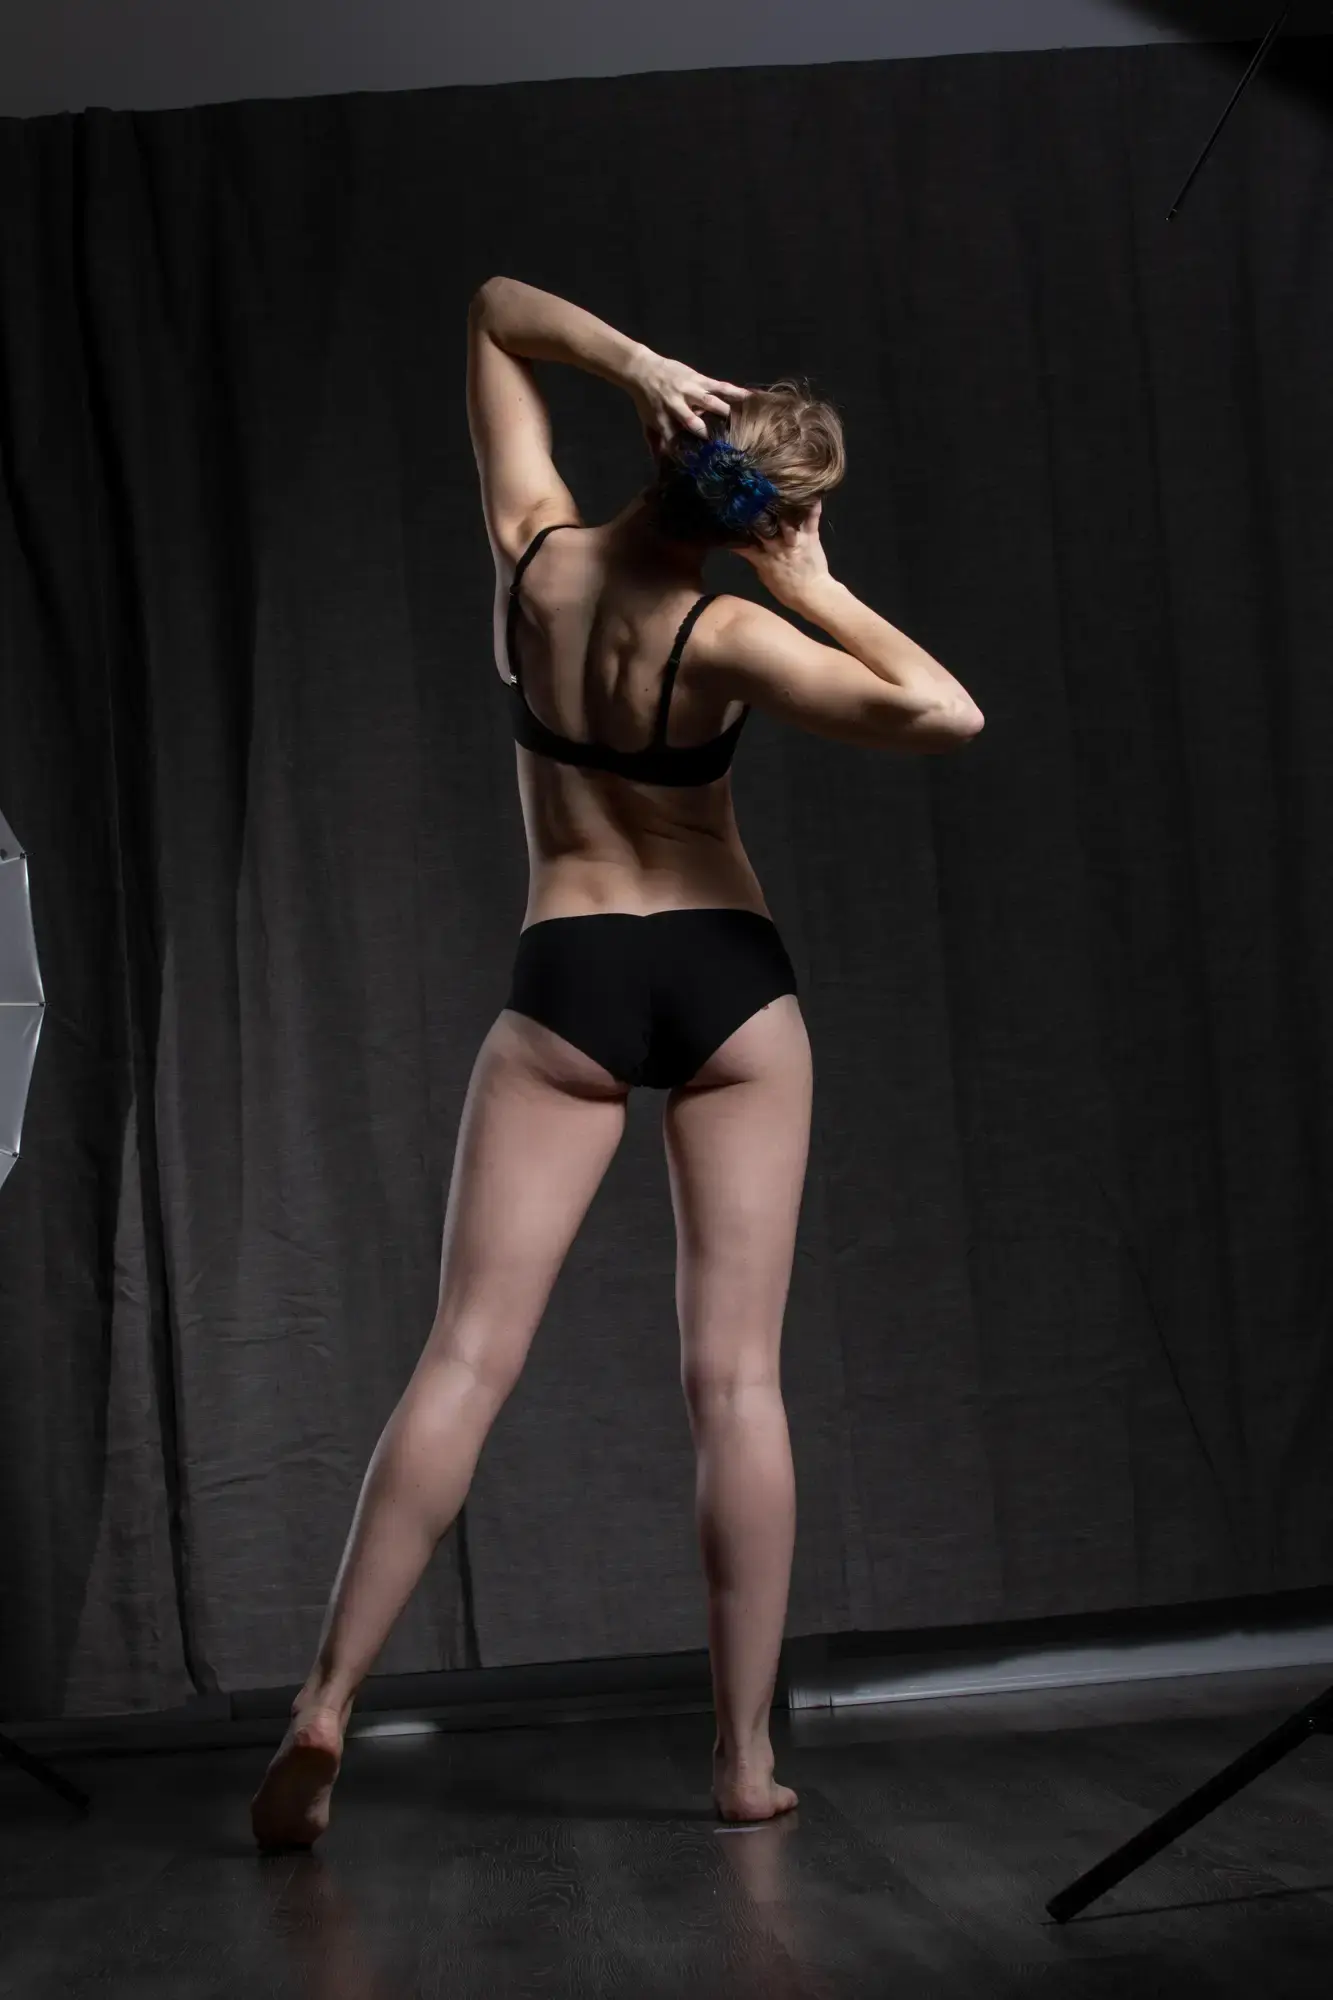
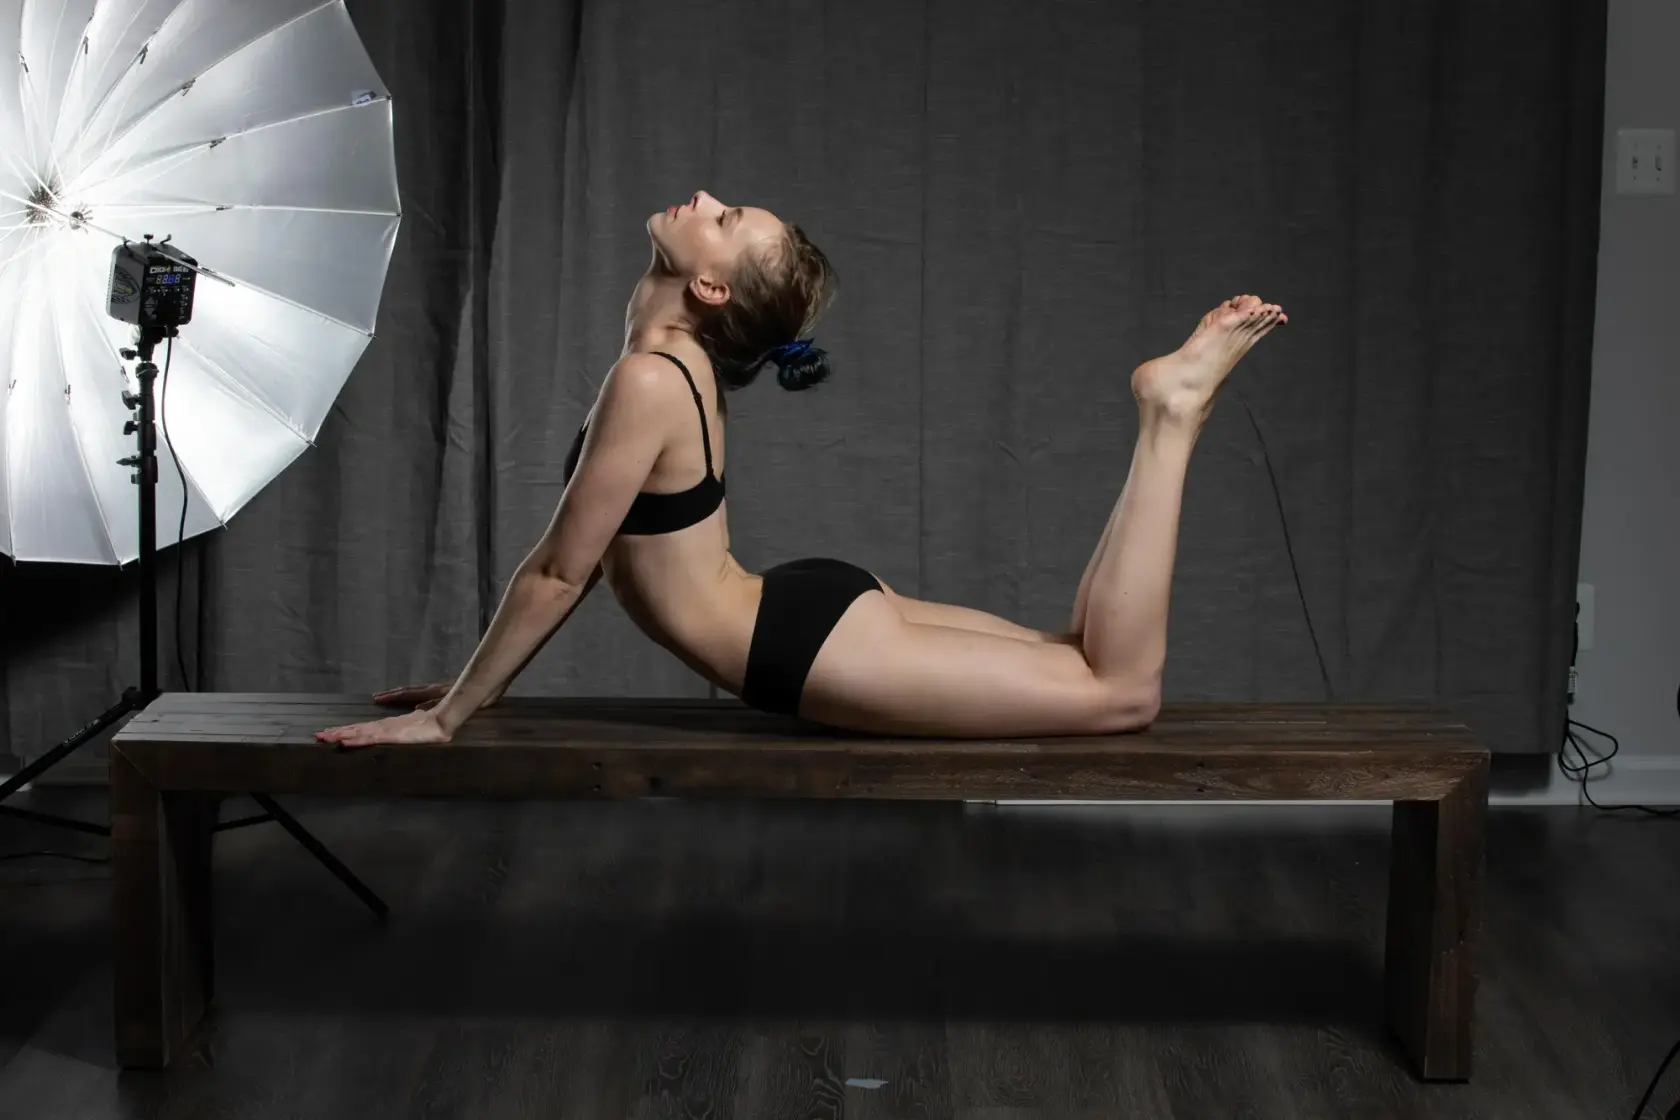
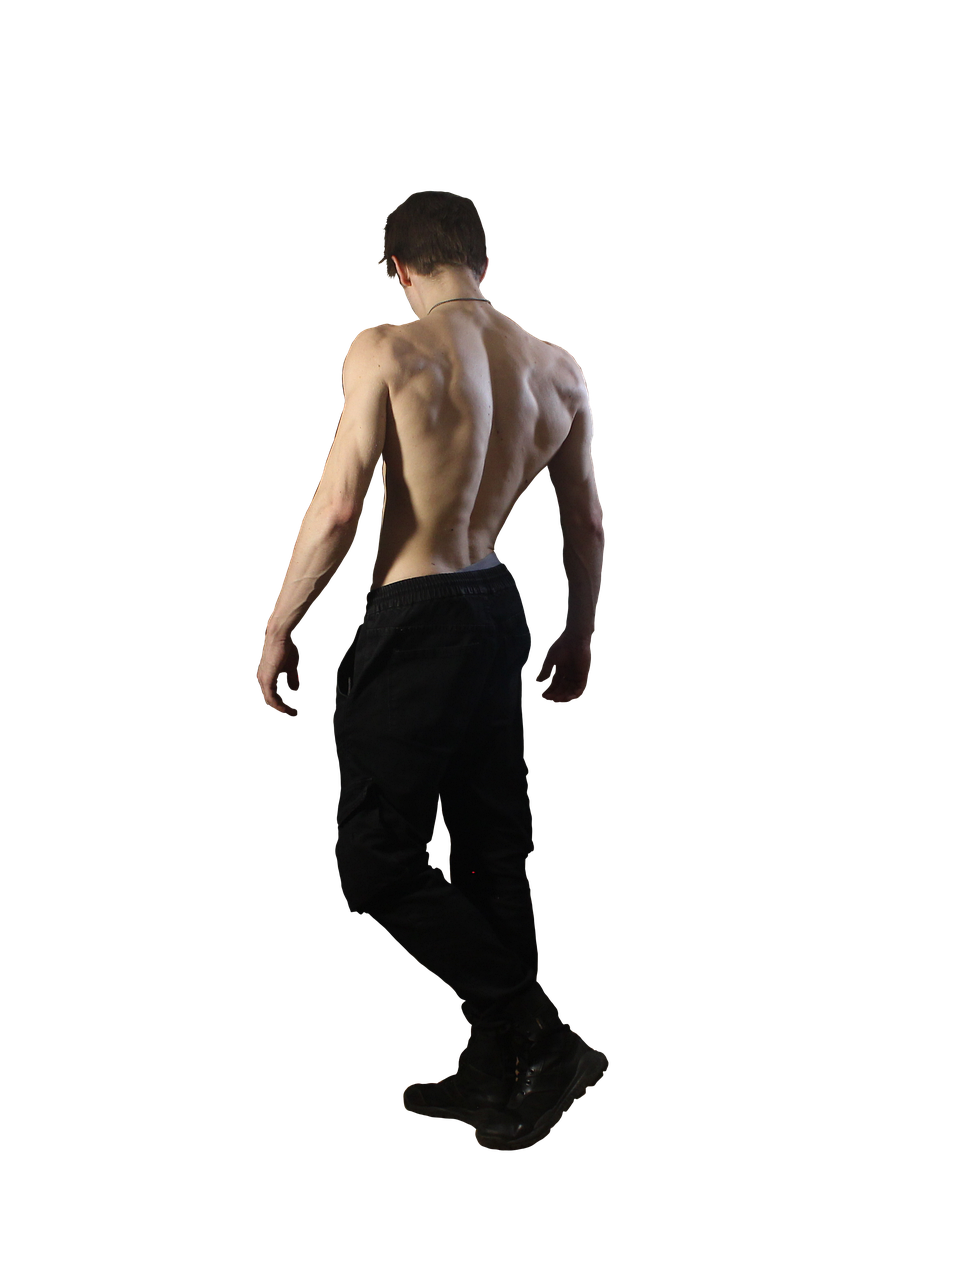
Reference Pictures (for study only)
From Reference.Pictures, Wikimedia, Pixabay

credit to: Reference.Pictures

credit to: Reference.Pictures

credit to: Vox Efx; this image is modified (cropped)
credit to: אנדר-ויק
credit to: Reference.Pictures
credit to: Reference.Pictures

credit to: Reference.Pictures

credit to: Reference.Pictures
credit to: Reference.Pictures

credit to: Reference.Pictures

credit to: Reference.Pictures

credit to: Reference.Pictures
credit to: Raman_Spirydonau

credit to: Reference.Pictures

credit to: Reference.Pictures
I hope this tutorial helps you build a strong foundation in anatomy! if you’re interested in my personal work, you can find me on Cara at @chaerslilarts! 💞
In reply to #1
such a strong tutorial for beginners!! love the way you keep it very simple and playful, but also teach important lessons within art-anatomy ✨ go follow her pls
No comments to display
No comments to display