Male Torso|Back| (NightEdog21)
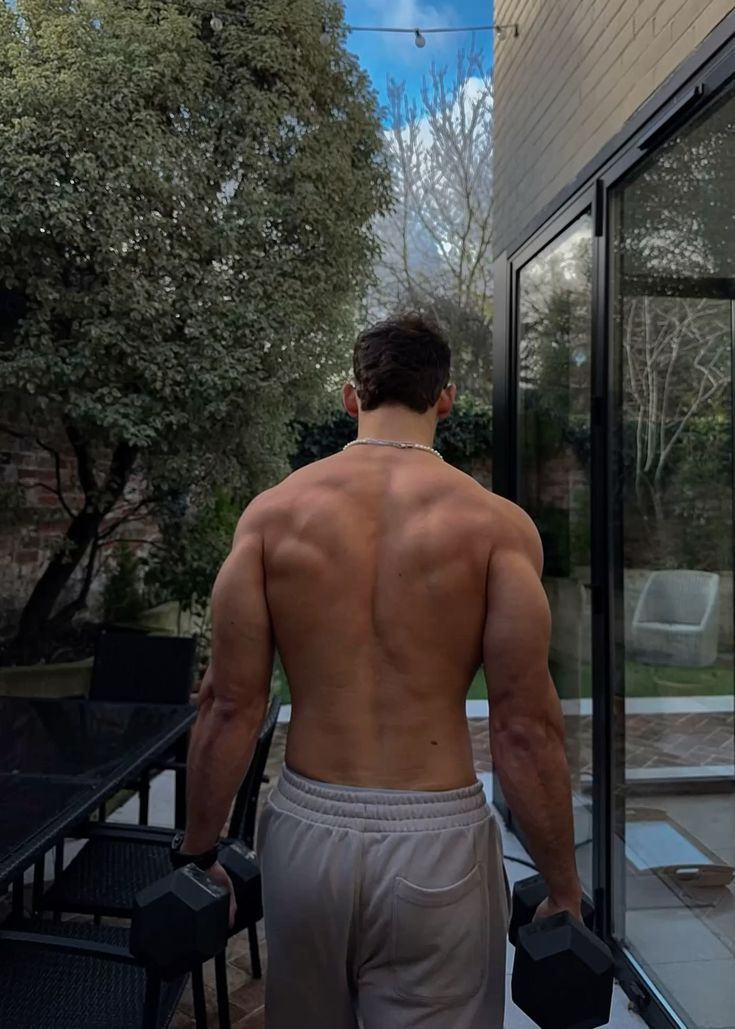
Preview:
This page will show you how to draw the male back step by step. This is a more muscular and buff back to show off the muscle groups a bit better.
Synonyms: Torso; frame; build; figure; form; dorsal trunk.
Summary
The upper body dorsal (back) corresponds to the posterior thoracic wall, while the lower back refers to the lumbar region, posterior to the abdominal cavity. The back houses many muscle groups just like the front.
Basics
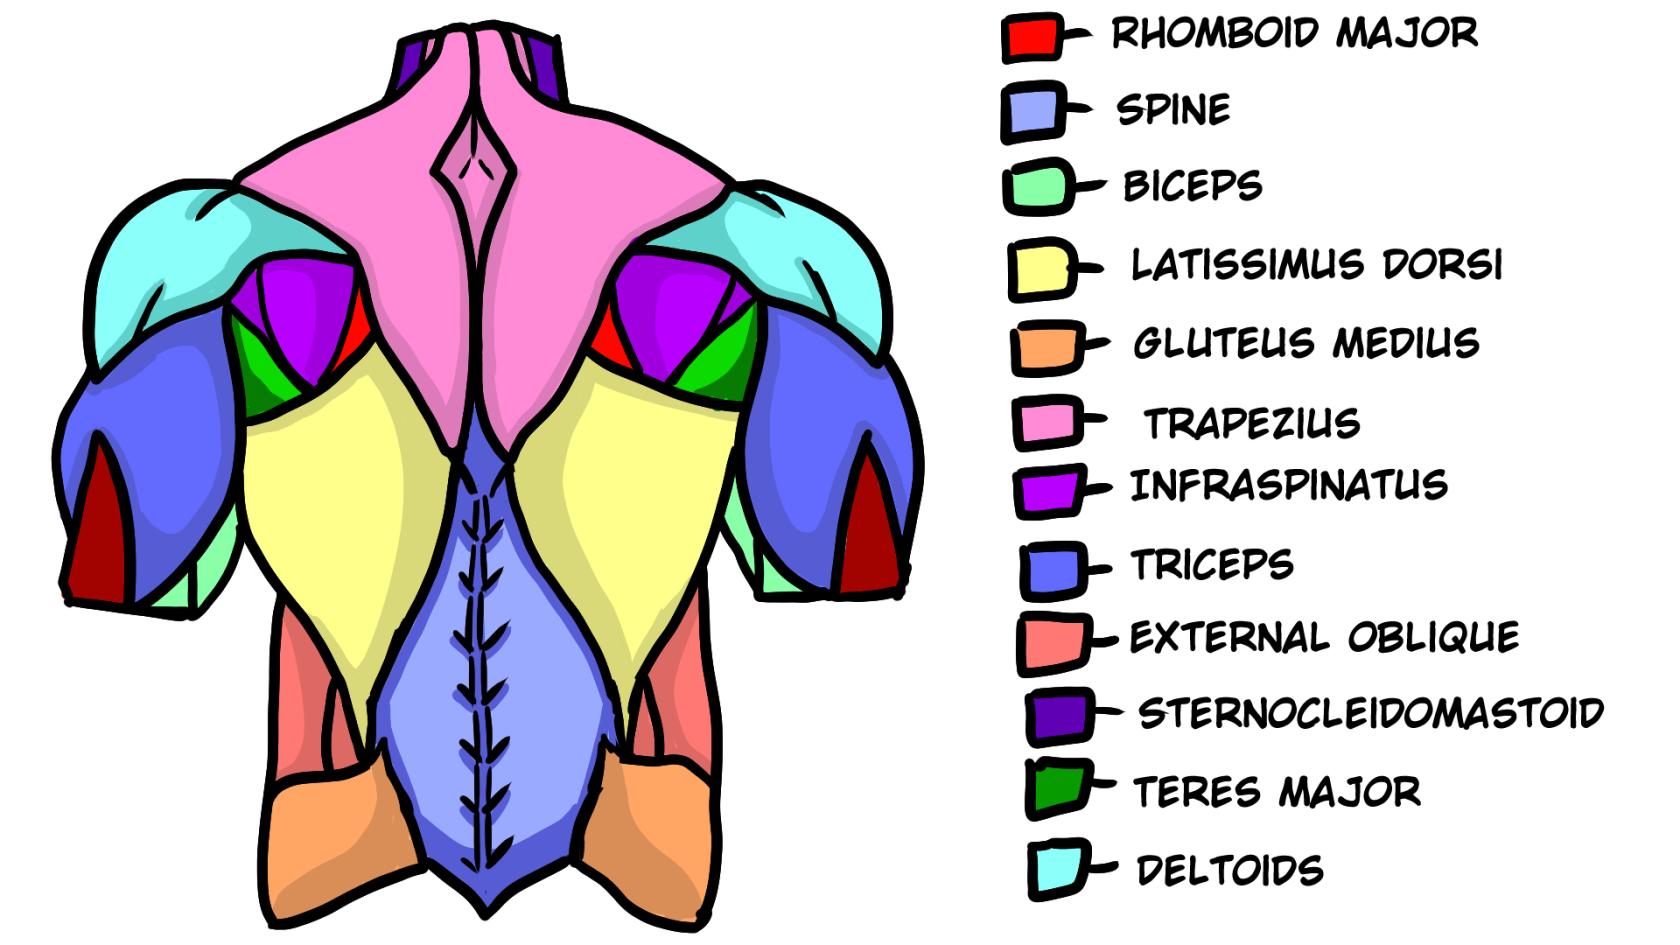
On the left side is the complete drawing of the front male torso. On the right is a color coded key of what each muscle group is called.
Functions
The back has many functions such as housing and protecting the spinal cord, holding the body and head upright, bearing the weight of the upper body, and facilitating the movements of the upper and lower limbs.
How to draw the body part
This is a step by step reference sheet for how I draw the male back. Whenever I draw anything, I like to break everything down to basic shapes and then detail from there. For each step you would draw the red lines to progress the drawing. The green lines are there to let you know when you should erase certain lines because we won't be needing every line we draw. I tried to make it as simple as I could without using too many steps so I hope this helps!
Step 1: First we start with a vertical line going down to use as a middle point for the back. Then a horizontal line going across the top to use as a collar bone line. I know we can see the collar bone line since thats on the front, but its a helpful base for the trapezoids. Then from the two edges of the horizontal line we will curve them down to the middle line. This will act as our basic structural shape for the back which we will add onto later.
Step 2: Next we will make a trapezoid shape at the top where our imaginary collar bone line is and this will be our basic outline for the top of the trapezoids. We will also make two lines coming down to represent the width of the neck. At the bottom we will make a slight "M" shape which will be the bottom of the back right above the butt. Then from the ends of that "M" shape, we will draw two line curved to the outside on each side.
Step 3: Next up is the rest of the trapezoids and shoulders/arms. Start by making a "W" shape in the middle and then extend the ends to where the trapezoid shape we just made ends. From there we will draw the shoulders which are kind of a weird shape that I don't really know how to describe so just try to make it look like that lol. After the shoulders we will do the basic outline of the upper arms.
Step 4 (Red lines): Next up can be a little confusing. For now lets just focus on the red parts. First lets start at the bottom of that "W" shape we made. We're going to extend those line down and curve them slightly outwards as we go down. Then from where we just ended, we are going to curve the lines outward and into the halfway-ish point of the upper arms. This will be outer outline of the back. Then from where those lines end, we are going to curve them back into the midway point of the "W" shape we made. Next is the daimond shape which is centered where the horizontal and vertical lines intersect at from the first step. After that we are going to make the trapezoids at the top look a little more natural, so we're going to curve the top in a little and then end it at the same place.
Step 4 (Green lines): Now we will erase the lines highlighted in green on the example. So the horizontal line from step one at the top gets erased. Most of the bottom of the first step gets erased and some of the vertical line gets erased in the diamond up by the trapezoid.
Step 5: Next we are going to add the rhomboid major and the teres major muscle lines which are those 4 lines at the top. Next we will draw those 4 lines at the bottom which represent the gludeous medious and the external oblique. Then just erase the green line in the middle.
Step 6: This is kind of an optional step, but all we do here is add in the spine.
Step 7: Then you can shade and you're done!

Advanced
Everything beyond the basics
The muscles of the back can be arranged into 3 categories based on their location: superficial back muscles, intermediate bake muscles and intrinsic back muscles.
The superficial back muscles are the muscles found just under the skin. Within this group of back muscles you will find the latissimus dorsi, the trapezuis, levator scapulae and the rhomboids. The muscles are abele to move the upper limb as they originate at the bertebral column and insert onto either clavical, scapula or humerus.
The intermediate muscles of the back work to elevate and depress the rib cage. There are two major muscles within this category. The serratus posterior superior and the serratus posterior inferior.
The intrisnic muscles of the back can be further subdivided into their own superficial, intermediate and deep layers. These muscles collectively work to help movements of the vertebral column and to also control posture.