# Various
# Intro to Torso Anatomy (chaer)
Preview:
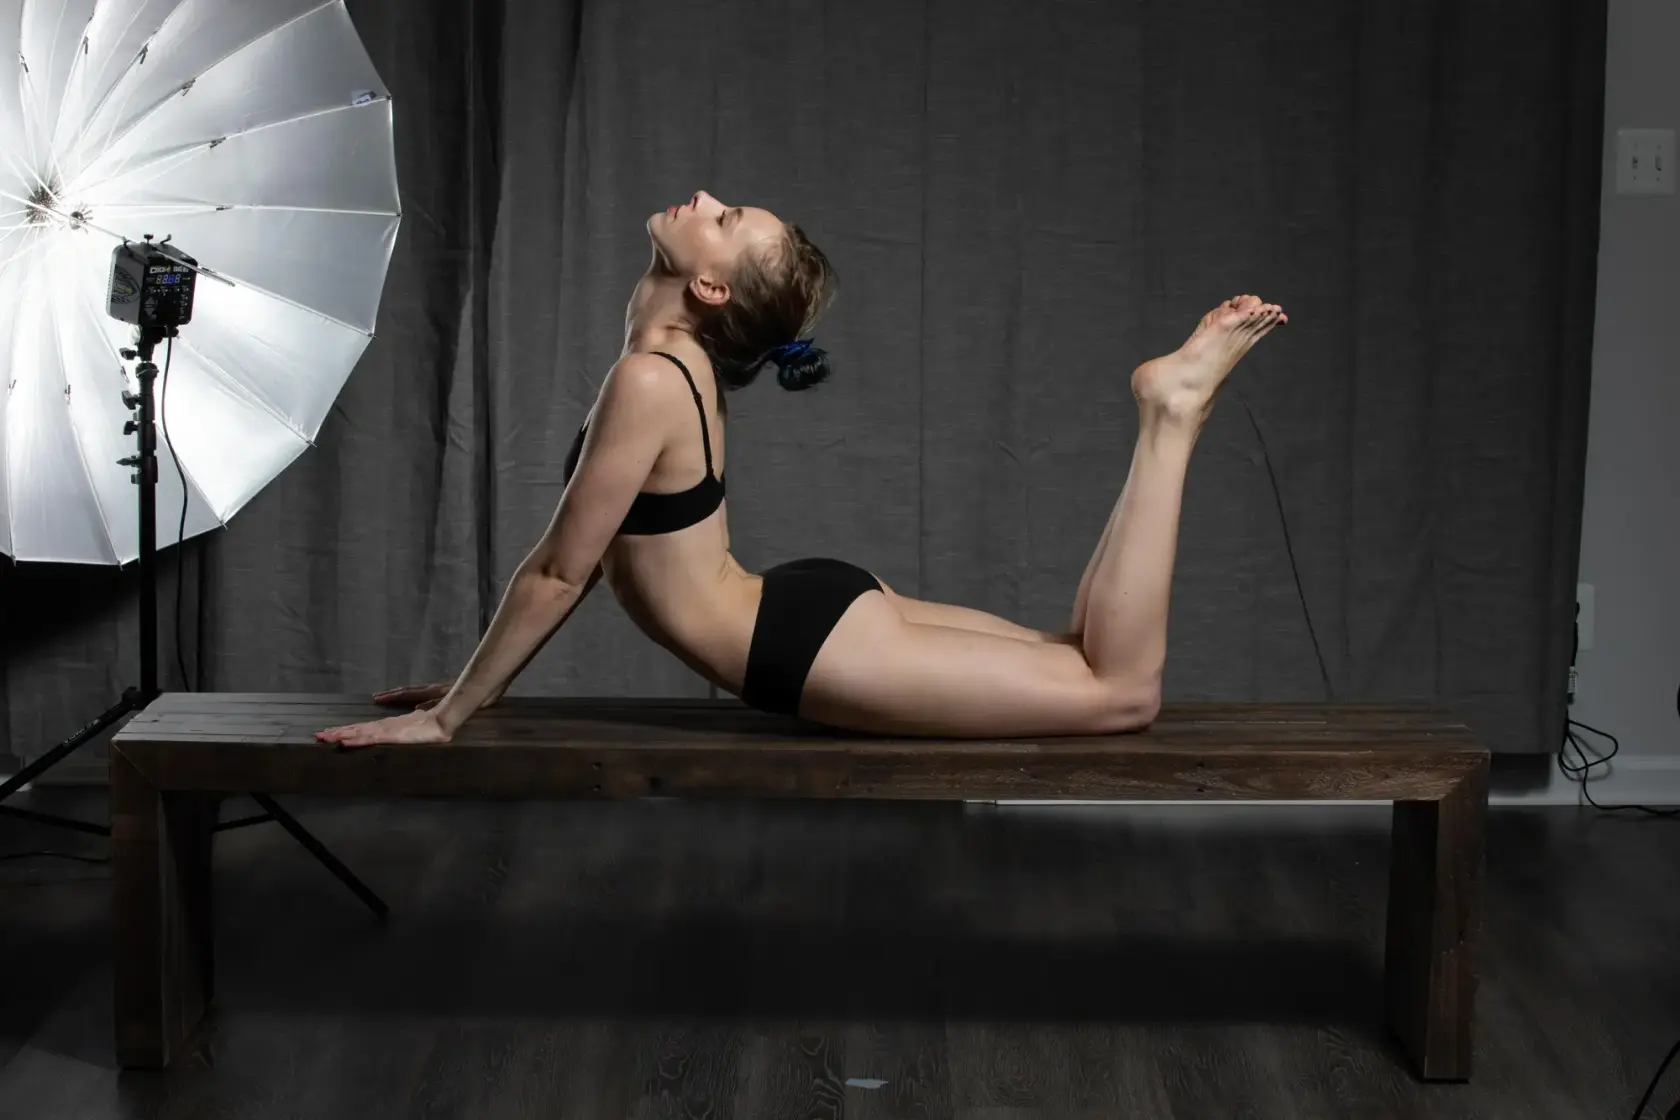
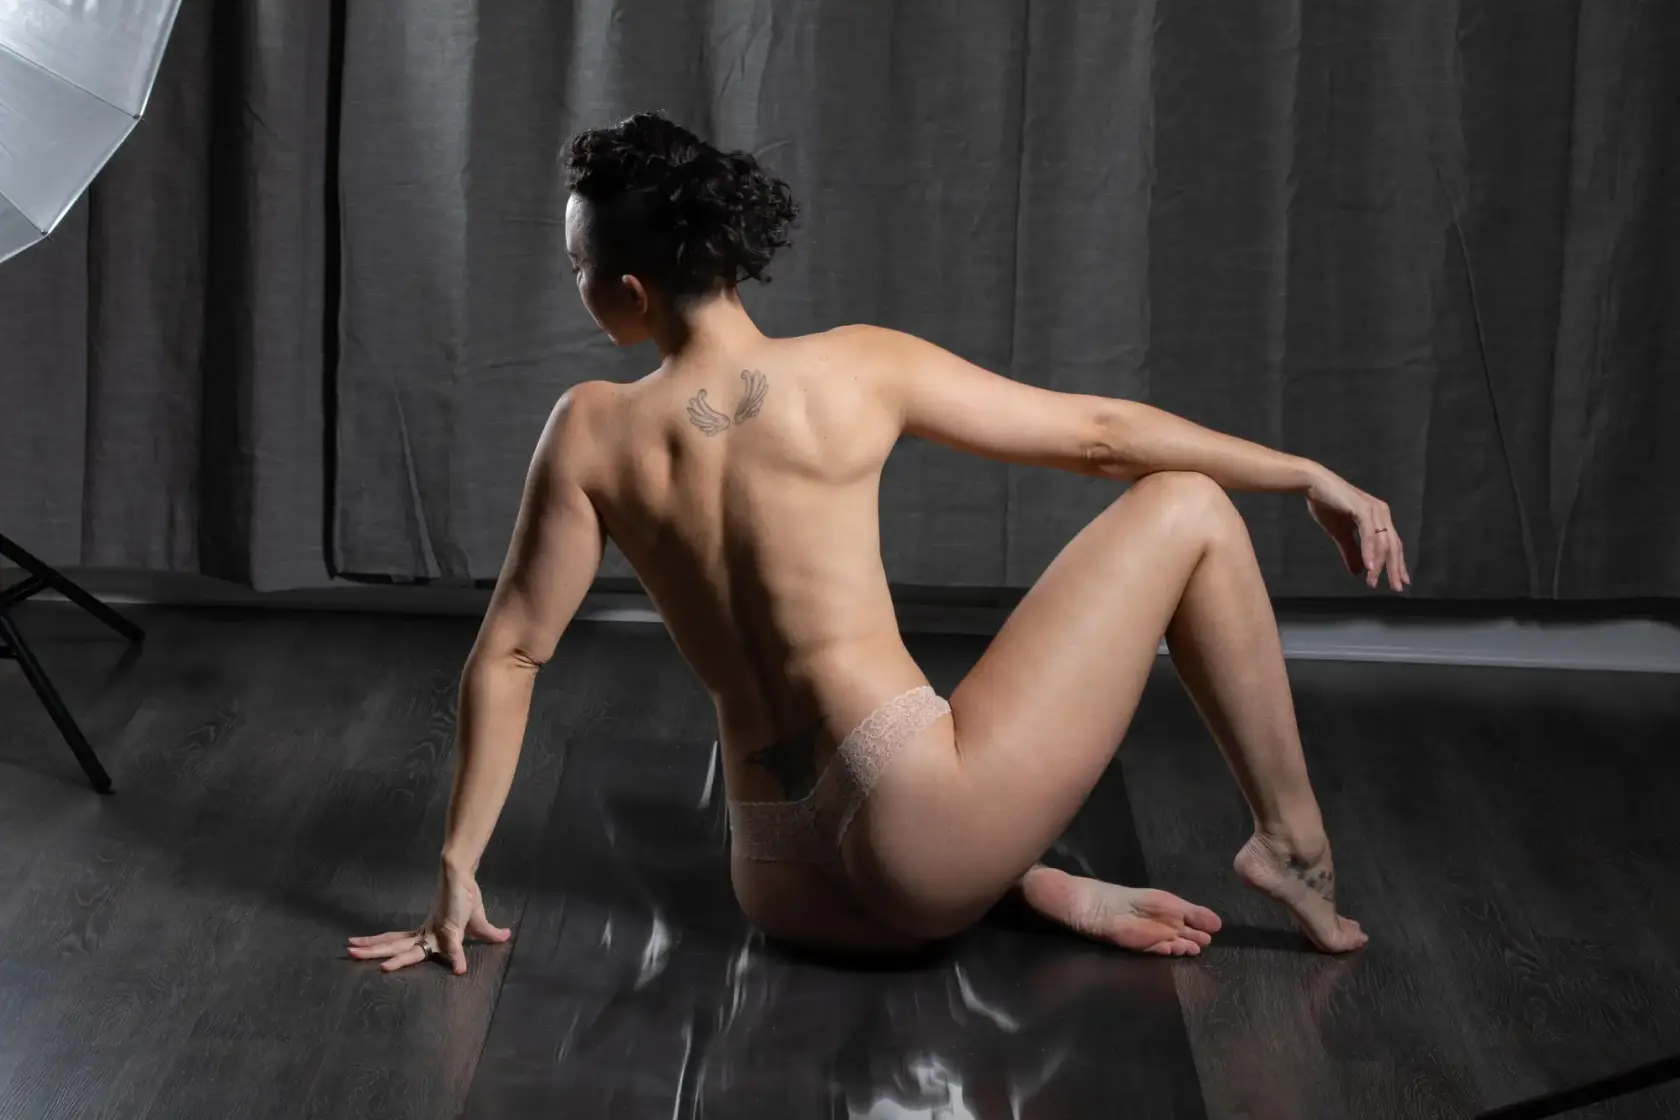
A beginner’s crash course into understanding the human torso by breaking it into simple shapes.
From Reference.Pictures, Wikimedia, Pixabay
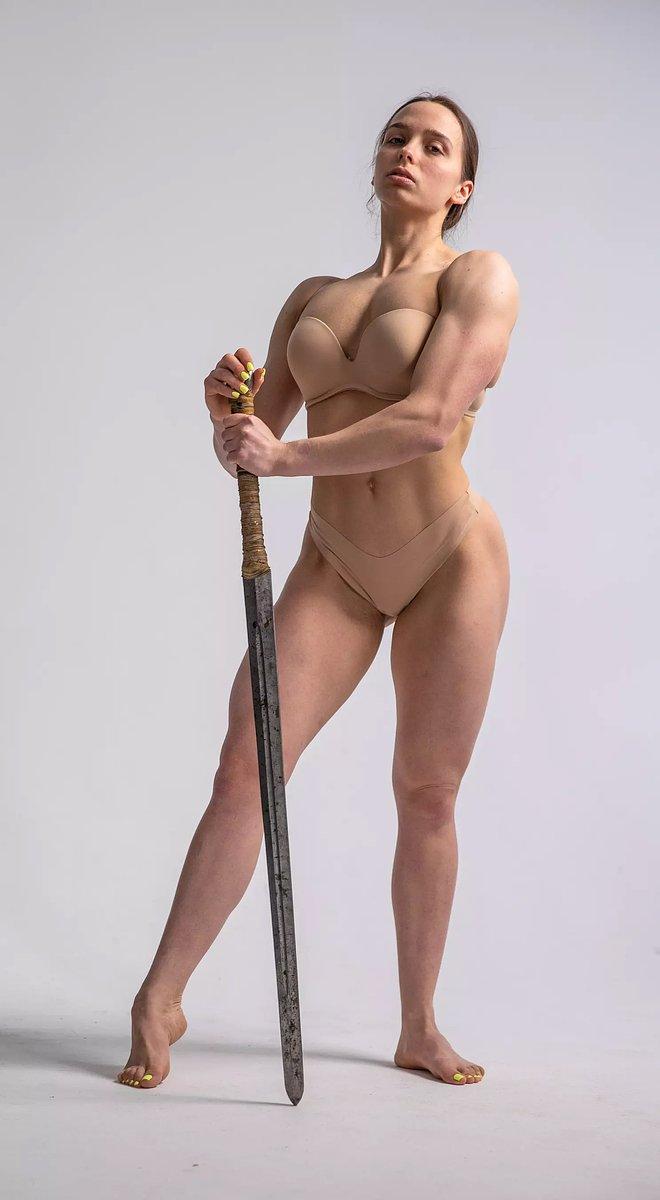
[](https://www.anatomyarchive.org/uploads/images/gallery/2025-08/scaled-1680-/reference-pictures-figure-drawing-warrior-2272-copy.webp)
**credit to:** [**Reference.Pictures**](https://reference.pictures/)
[](https://www.anatomyarchive.org/uploads/images/gallery/2025-08/scaled-1680-/reference-pictures-figure-drawing-mage-1528-copy.webp)
**credit to:** [**Reference.Pictures**](https://reference.pictures/)
[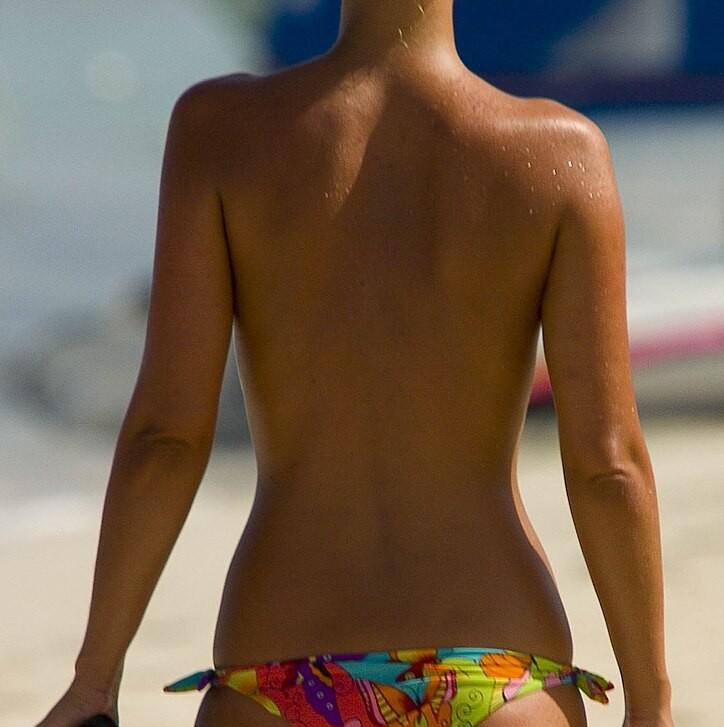](https://www.anatomyarchive.org/uploads/images/gallery/2025-08/scaled-1680-/724px-a-woman-with-a-suntan-wearing-a-bikini-1-cropped-2.jpg)
**credit to:** [**Vox Efx**](https://commons.m.wikimedia.org/wiki/File:A_woman_with_a_suntan_wearing_a_bikini_(1)_(cropped).jpg)**; this image is modified (cropped)**
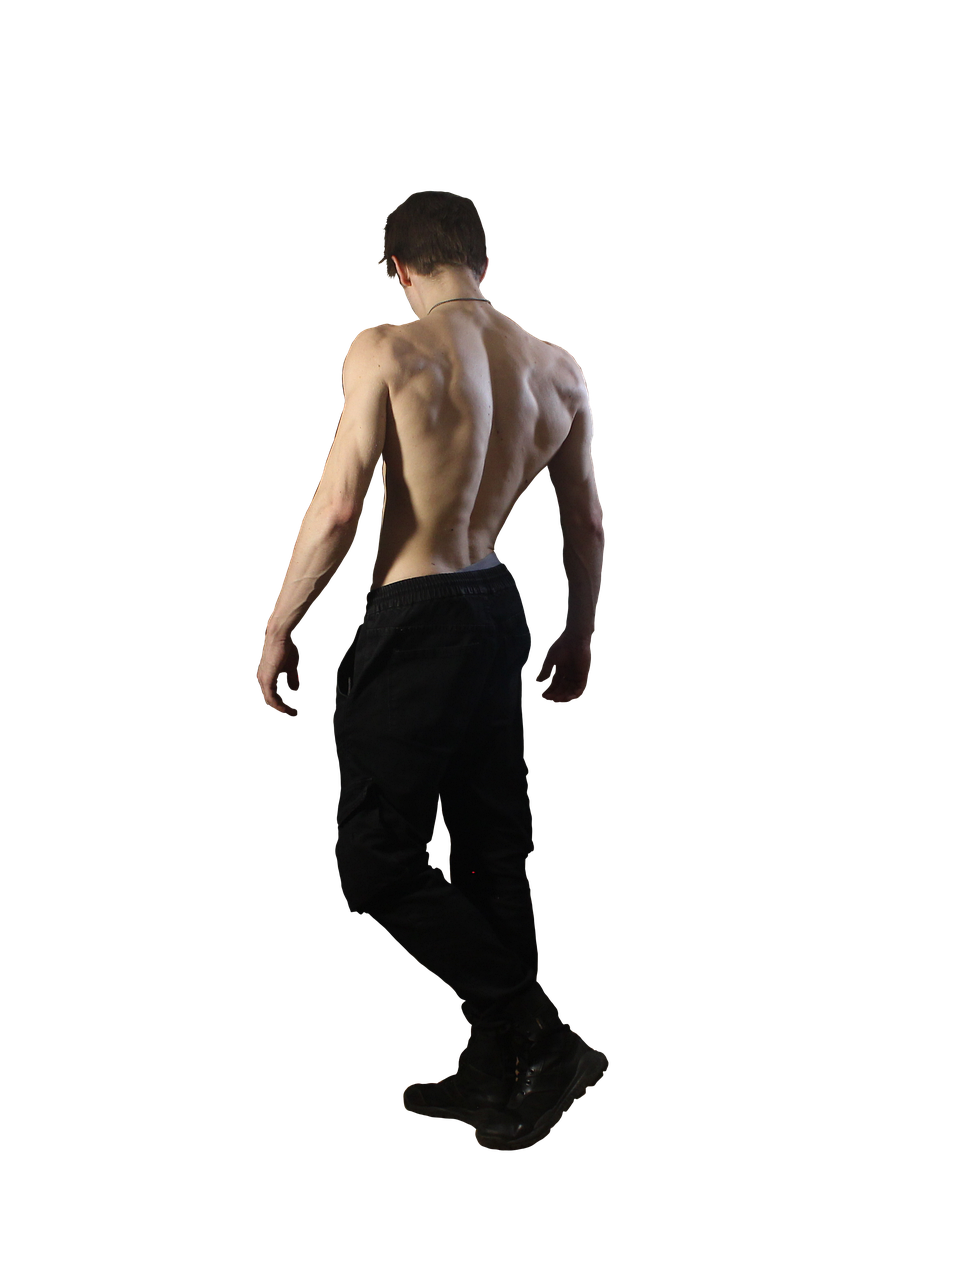
[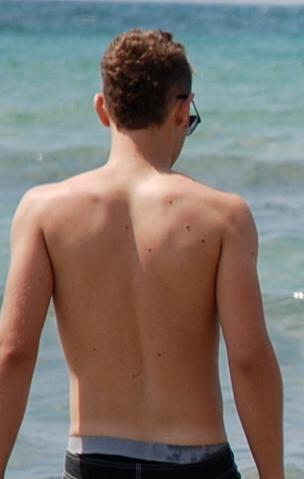](https://www.anatomyarchive.org/uploads/images/gallery/2025-08/scaled-1680-/back.jpg)
**credit to:**[ **אנדר-ויק**](https://commons.m.wikimedia.org/wiki/File:Back.JPG)
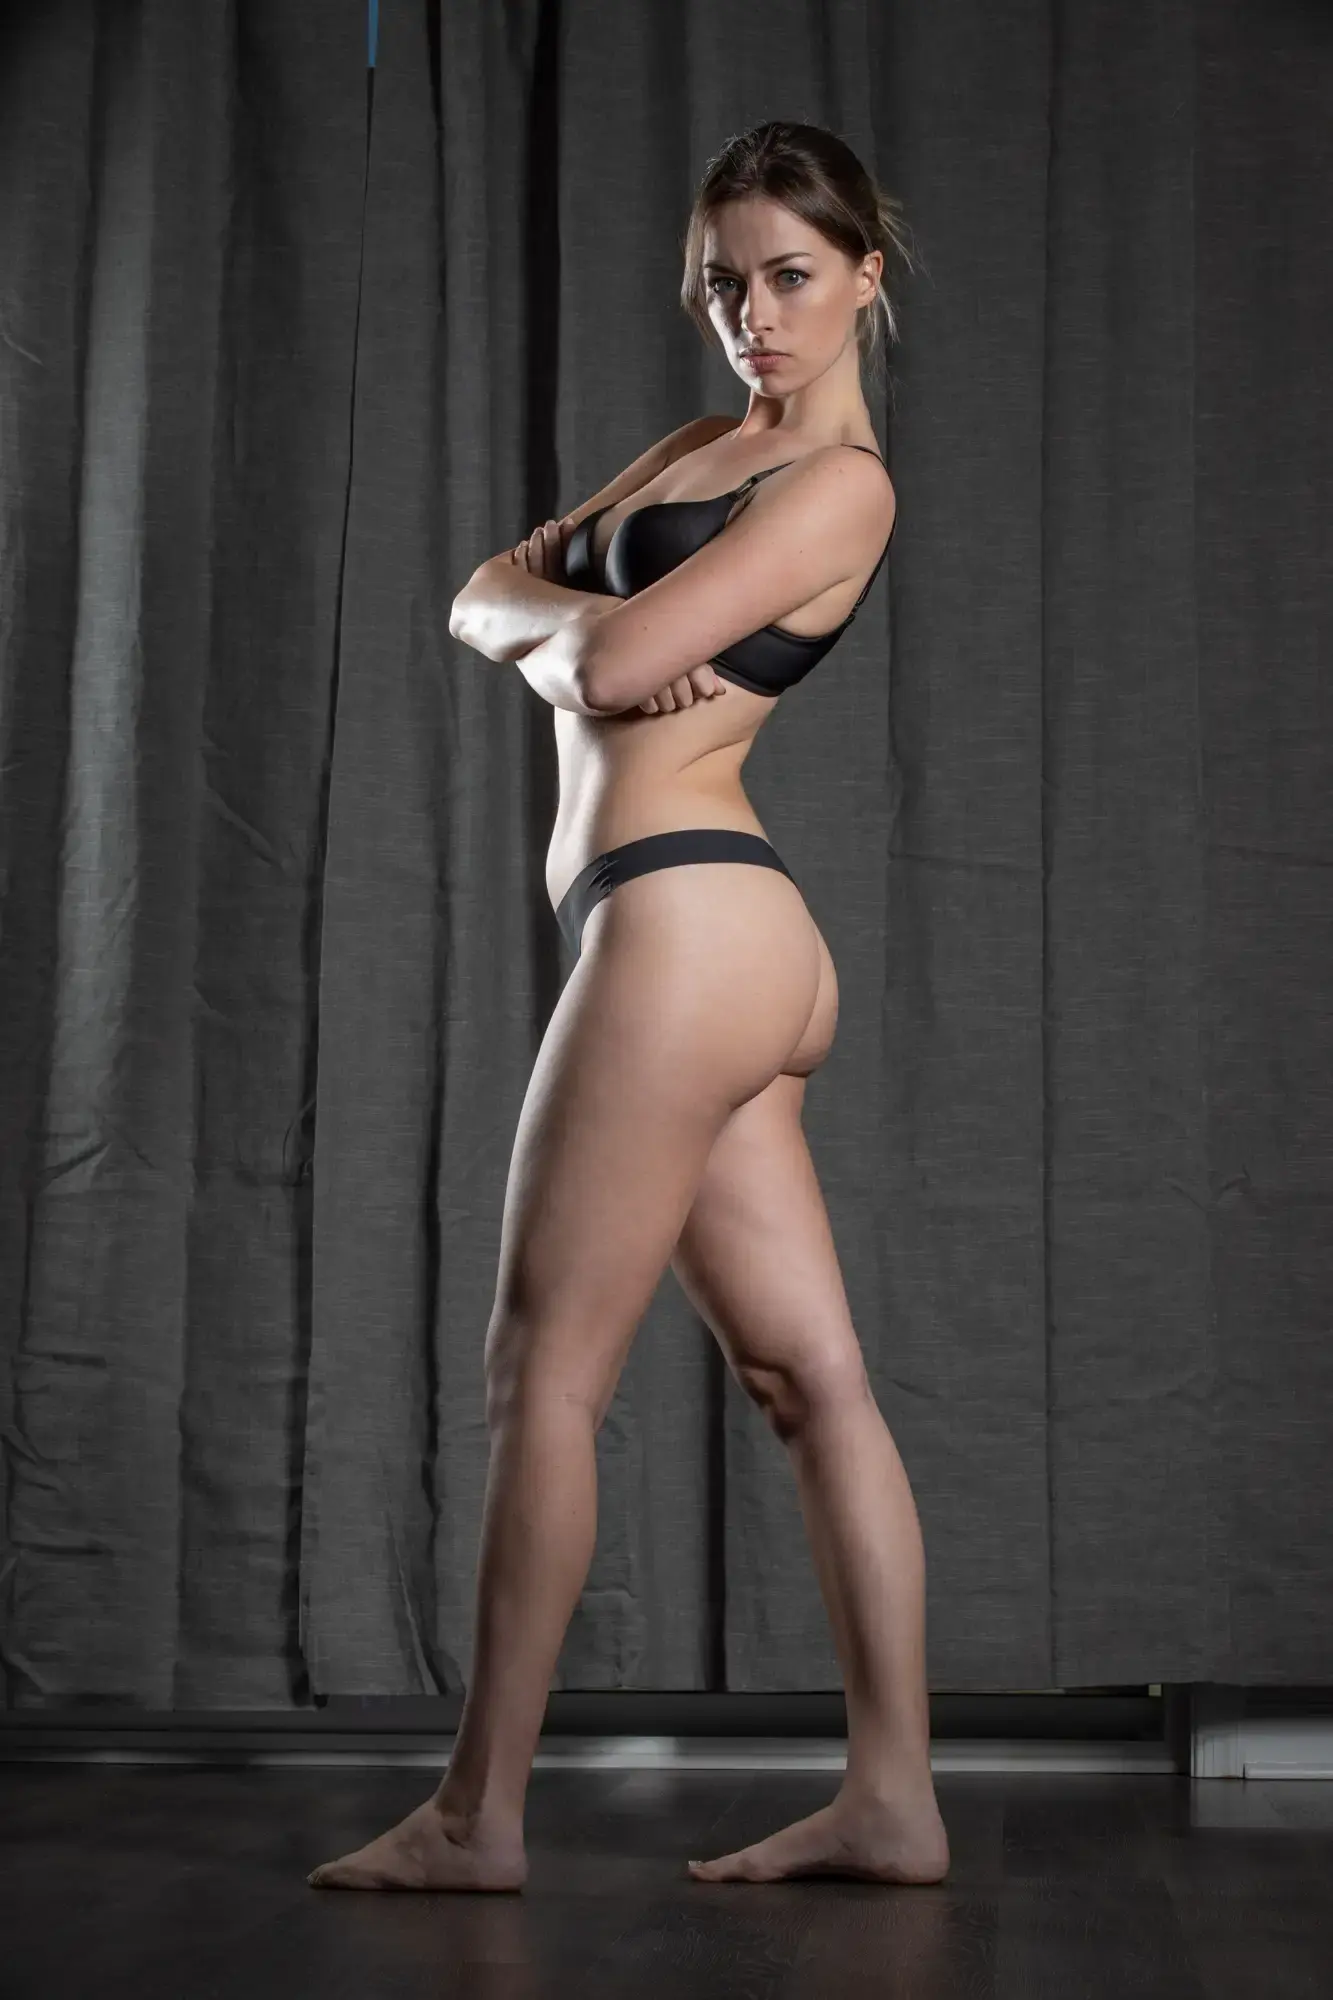
[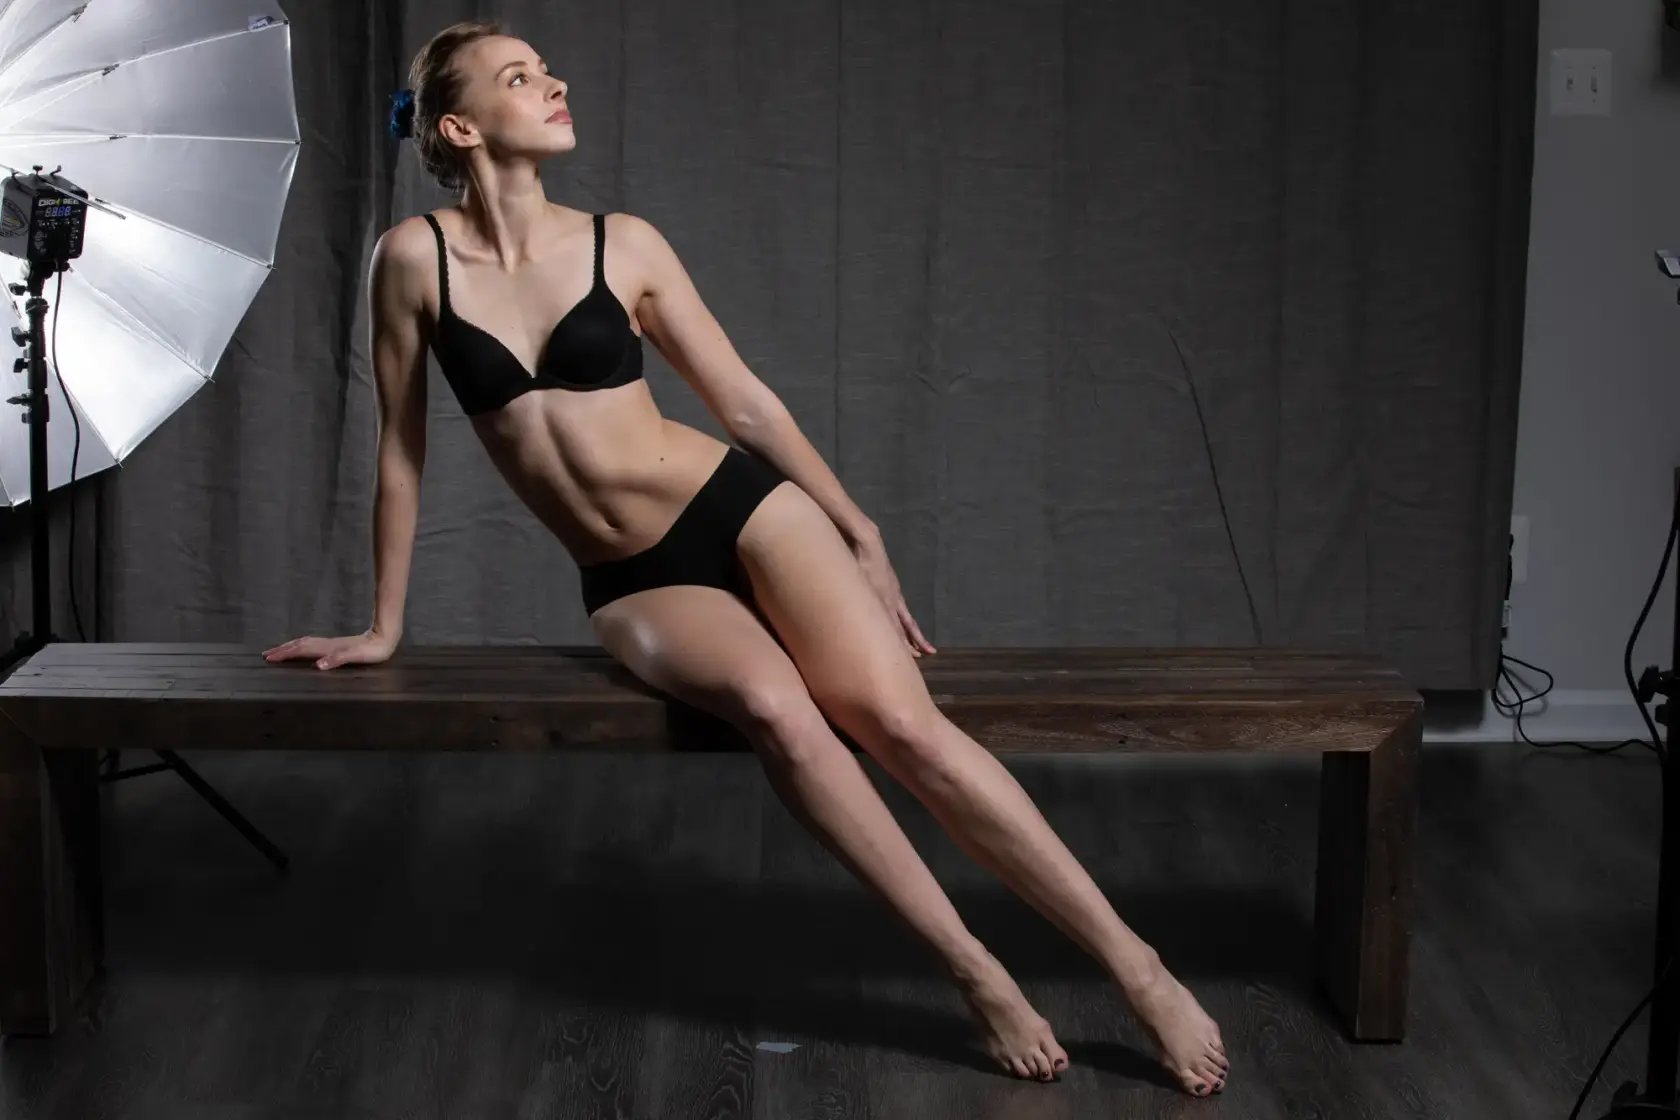](https://www.anatomyarchive.org/uploads/images/gallery/2025-08/scaled-1680-/reference-pictures-figure-drawing-vanessa-4118-copy.webp)
**credit to:** [**Reference.Pictures**](https://reference.pictures/)
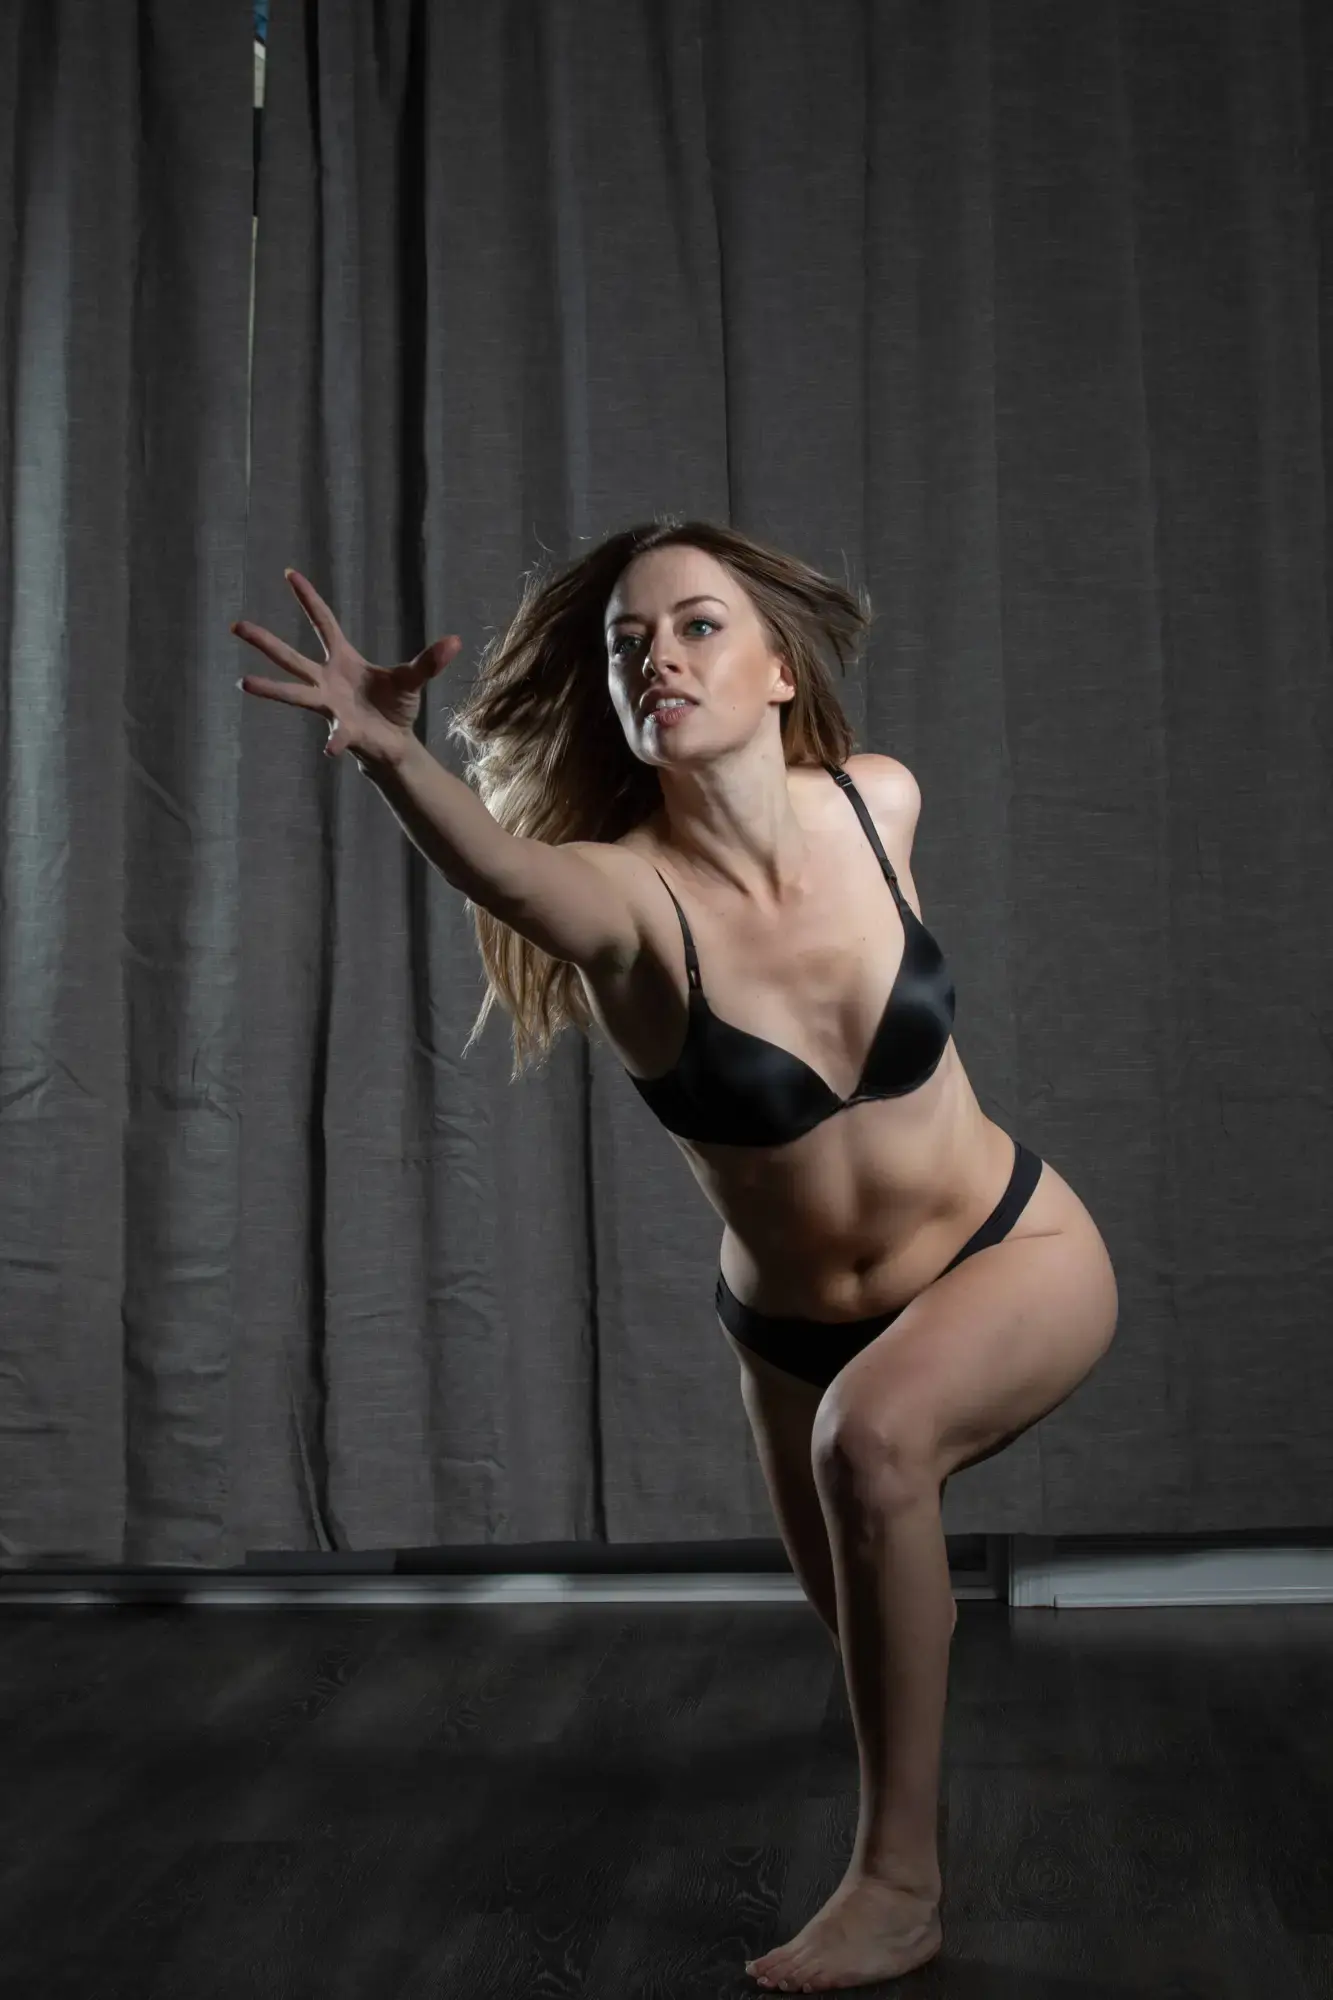
[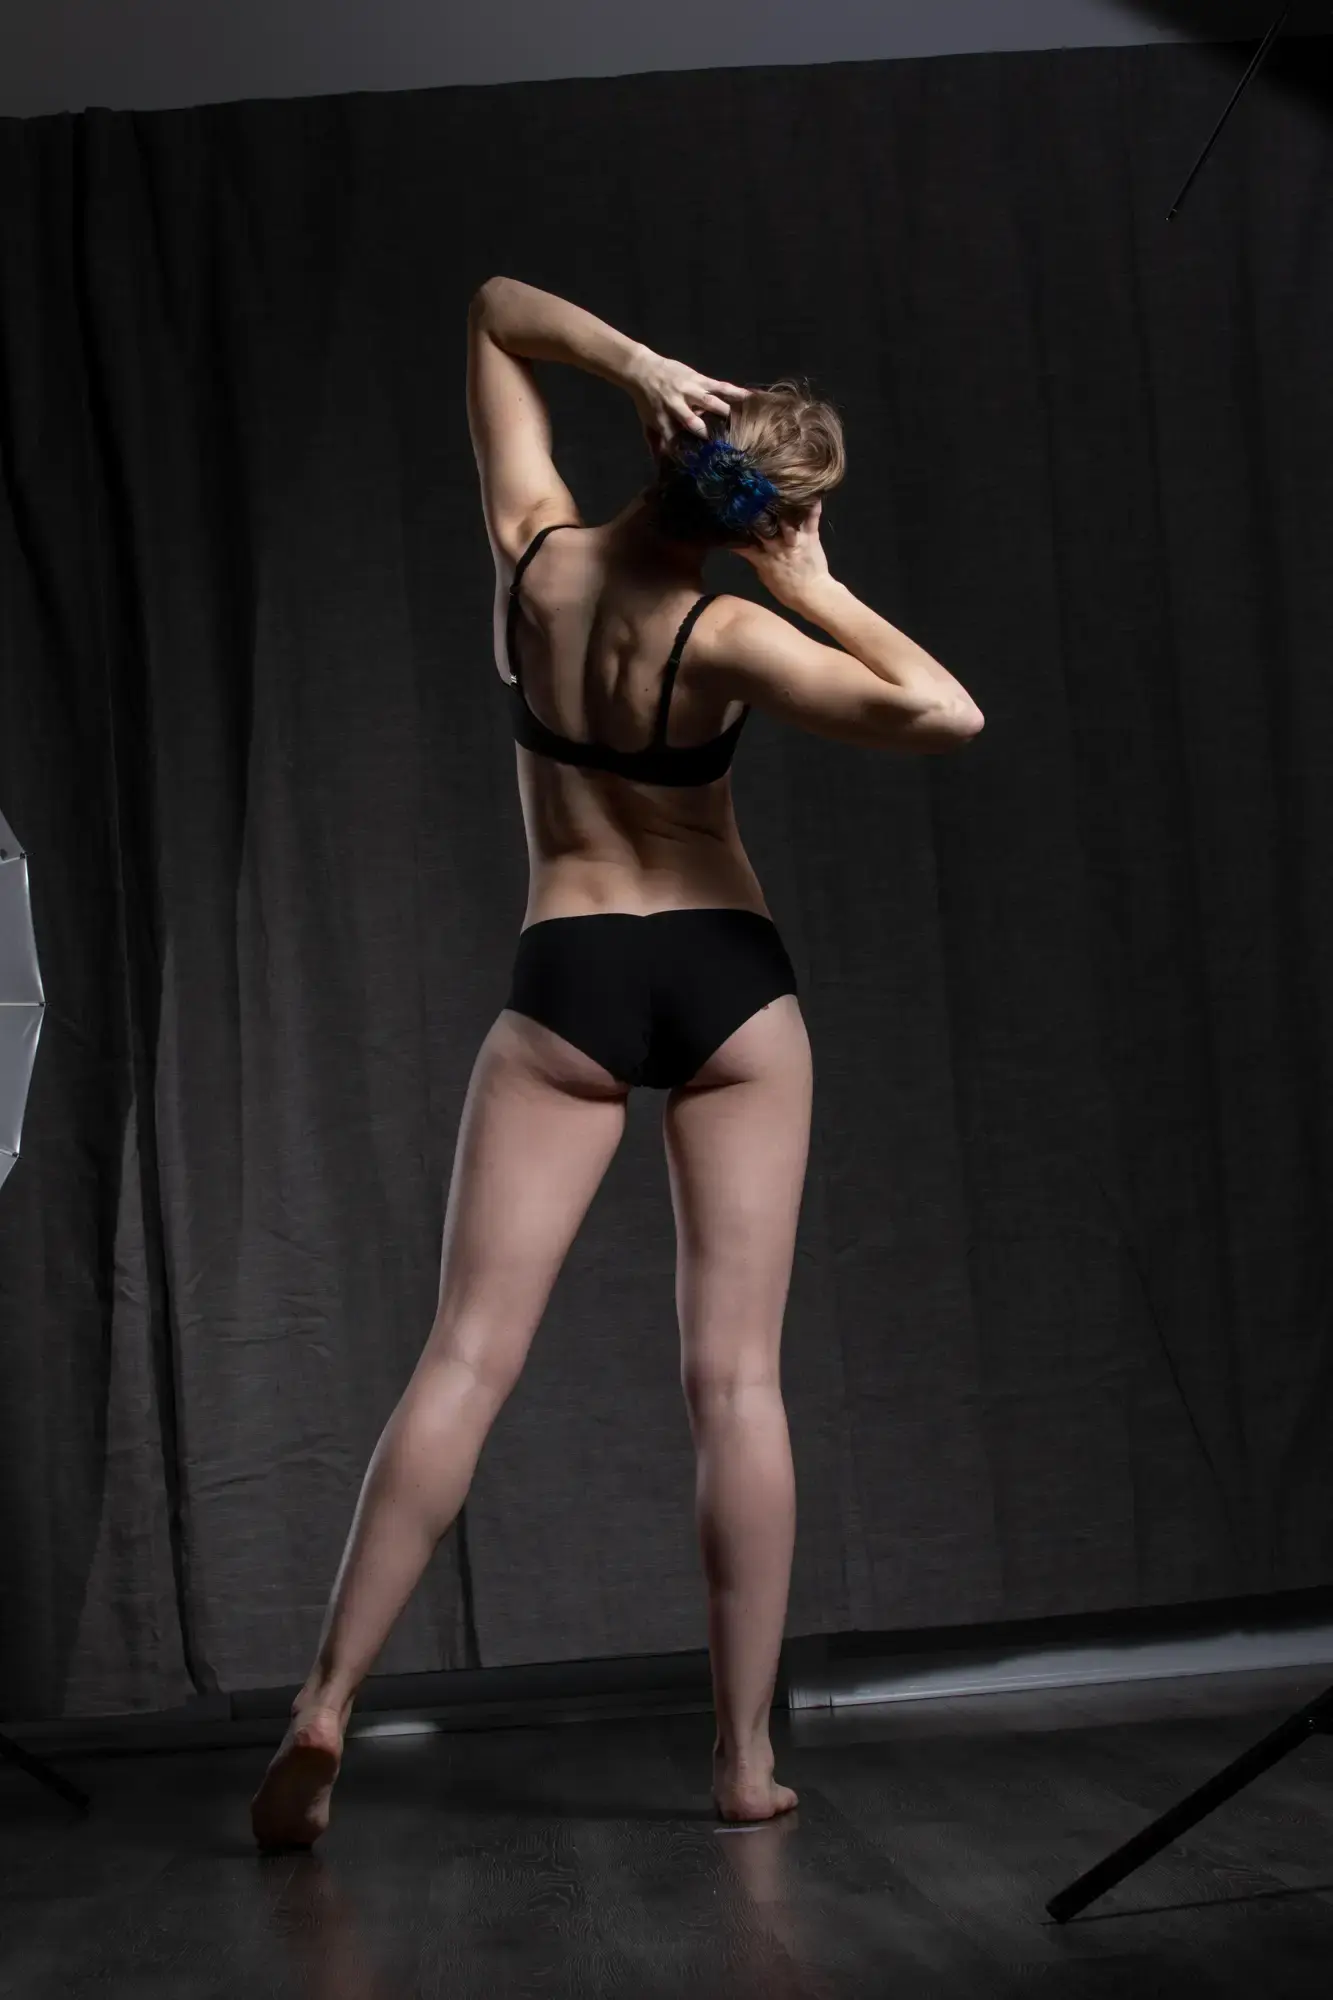](https://www.anatomyarchive.org/uploads/images/gallery/2025-08/scaled-1680-/reference-pictures-figure-drawing-vanessa-4045-copy.webp)
**credit to:** [**Reference.Pictures**](https://reference.pictures/)
[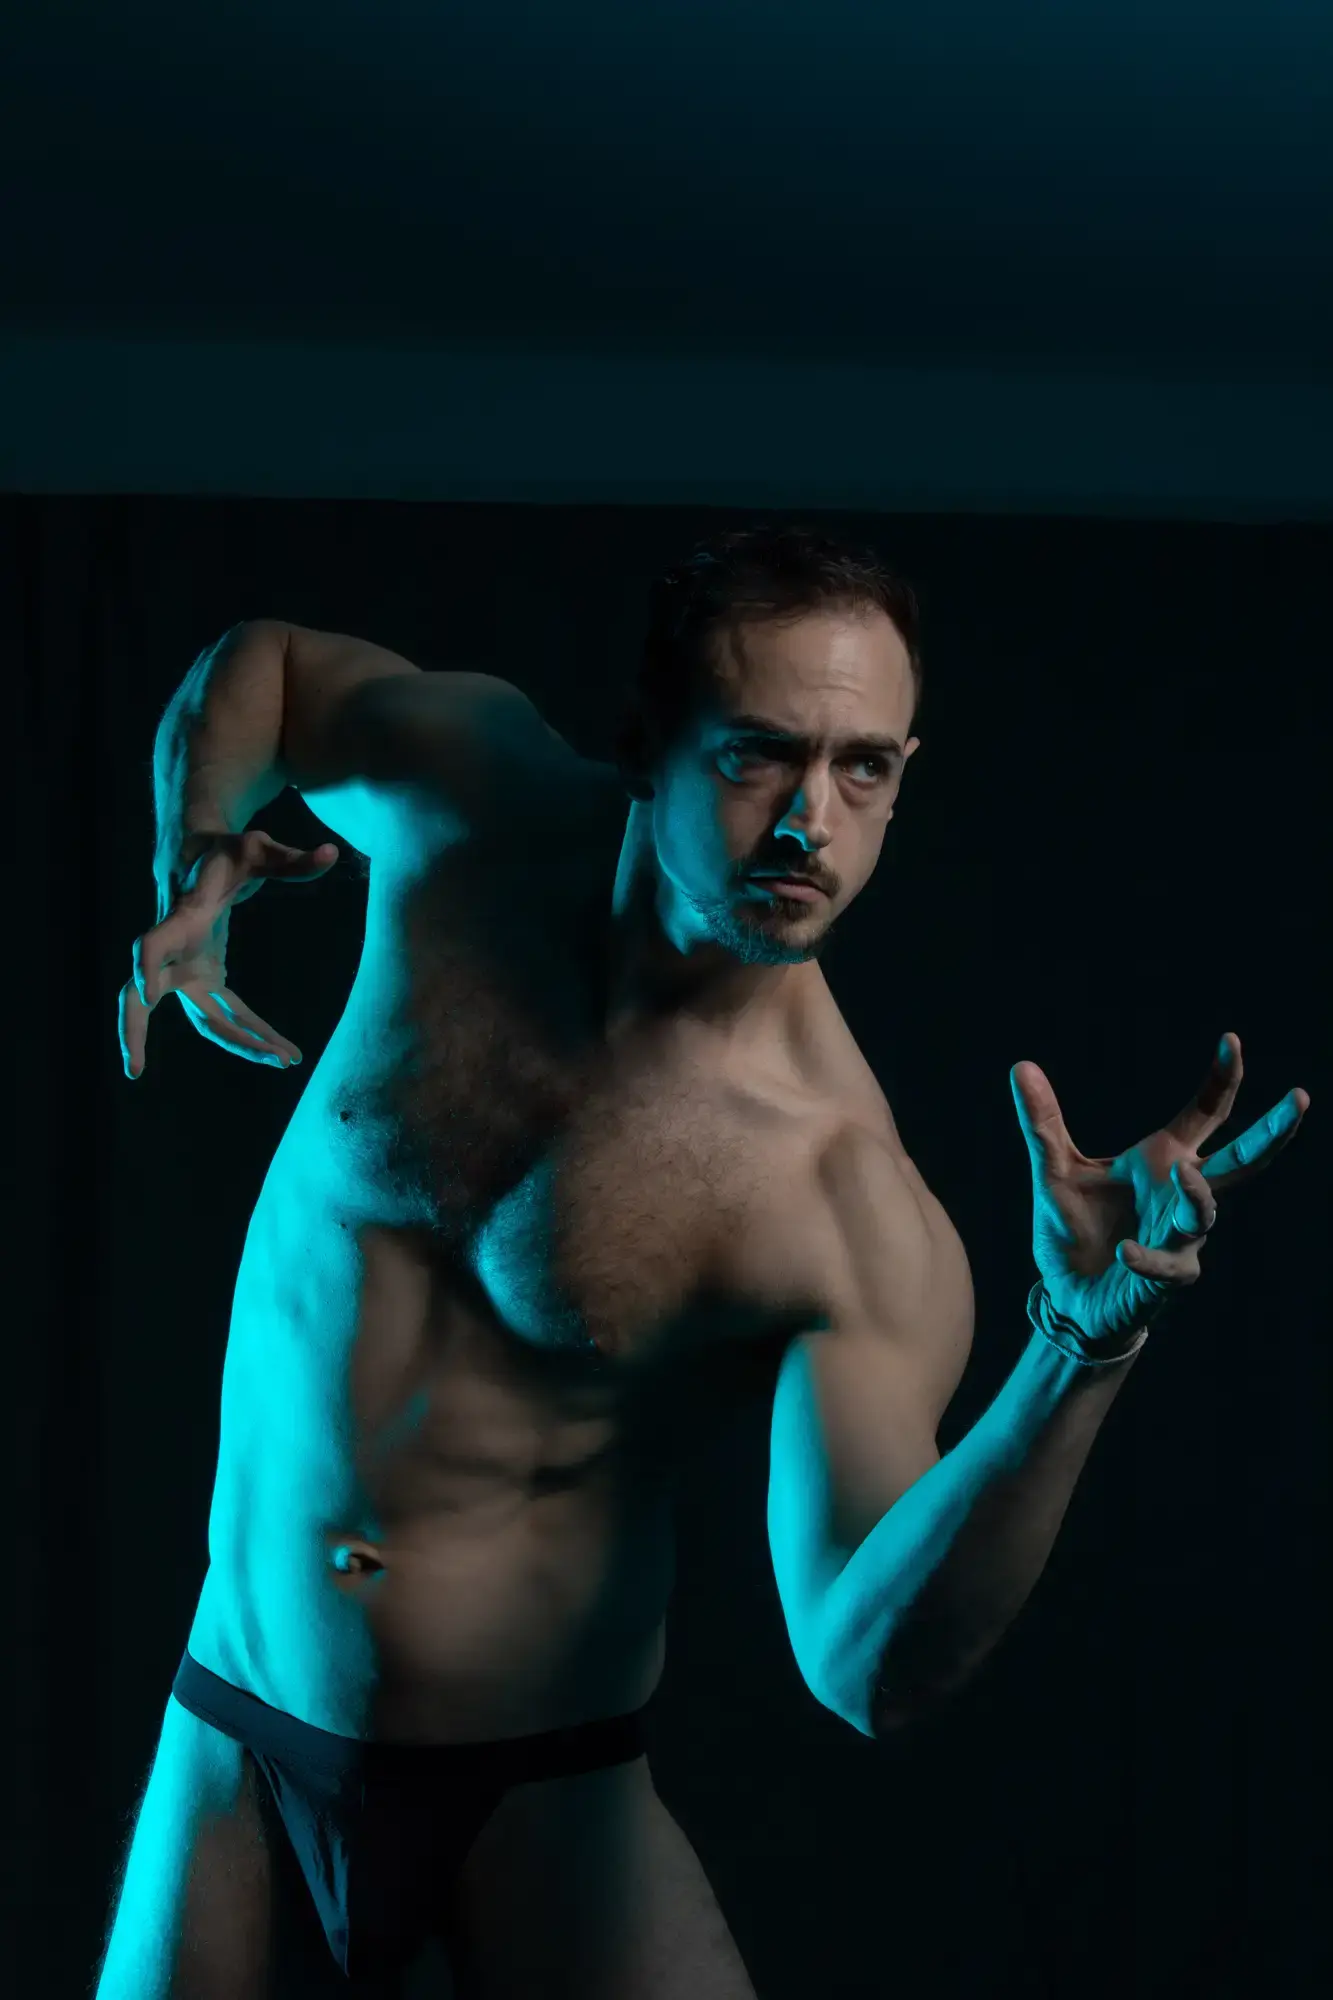](https://www.anatomyarchive.org/uploads/images/gallery/2025-08/scaled-1680-/reference-pictures-dramatic-figure-lighting-3330-copy.webp)
**credit to:** [**Reference.Pictures**](https://reference.pictures/)
[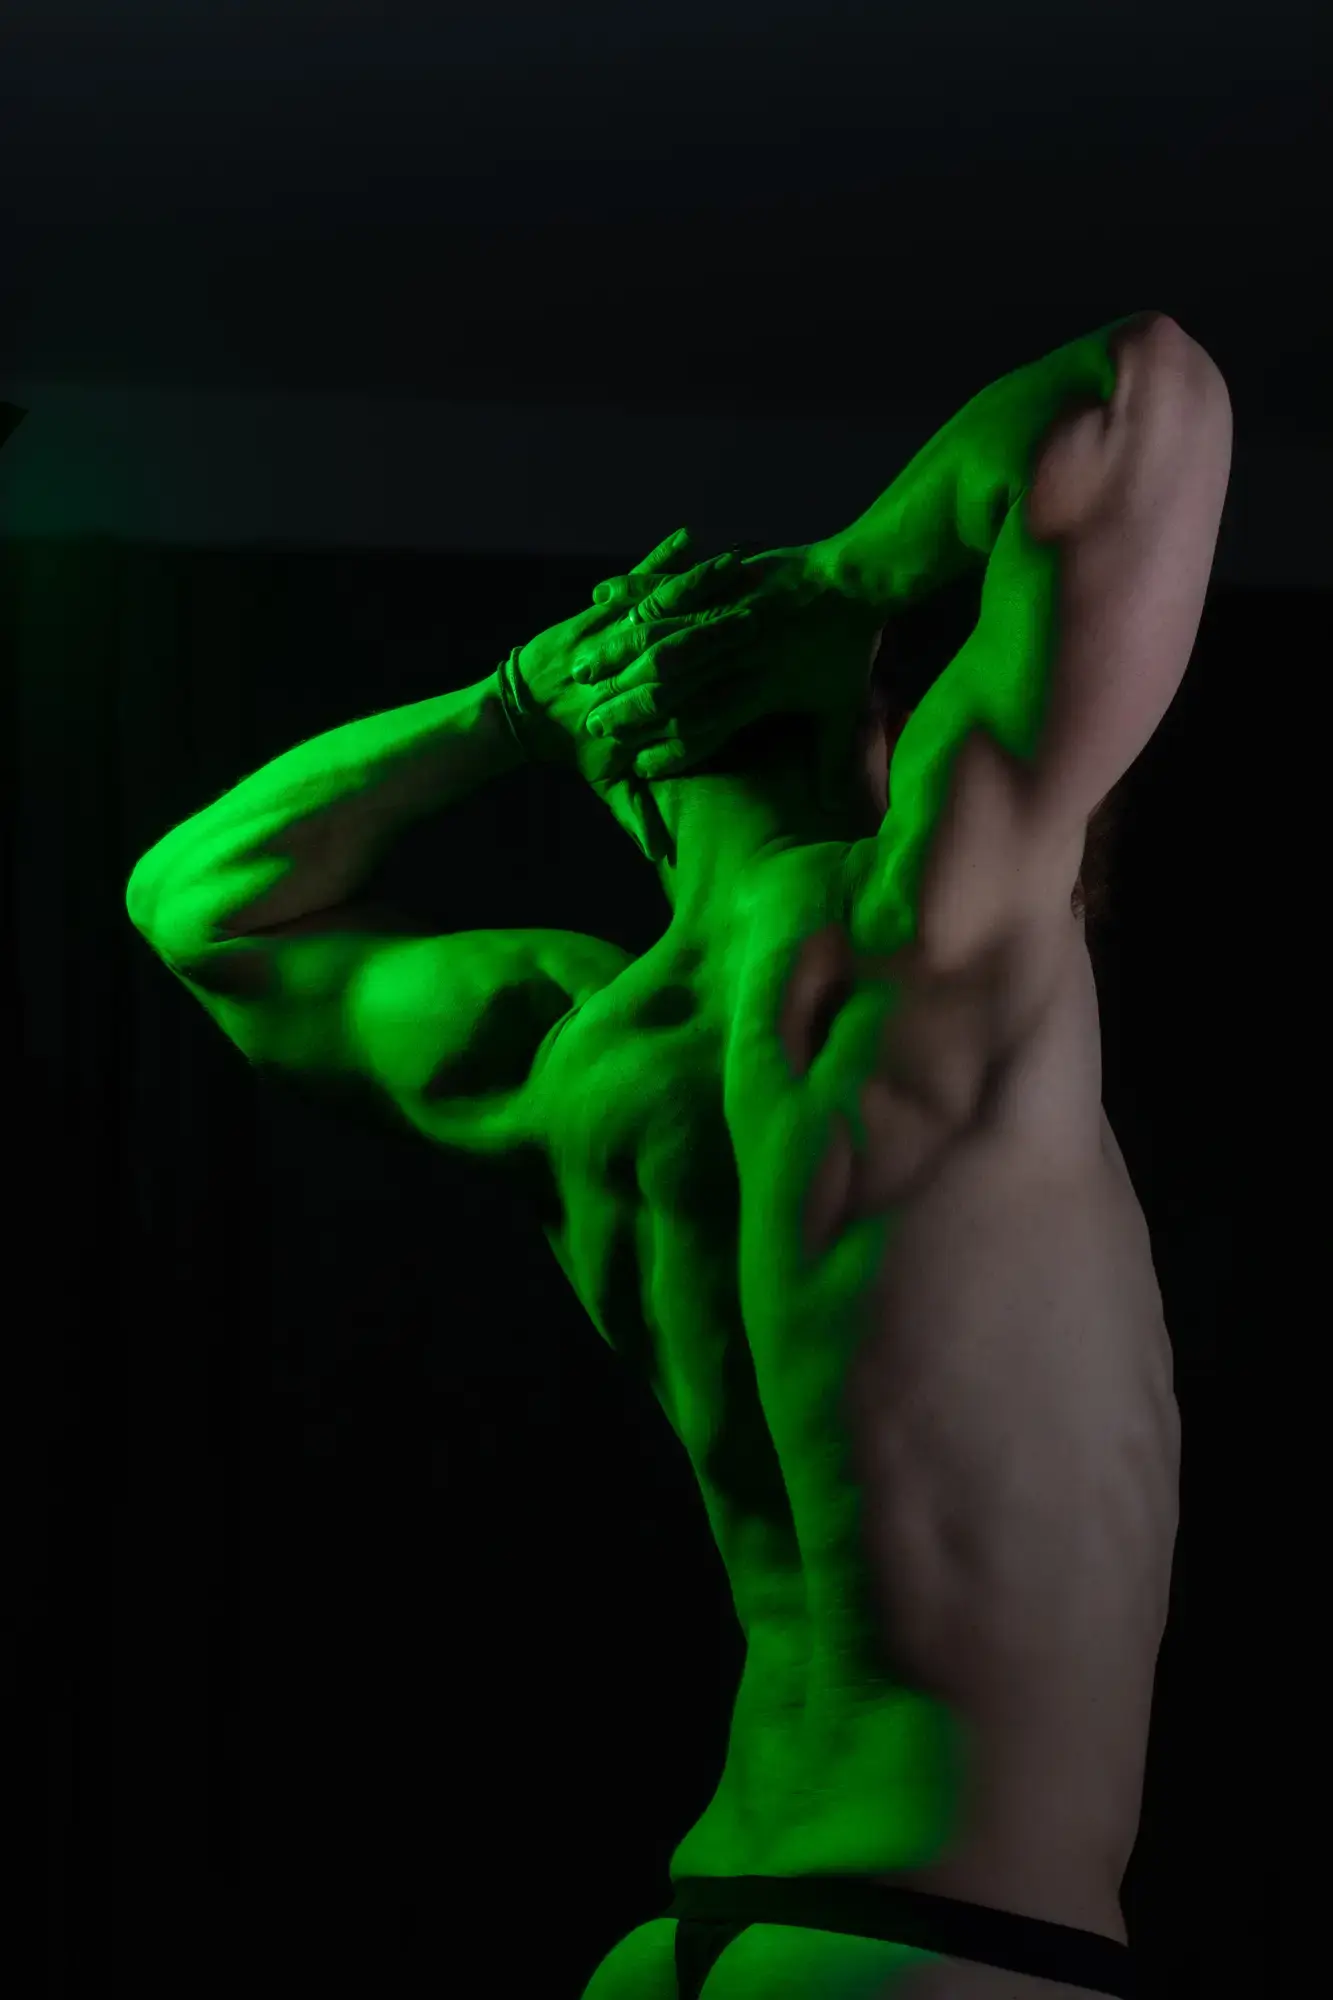](https://www.anatomyarchive.org/uploads/images/gallery/2025-08/scaled-1680-/reference-pictures-dramatic-figure-lighting-3389-copy.webp)
**credit to:** [**Reference.Pictures**](https://reference.pictures/)
[](https://www.anatomyarchive.org/uploads/images/gallery/2025-08/scaled-1680-/reference-pictures-figure-drawing-vanessa-4162-copy.webp)
**credit to:** [**Reference.Pictures**](https://reference.pictures/)
[](https://www.anatomyarchive.org/uploads/images/gallery/2025-08/scaled-1680-/reference-pictures-figure-drawing-jen-6462-copy.webp)
**credit to:** [**Reference.Pictures**](https://reference.pictures/)
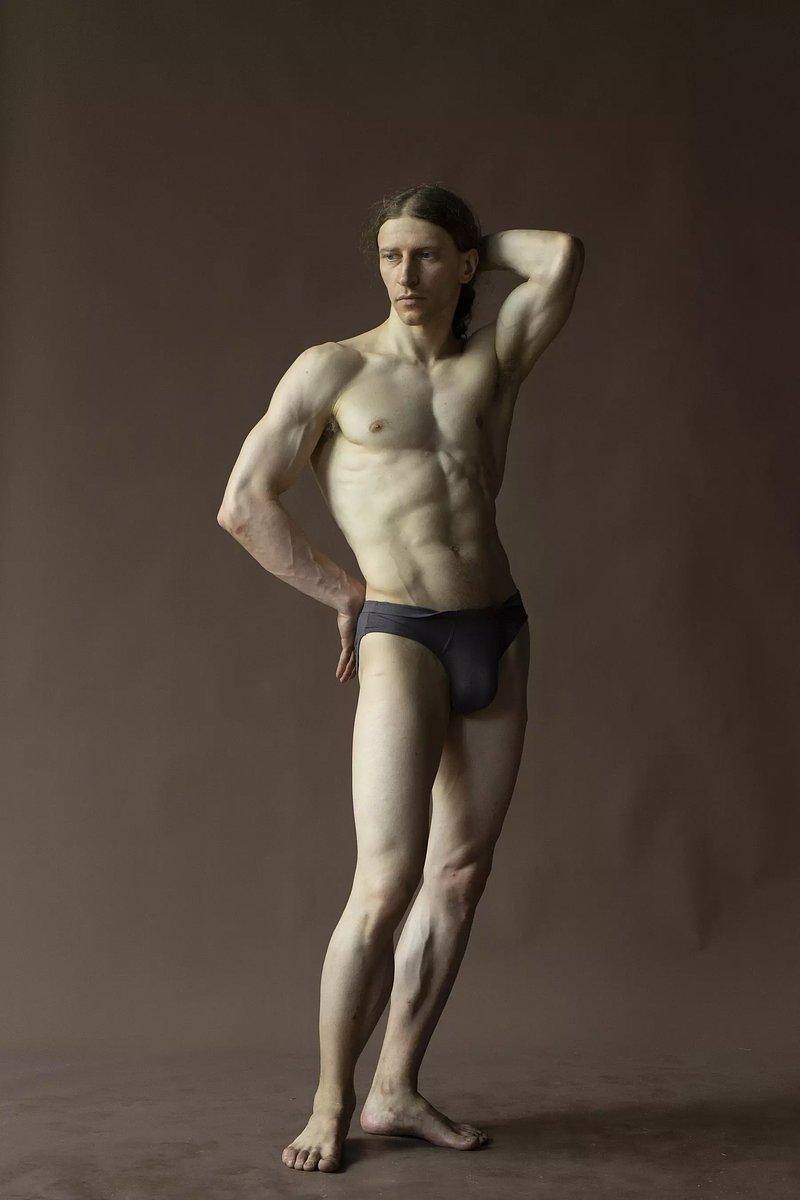
[](https://www.anatomyarchive.org/uploads/images/gallery/2025-08/scaled-1680-/reference-pictures-figure-drawing-noah-9934-copy.webp)
**credit to:** [**Reference.Pictures**](https://reference.pictures/)
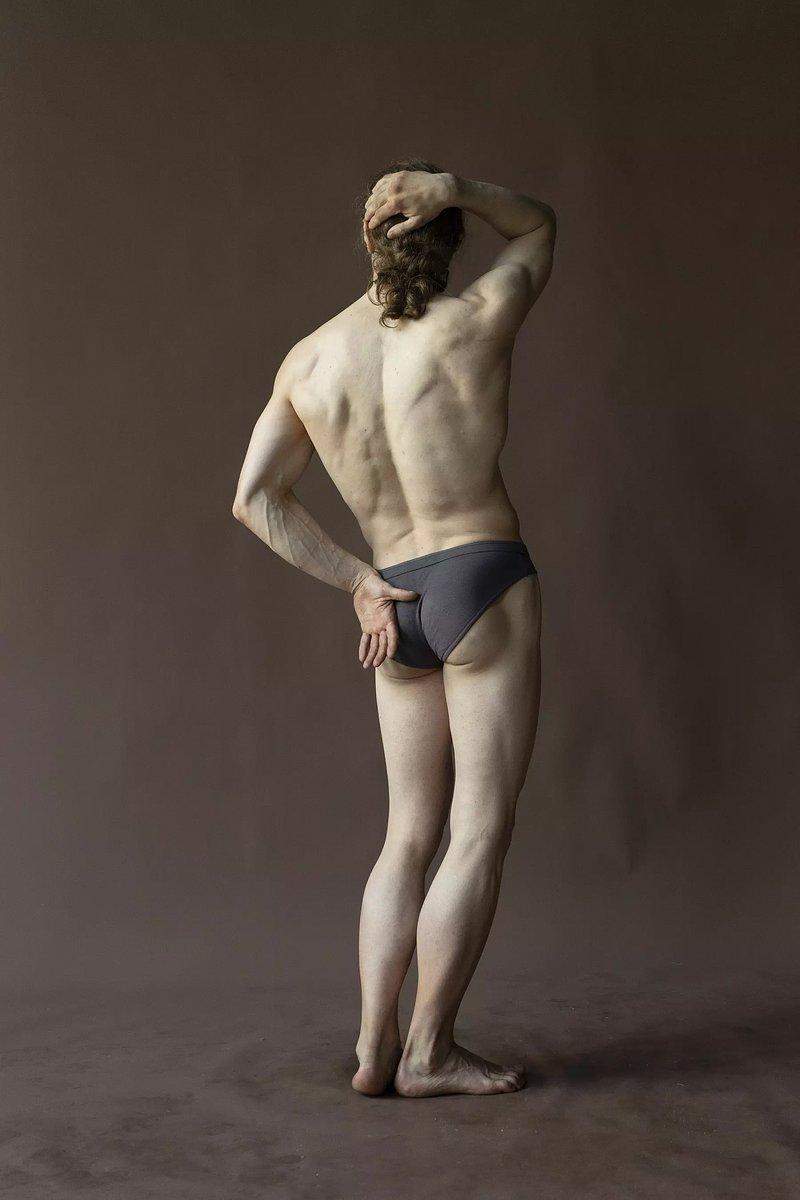
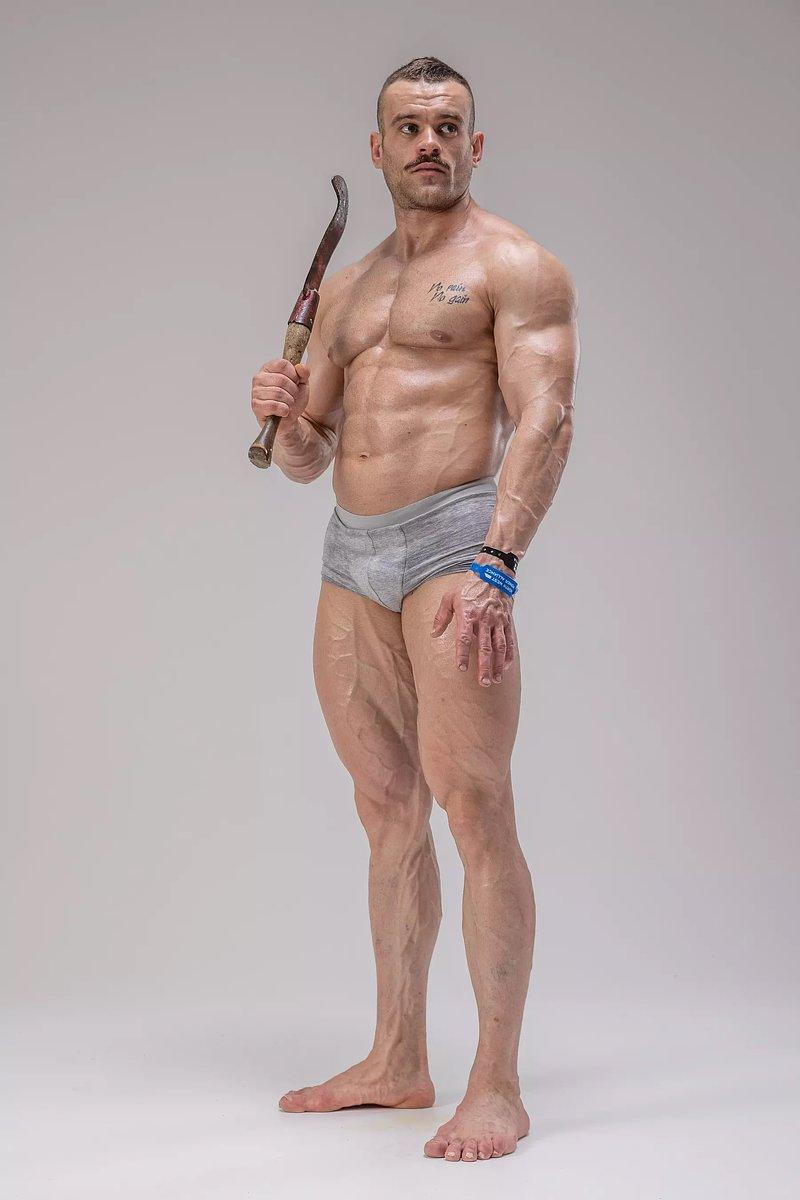
[](https://www.anatomyarchive.org/uploads/images/gallery/2025-08/scaled-1680-/reference-pictures-figure-drawing-warrior-1182-copy.webp)
**credit to:** [**Reference.Pictures**](https://reference.pictures/)
[](https://www.anatomyarchive.org/uploads/images/gallery/2025-08/scaled-1680-/model-7093397-1280.png)
**credit to:** [**Raman\_Spirydonau**](https://pixabay.com/users/raman_spirydonau-11910217/)
[](https://www.anatomyarchive.org/uploads/images/gallery/2025-08/scaled-1680-/reference-pictures-figure-drawing-mage-1586-copy.webp)
**credit to:** [**Reference.Pictures**](https://reference.pictures/)
[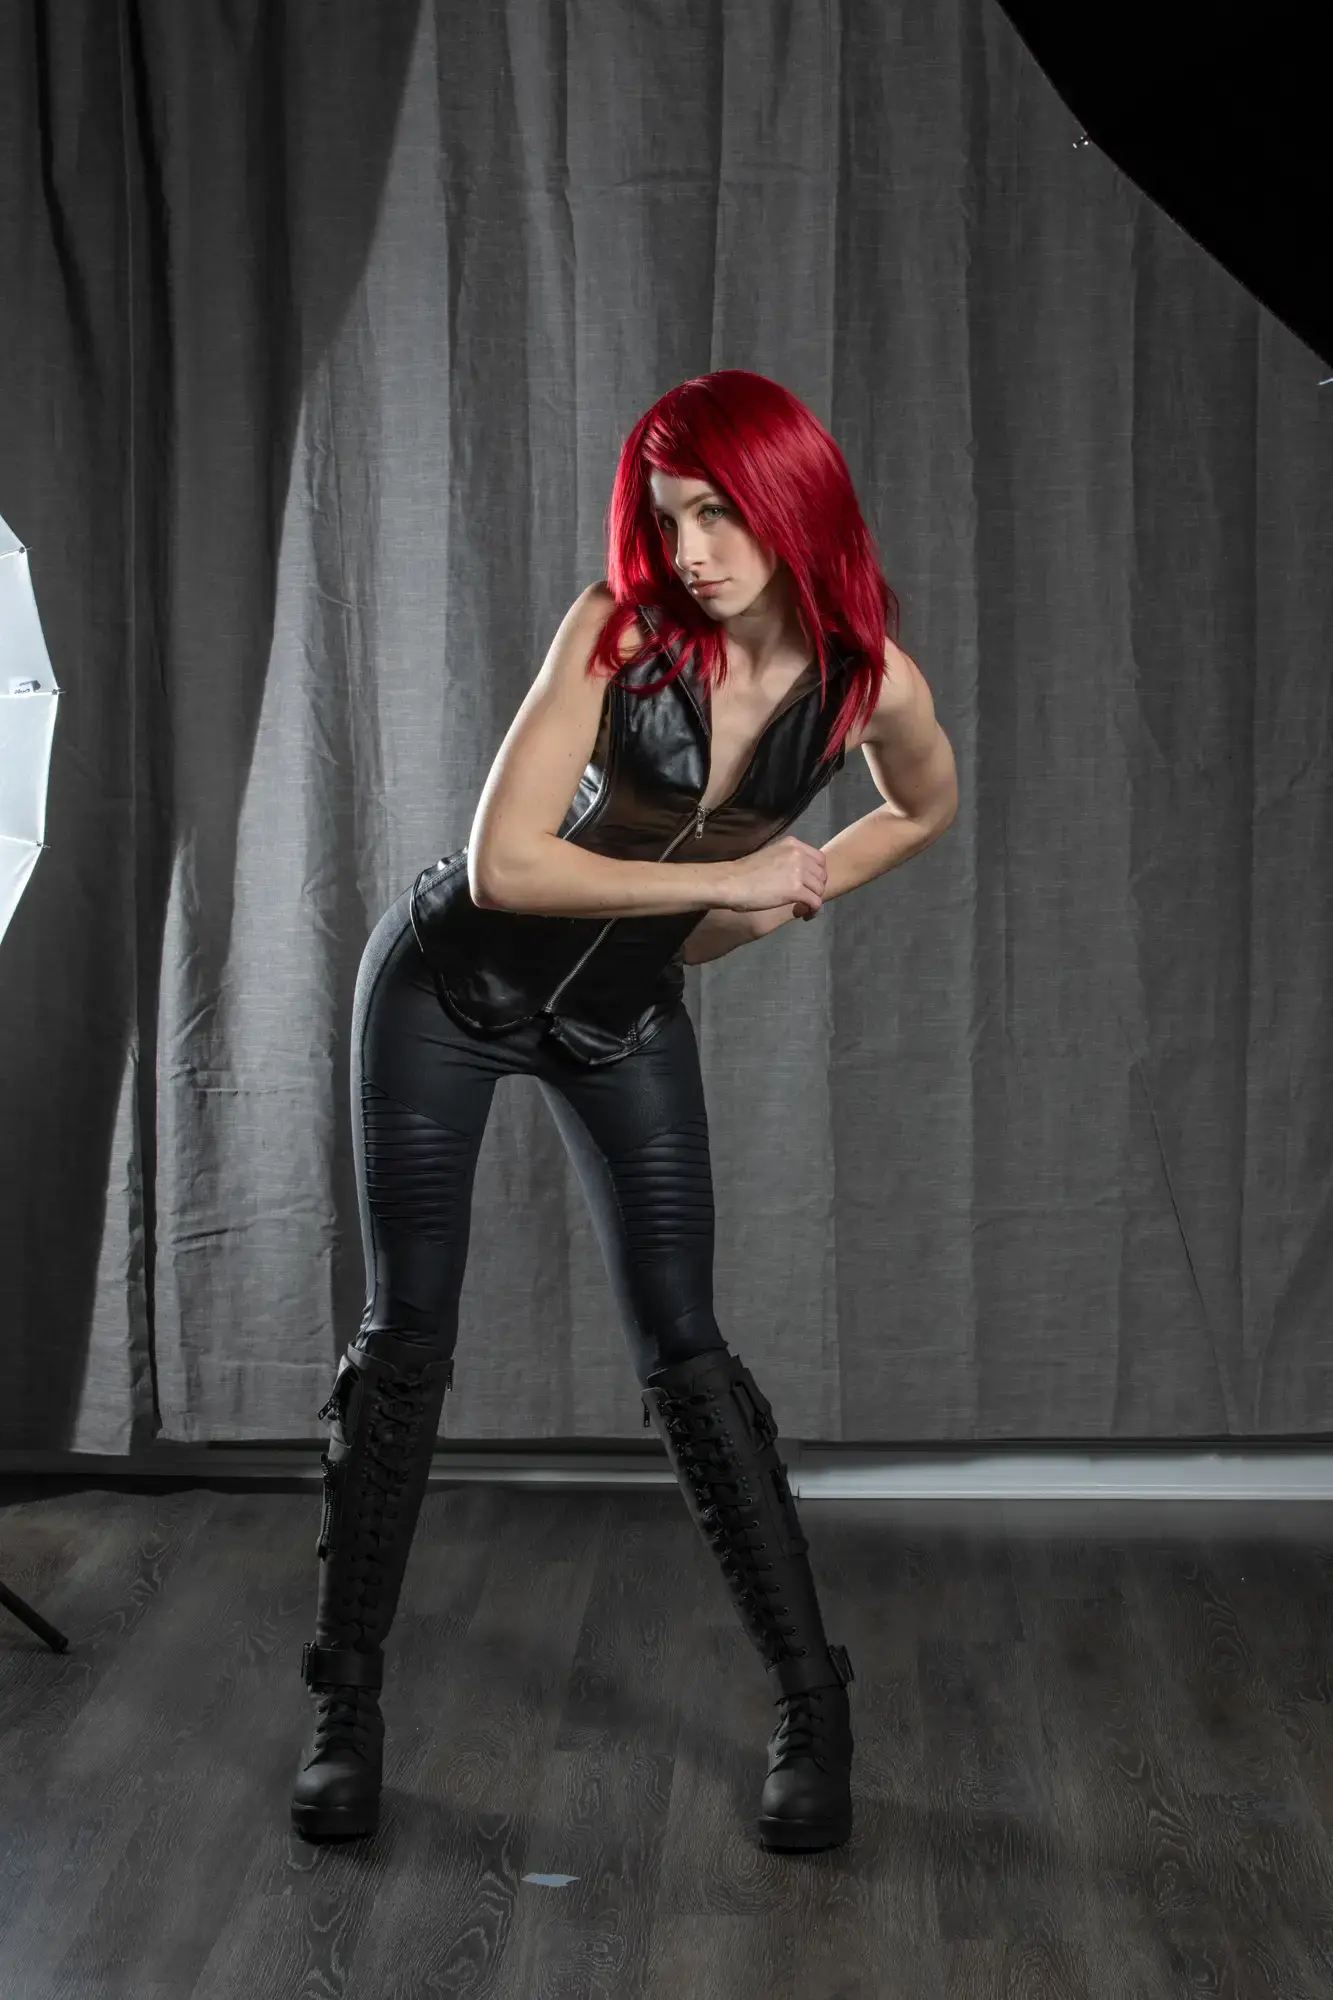](https://www.anatomyarchive.org/uploads/images/gallery/2025-08/scaled-1680-/reference-pictures-cyberpunk-assassin-4475-copy.webp)
**credit to:** [**Reference.Pictures**](https://reference.pictures/)
Preview:
How to draw the **perfect Box** **every time**
Preview:
Learnt how to draw different body types with the right proportions.
From Reference.Picture; Grafit Studio
There of course isn't ONE average human body with the perfect proportions, but I still believe some reference is better than none :)
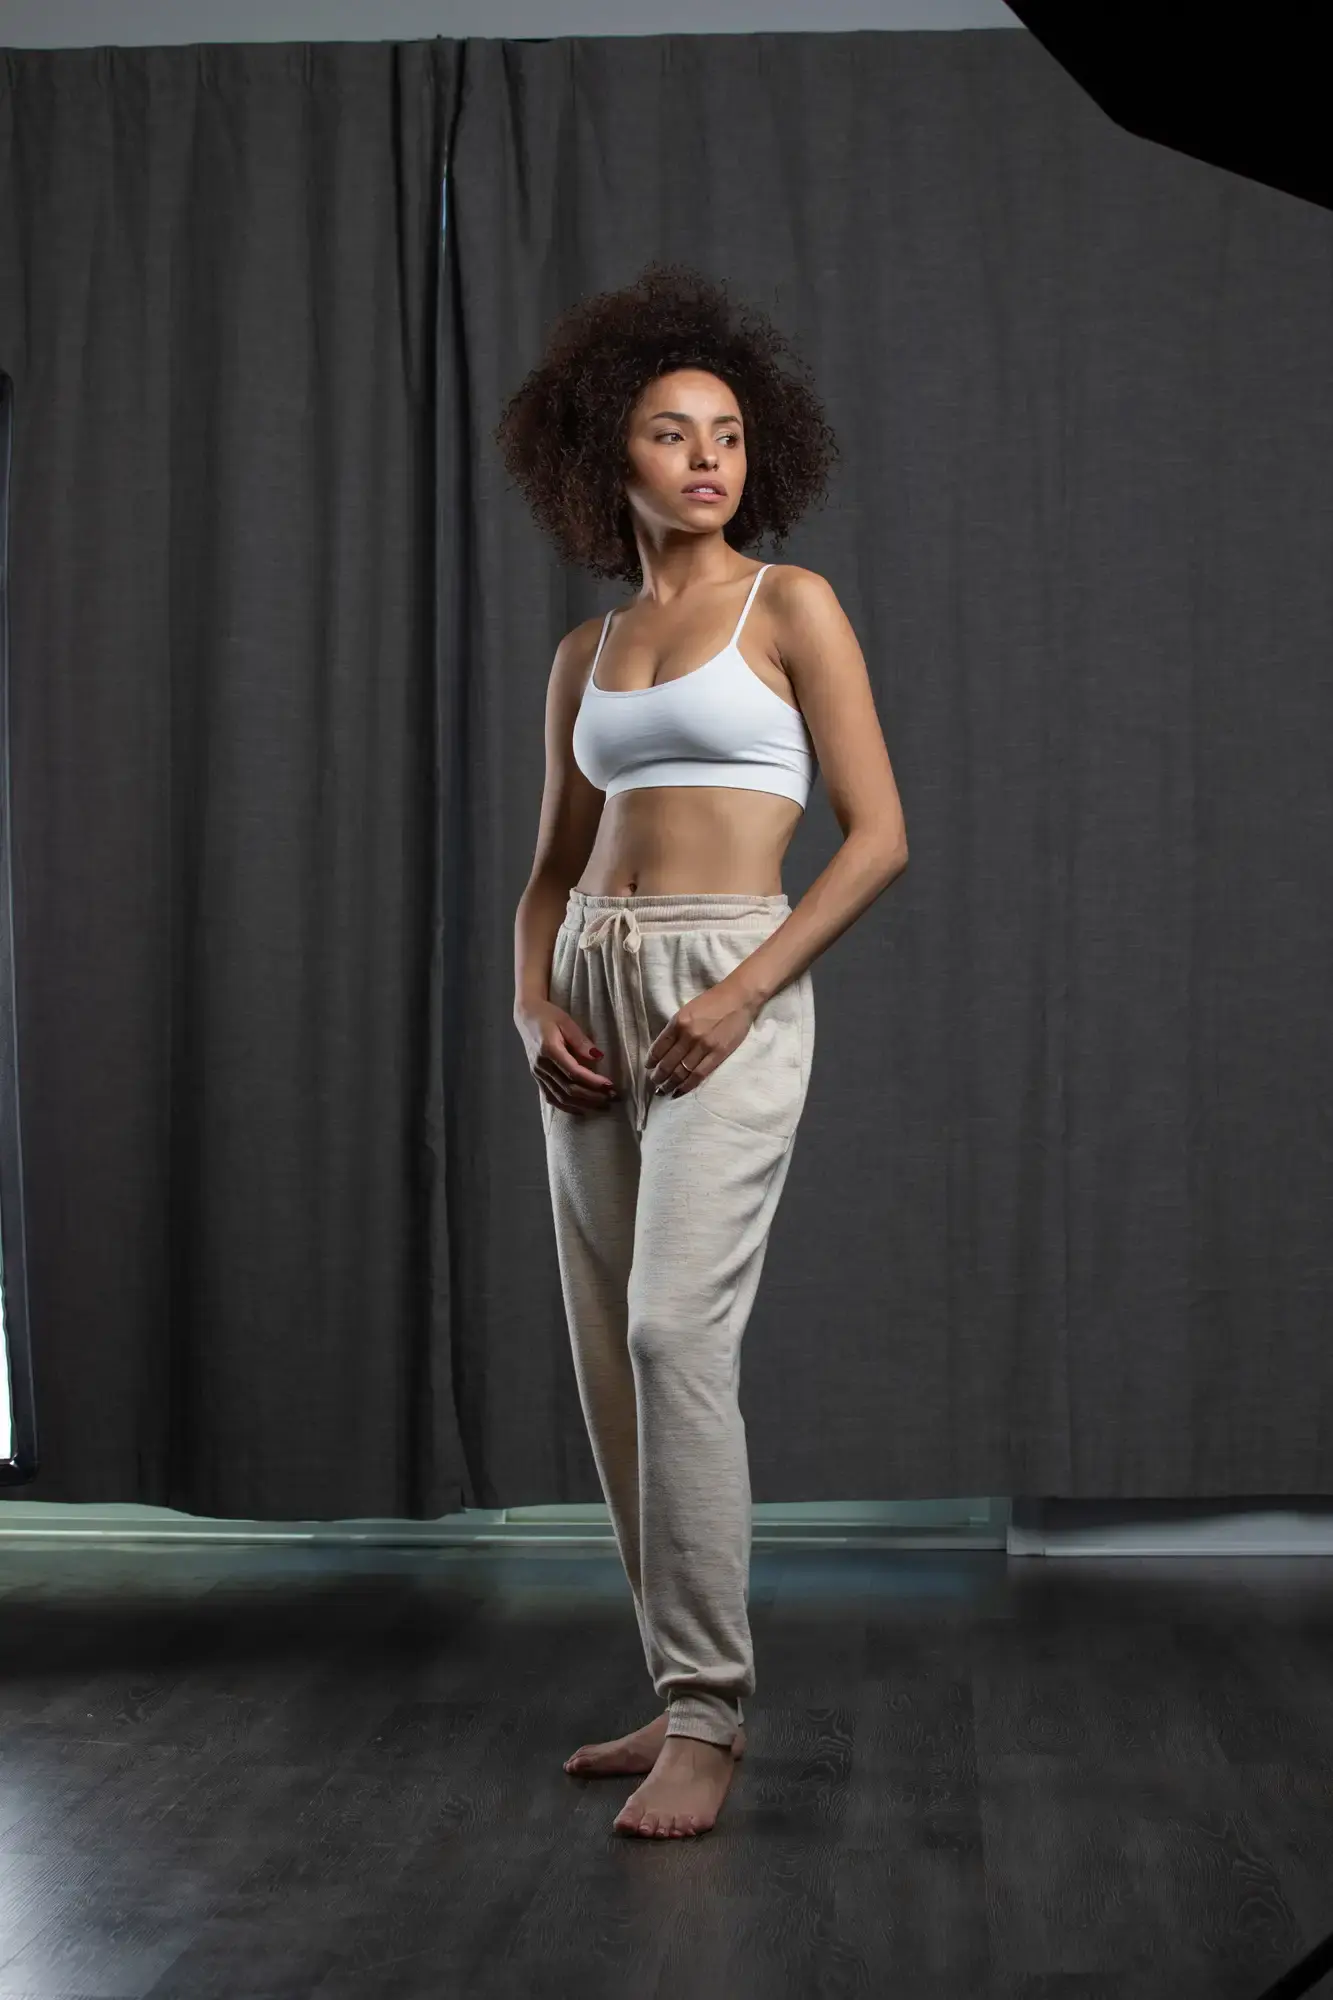
[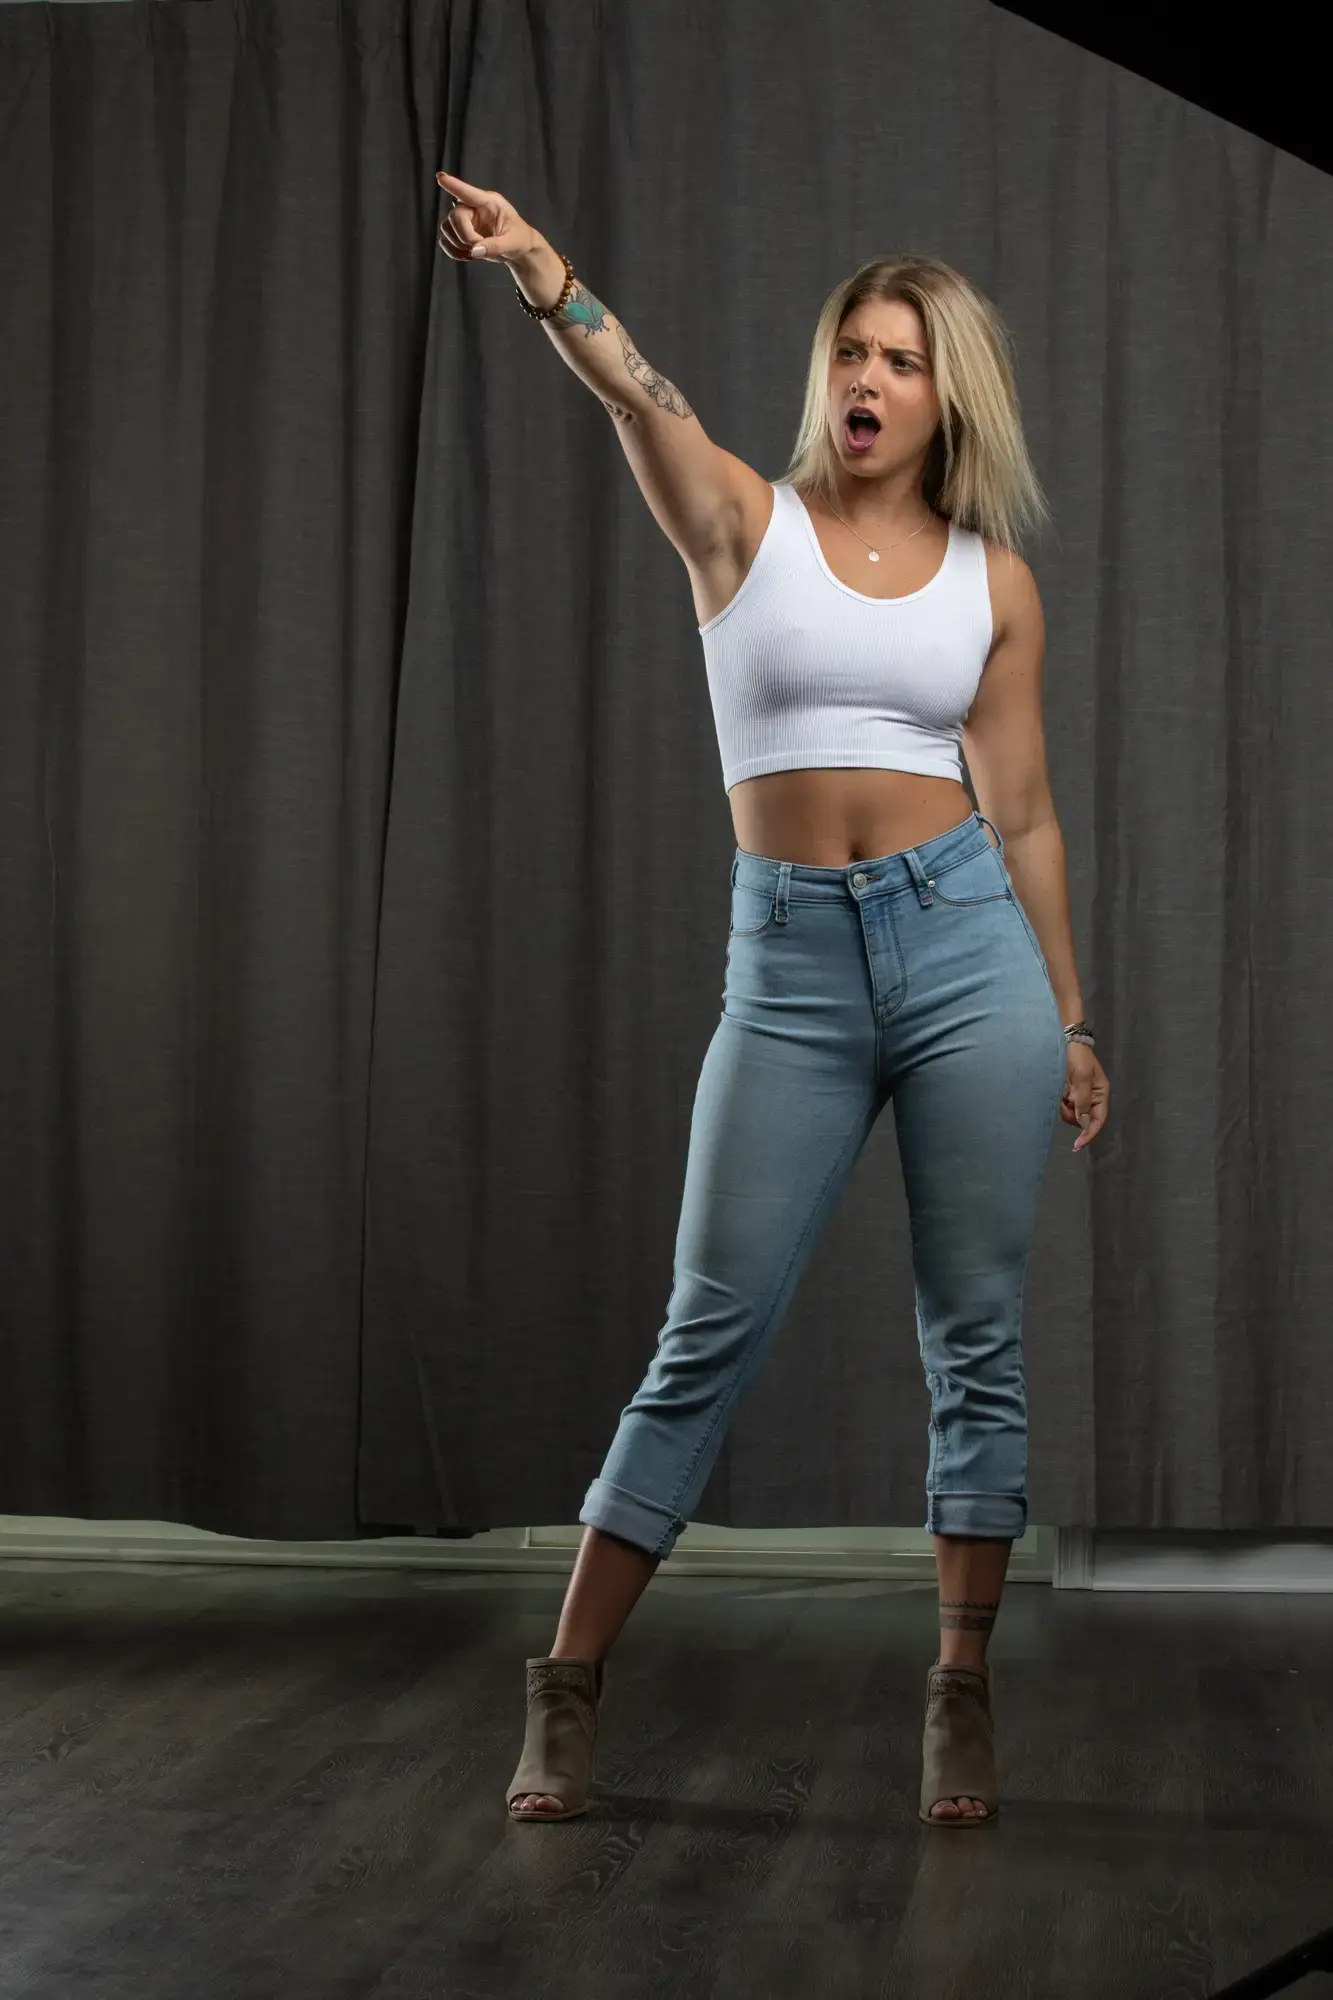](https://www.anatomyarchive.org/uploads/images/gallery/2026-01/scaled-1680-/reference-pictures-basic-clothing-holly-098-copy.webp)
**credit to:** [**Reference.Pictures**](https://reference.pictures/ "Reference.Pictures")
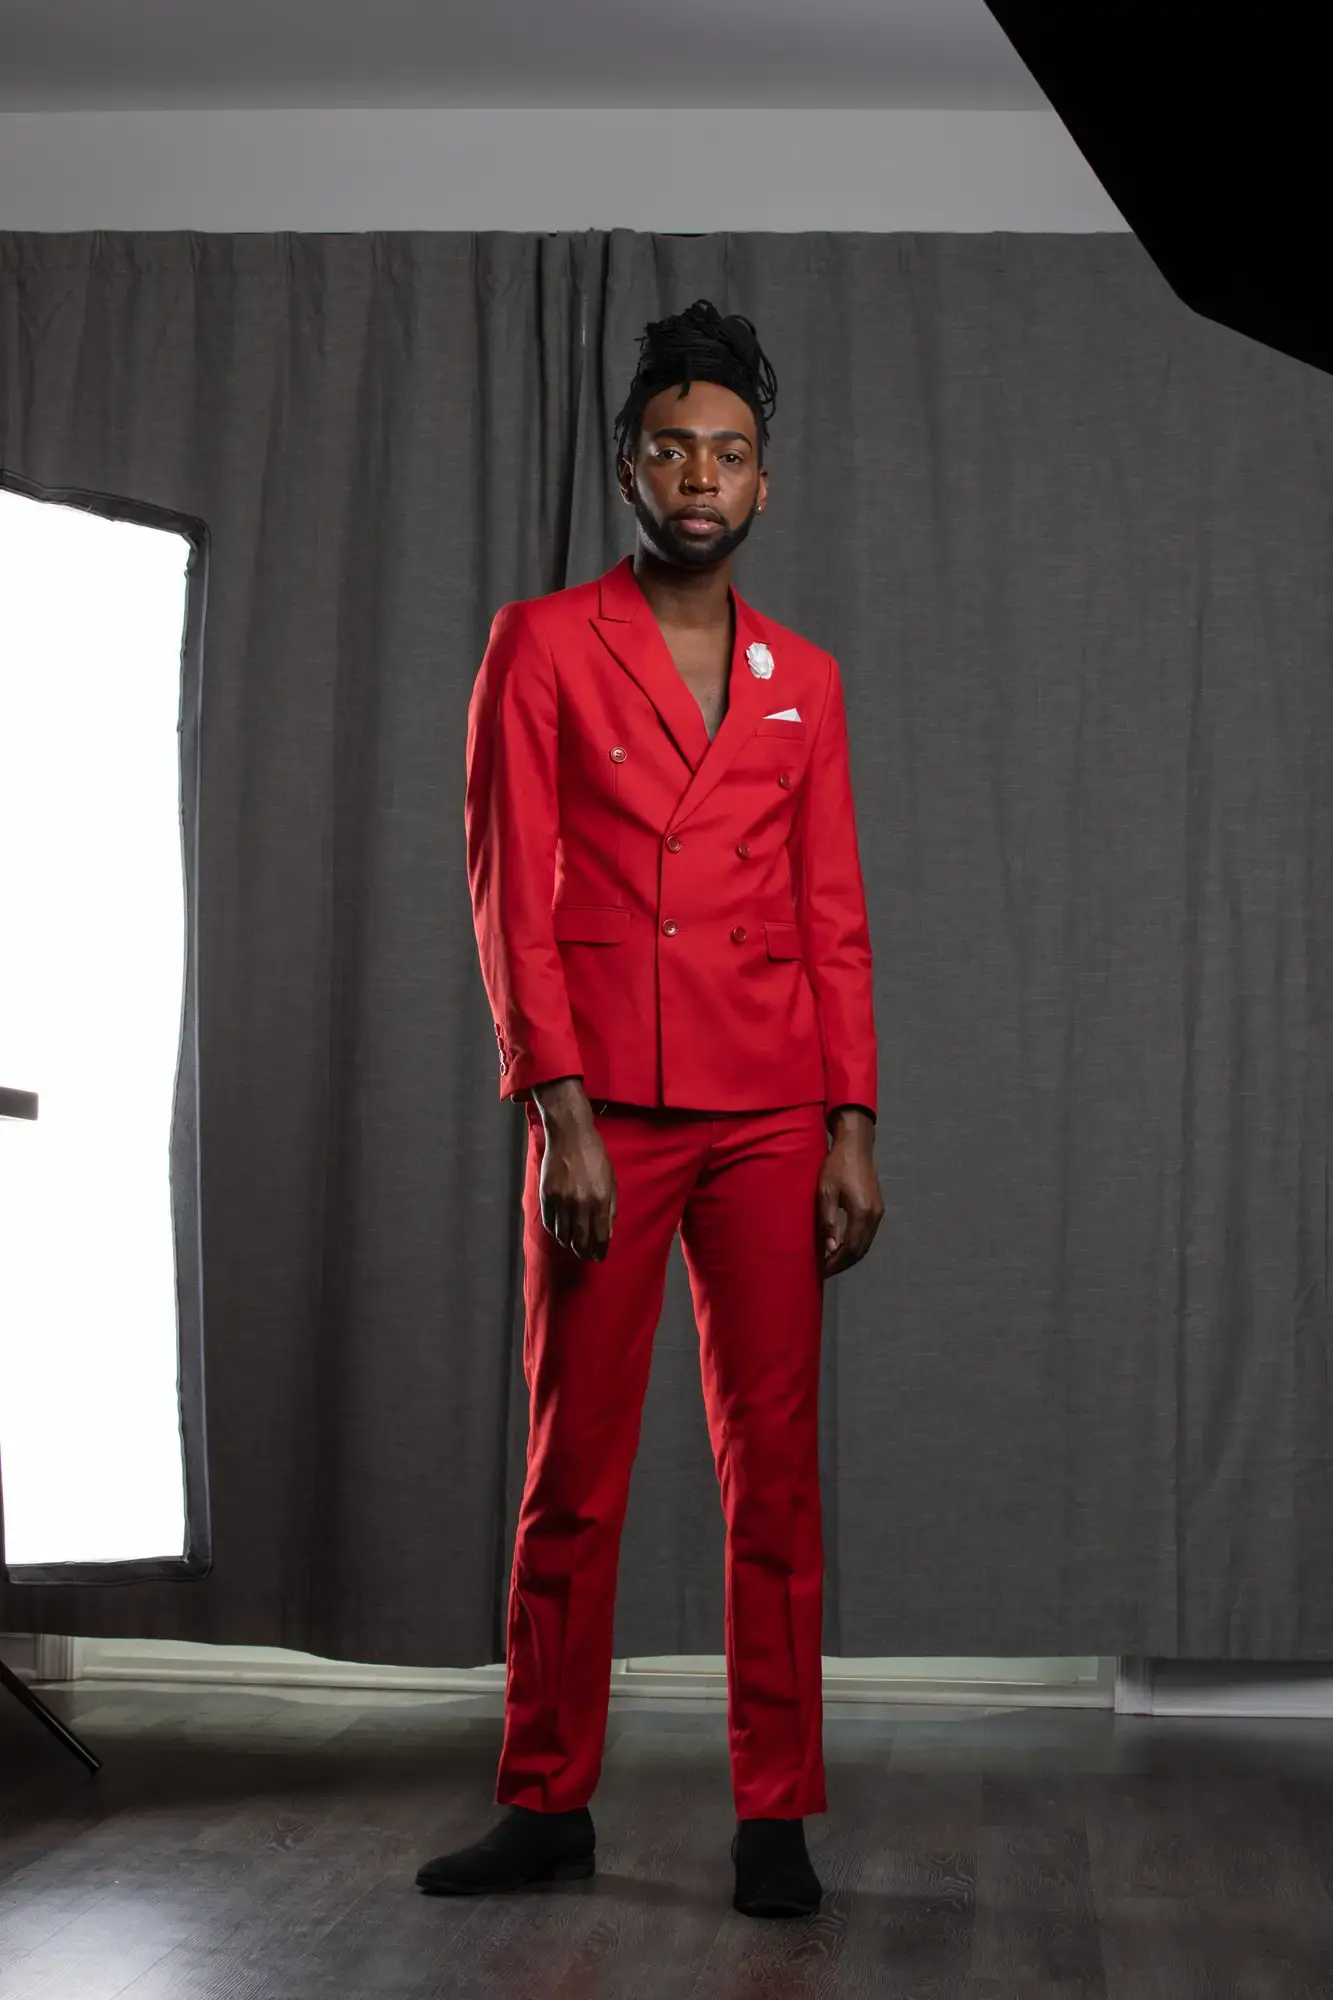
[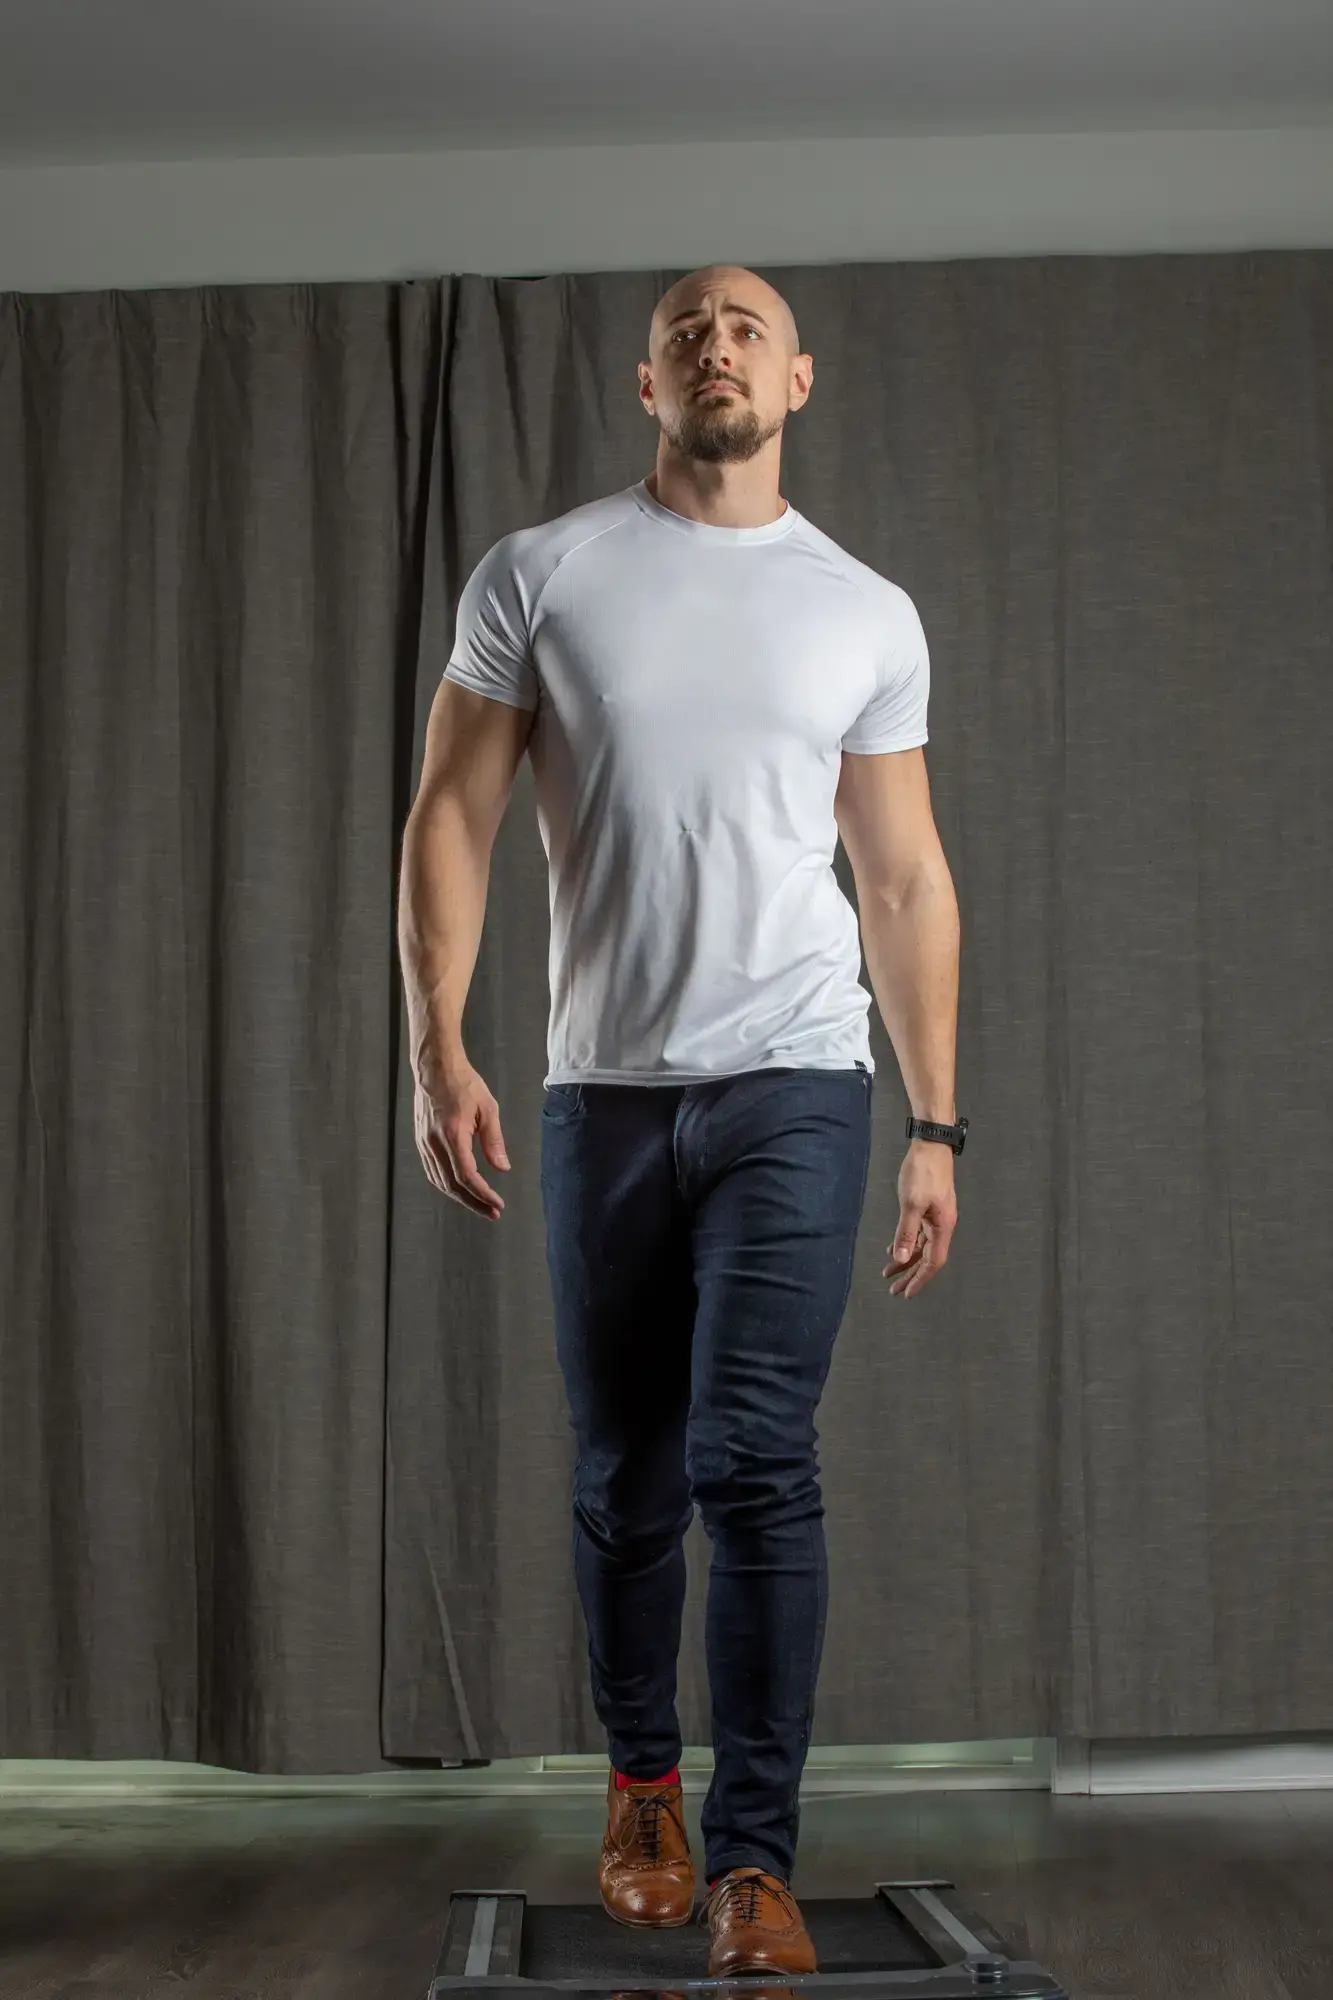](https://www.anatomyarchive.org/uploads/images/gallery/2026-01/scaled-1680-/reference-pictures-basic-clothing-noah-0597-copy.webp)
**credit to:** [**Reference.Pictures**](https://reference.pictures/ "Reference.Pictures")
[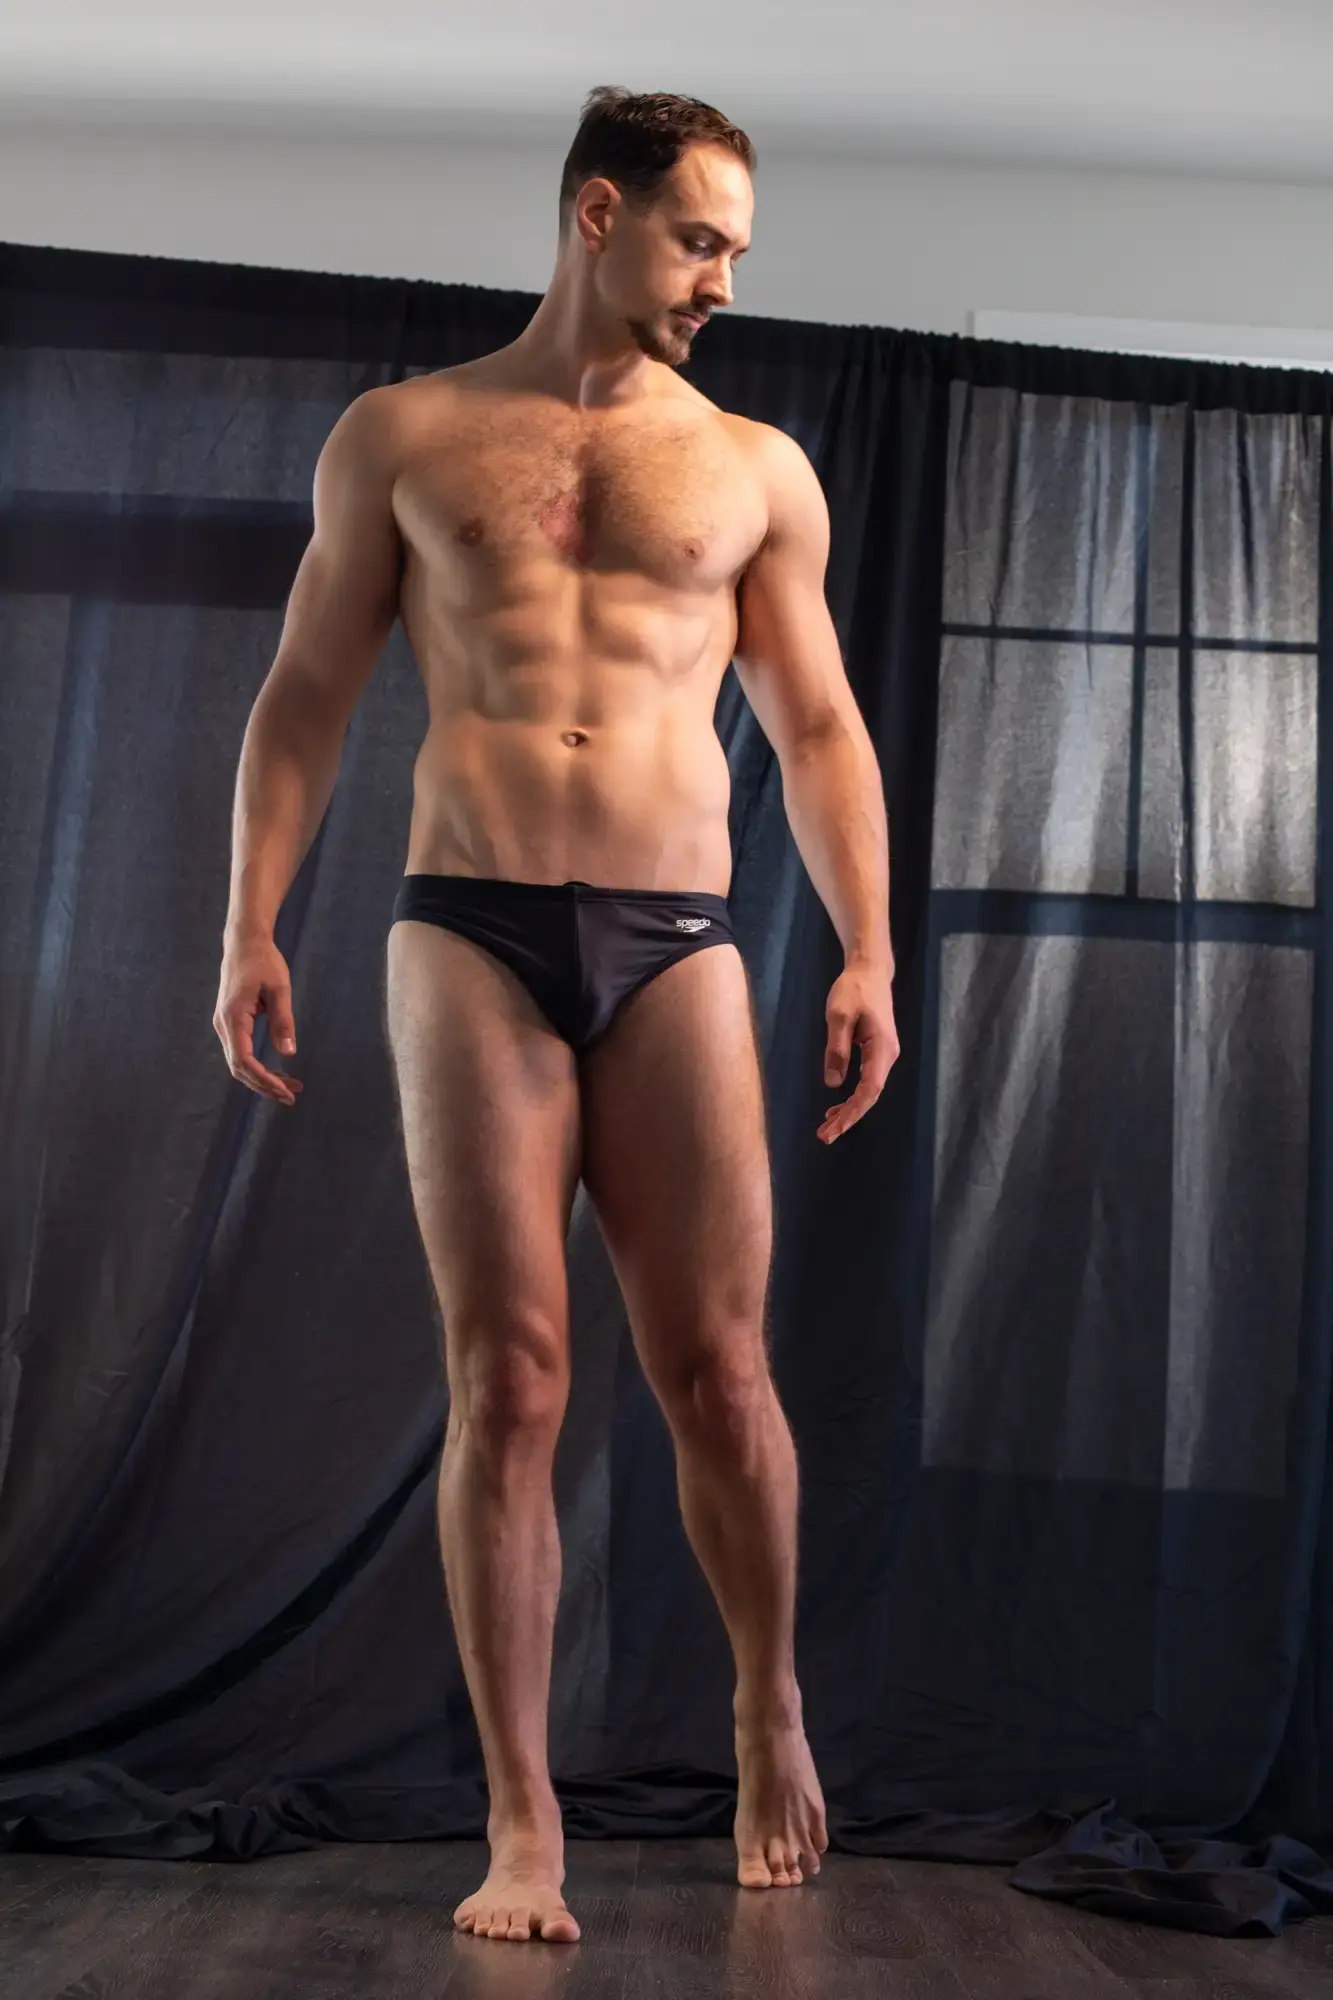](https://www.anatomyarchive.org/uploads/images/gallery/2025-09/scaled-1680-/reference-pictures-figure-drawing-noah-9875-copy.webp)
**credit to:** [**Reference.Pictures**](https://reference.pictures/ "Reference.Pictures")
[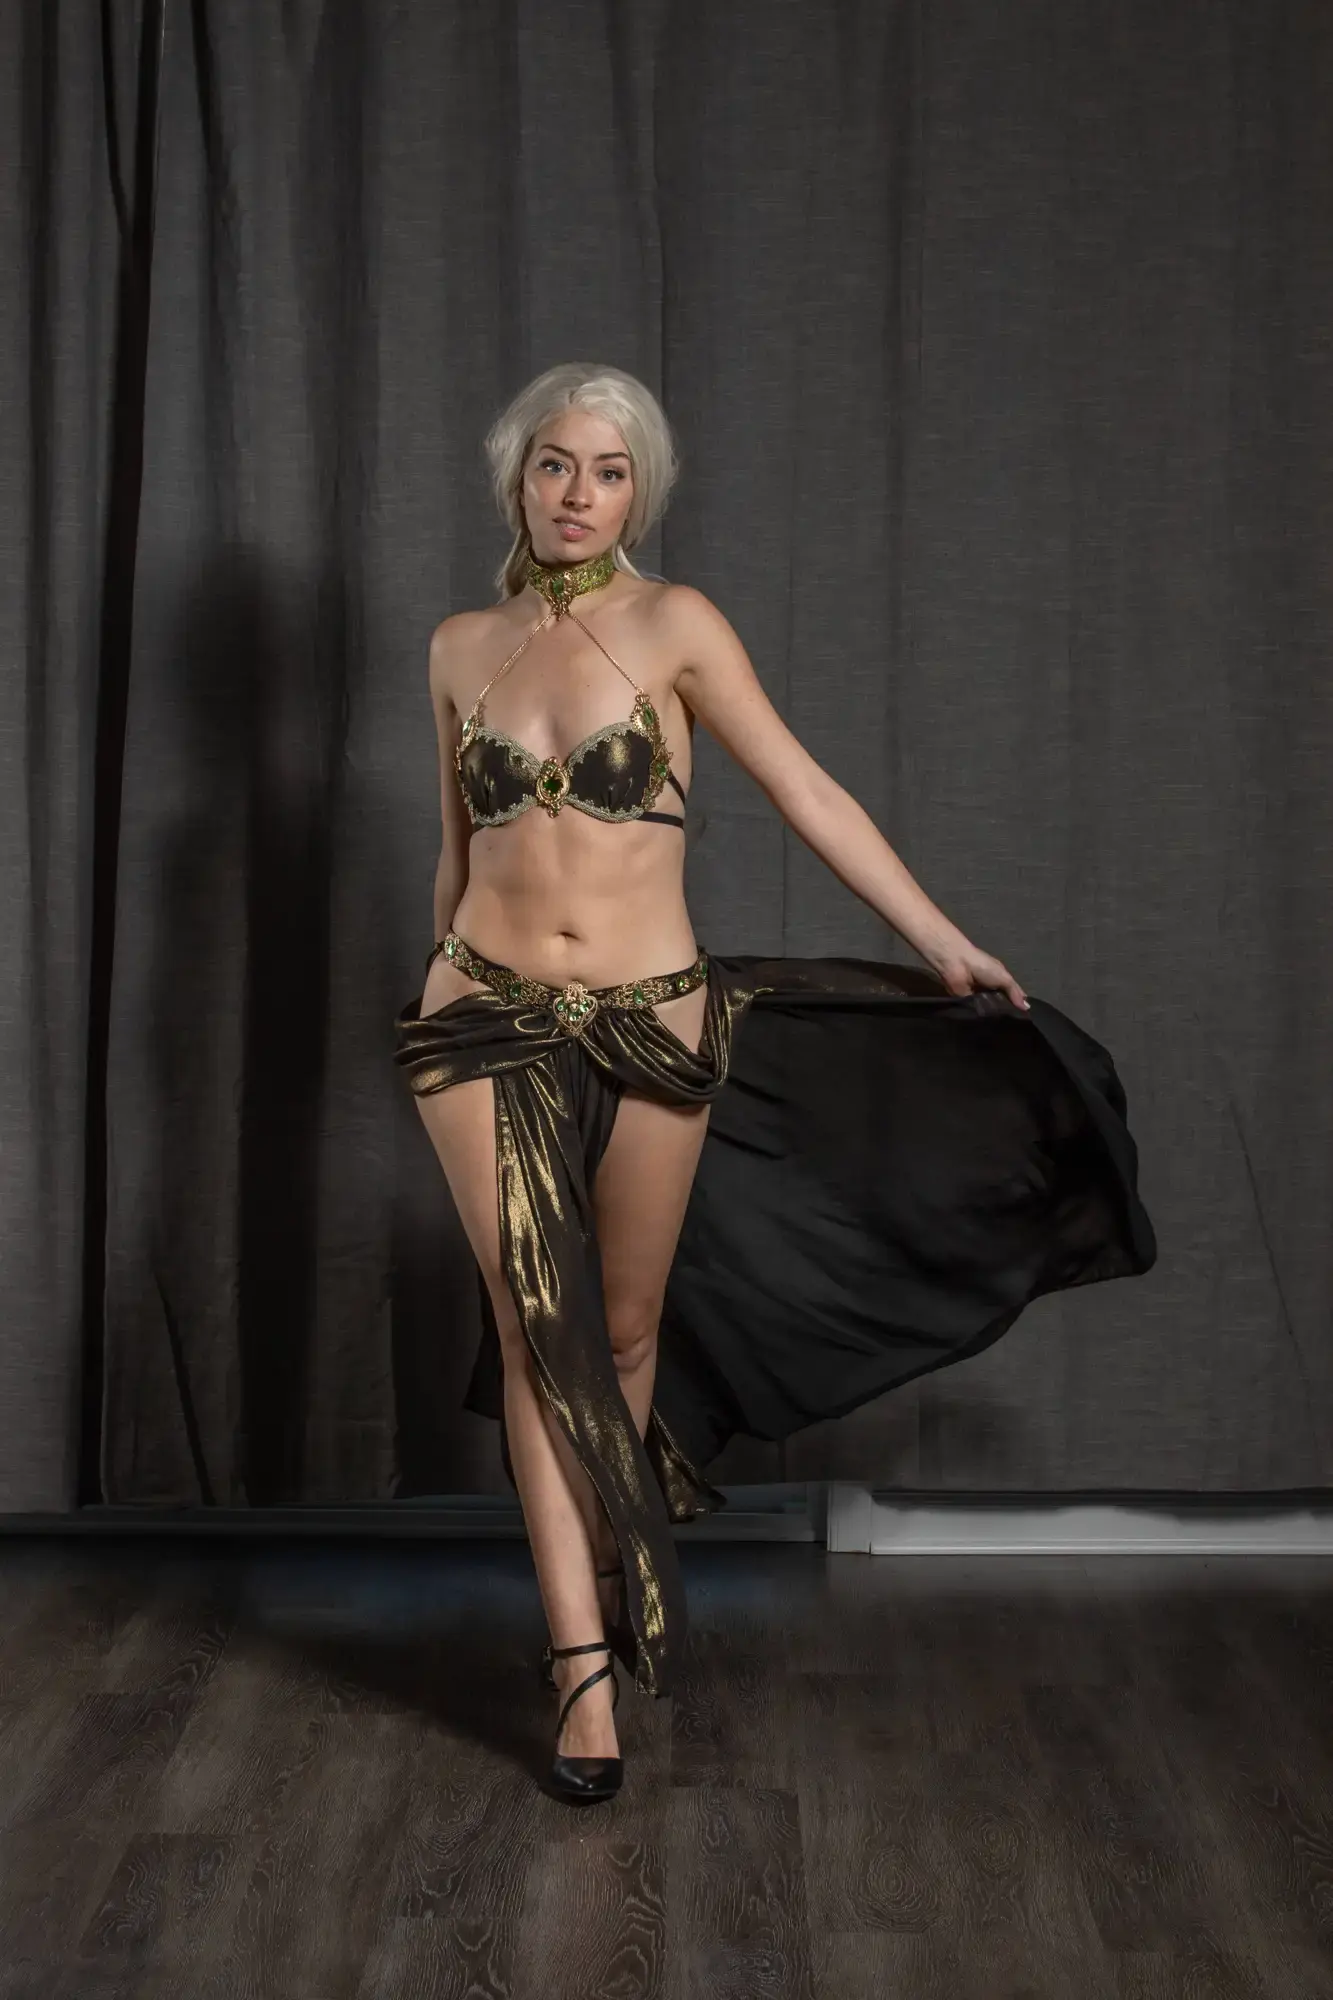](https://www.anatomyarchive.org/uploads/images/gallery/2026-01/scaled-1680-/reference-pictures-high-elf-0230-copy.webp)
**credit to:** [**Reference.Pictures**](https://reference.pictures/ "Reference.Pictures")
[](https://www.anatomyarchive.org/uploads/images/gallery/2026-01/scaled-1680-/grafit-sample-003.jpg)
**credit to:** [**Grafit Studio**](https://www.artstation.com/grafit/store?tab=digital_product "Grafit Studio")
[](https://www.anatomyarchive.org/uploads/images/gallery/2026-01/scaled-1680-/grafit-sample-005.jpg)
**credit to:** [**Grafit Studio**](https://www.artstation.com/grafit/store?tab=digital_product "Grafit Studio")
[](https://www.anatomyarchive.org/uploads/images/gallery/2026-01/scaled-1680-/reference-pictures-casual-clothing-thau-003-copy.webp)
**credit to:** [**Reference.Pictures**](https://reference.pictures/ "Reference.Pictures")
[](https://www.anatomyarchive.org/uploads/images/gallery/2026-01/scaled-1680-/reference-pictures-formal-wear-oliver-021-copy.webp)
**credit to:** [**Reference.Pictures**](https://reference.pictures/ "Reference.Pictures")
[](https://www.anatomyarchive.org/uploads/images/gallery/2026-01/scaled-1680-/grafit-sample-045.jpg)
**credit to:** [**Grafit Studio**](https://www.artstation.com/grafit/store?tab=digital_product "Grafit Studio")
[](https://www.anatomyarchive.org/uploads/images/gallery/2026-01/scaled-1680-/grafit-sample-034.jpg)
**credit to:** [**Grafit Studio**](https://www.artstation.com/grafit/store?tab=digital_product "Grafit Studio")