Various
Intro to Torso Anatomy (chaer)
Preview:
A beginner’s crash course into understanding the human torso by breaking it into simple shapes.
Synonyms: chest; torso; body; core
Summary
By breaking down the human torso into simple shapes, we can more easily understand human anatomy, building a strong foundation we can rely on and study more on.
Basics
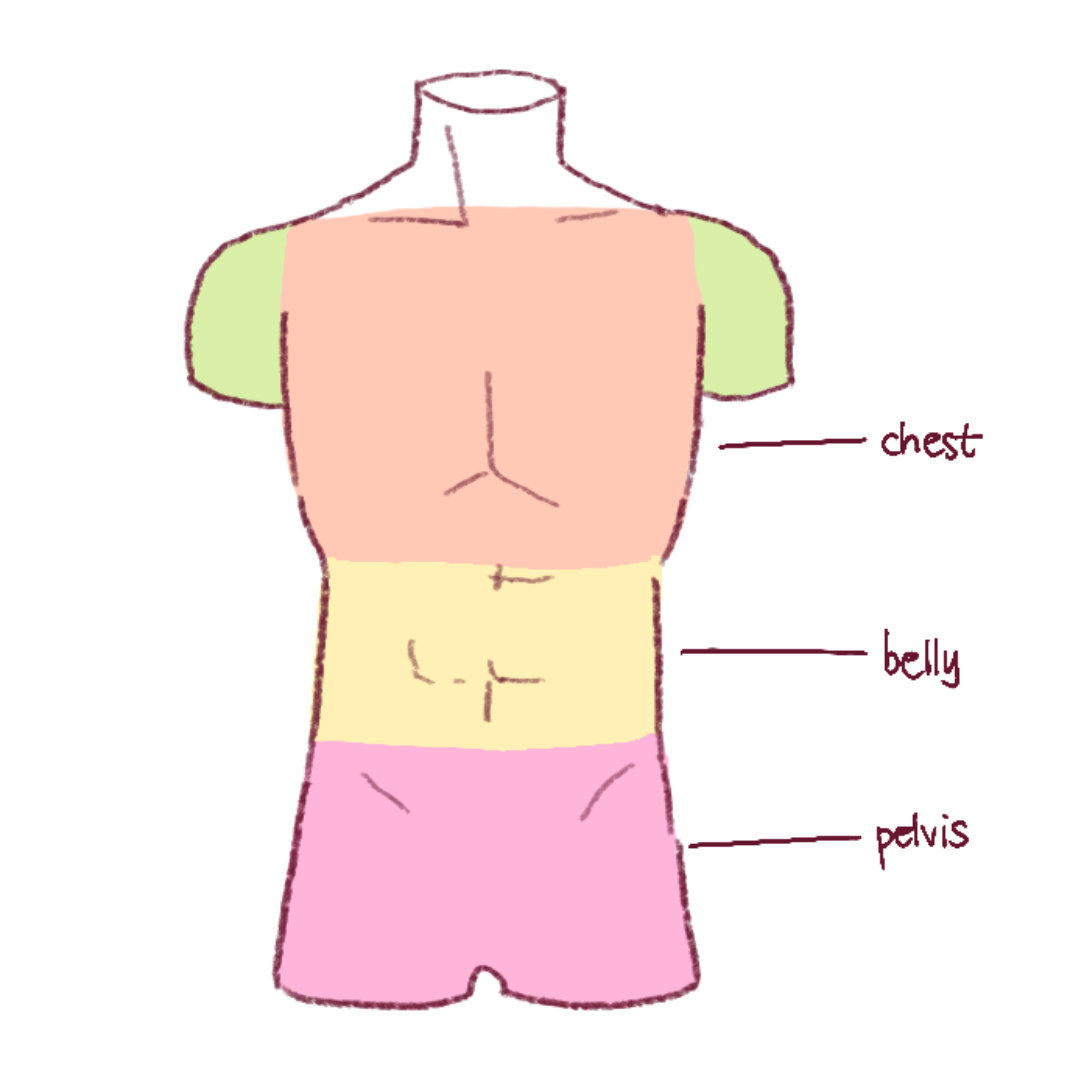
The torso can be broken down into three main sections: the chest, the belly, and the pelvis.
How to draw it
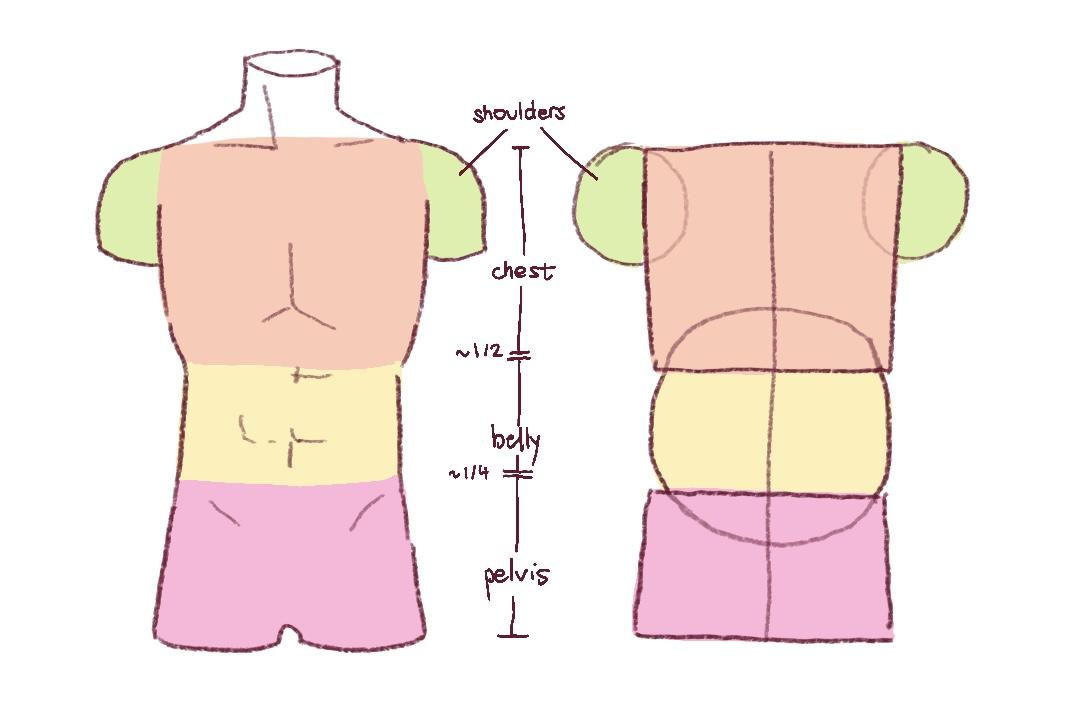
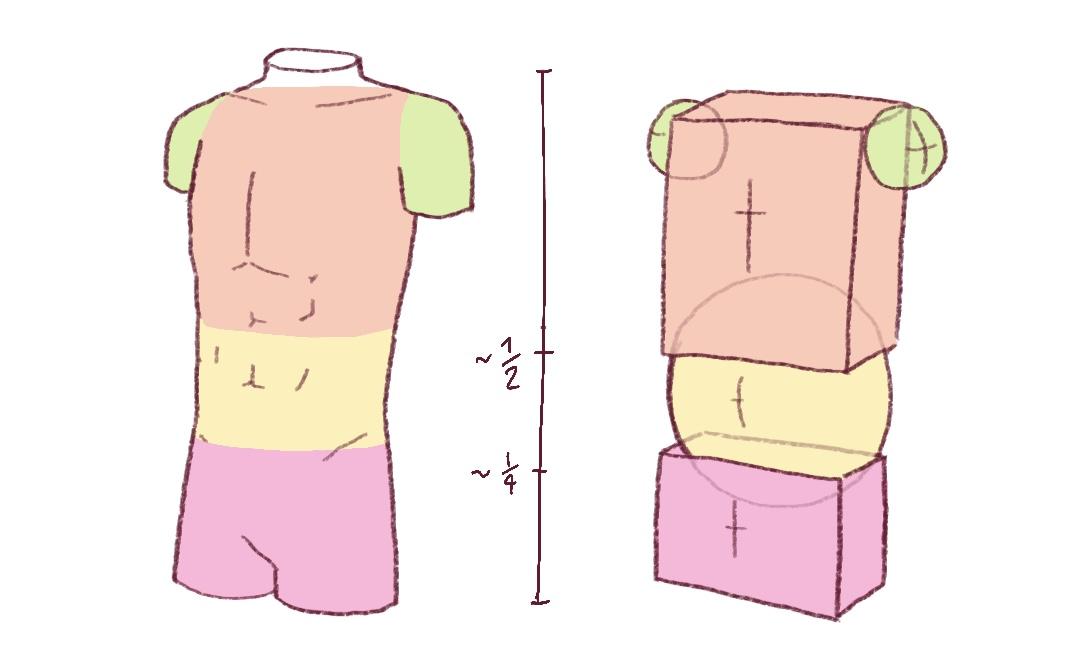
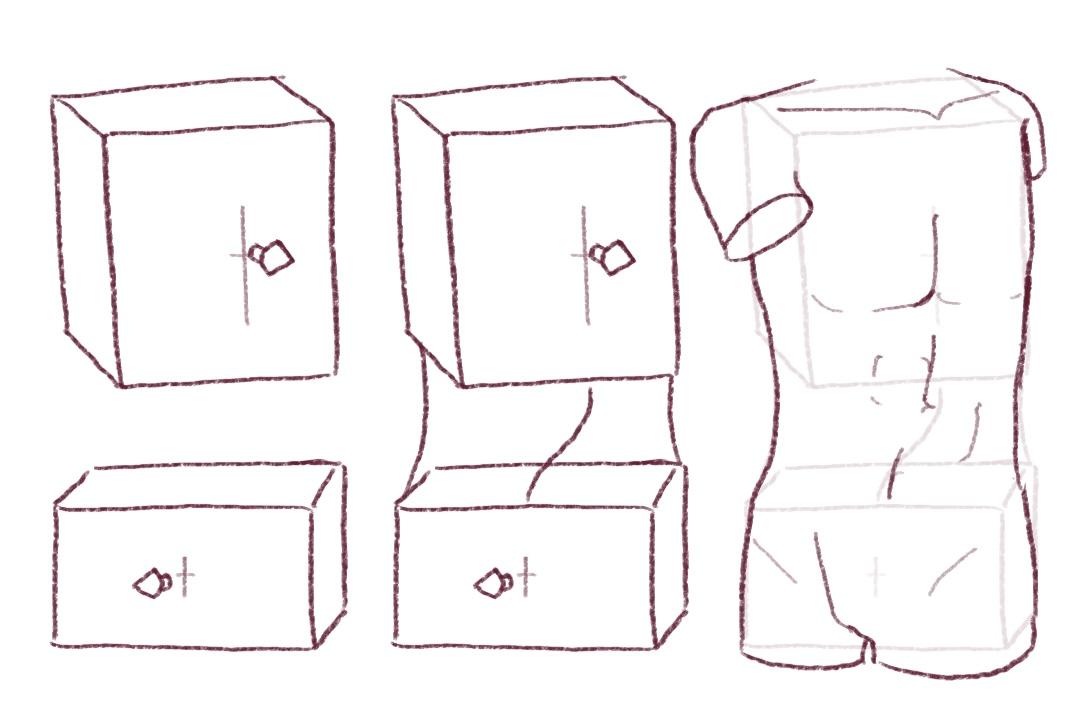
The chest and pelvis can be simplified as rectangles and the belly and shoulders can be approximated as circular shapes. The chest shape falls at roughly 1/2 mark in the human torso, and the belly and pelvis fall at the 1/4 mark. By drawing a straight line down the center of these shapes, we can create a guideline for the center of the chest, the abs, and the belly button.
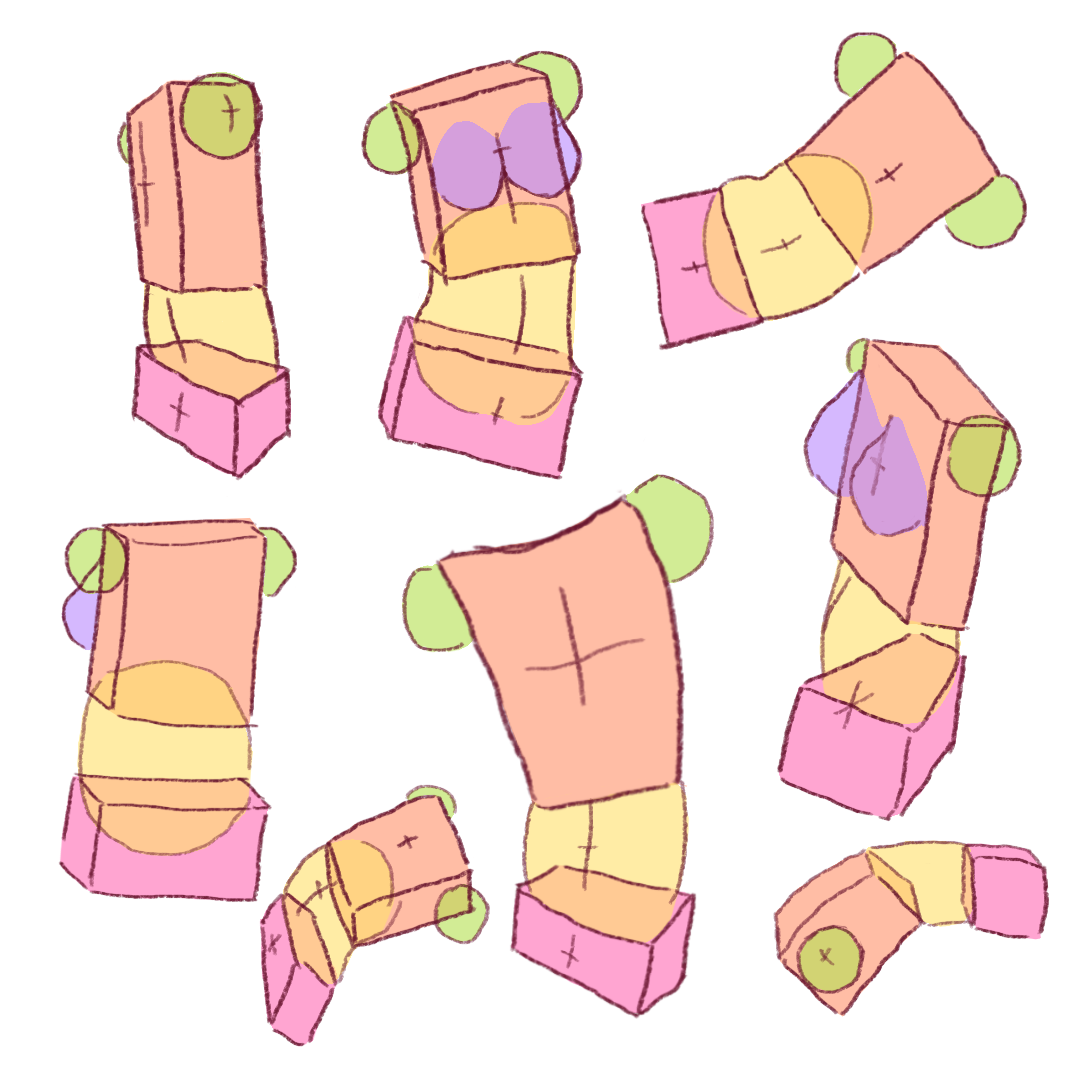
When we translate these 2D shapes into 3D forms, we can draw the human torso in any angle!
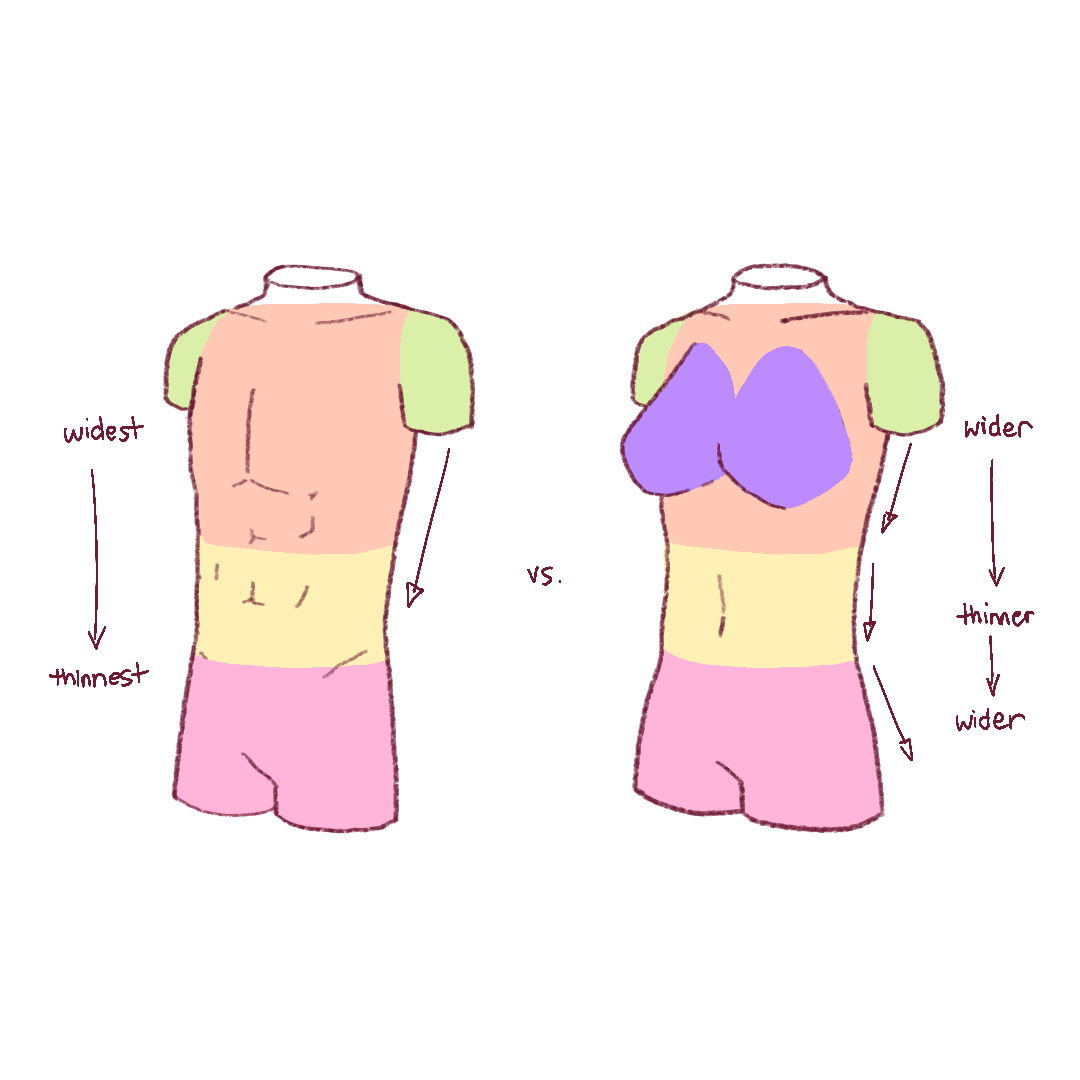
Both male and female bodies can be drawn with the same technique, but note key differences in proportions: while male torsos generally have a similar shape to an upside-down triangle with the widest part at the shoulders and narrowest part at the pelvis, female torsos generally take an hourglass shape, narrowing at the waist before widening at the hips.
Advanced
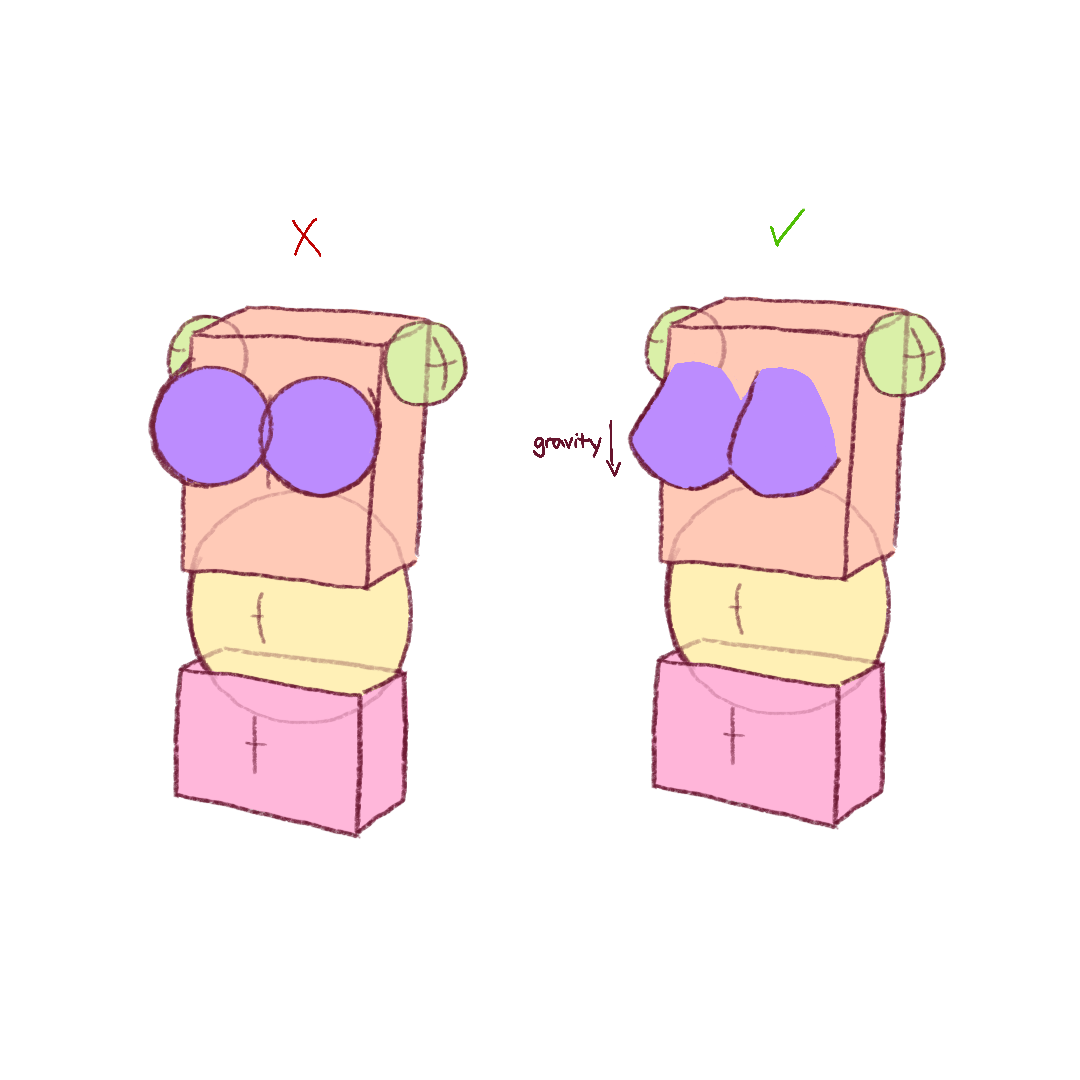
When drawing the female form, the breasts can be roughly approximated as rounded teardrop shapes. Don’t use perfect spheres; keep in mind that breasts are soft and affected by the pull of gravity.
In addition, keep in mind that while the torso and pelvis are fairly firm and do not twist or stretch much, the belly is soft and can squish, stretch, and twist fairly freely. At times, the chest and pelvis may be facing different directions, with the majority of the “twist” in the human torso occurring in the belly. This principle comes in handy when drawing dynamic poses!
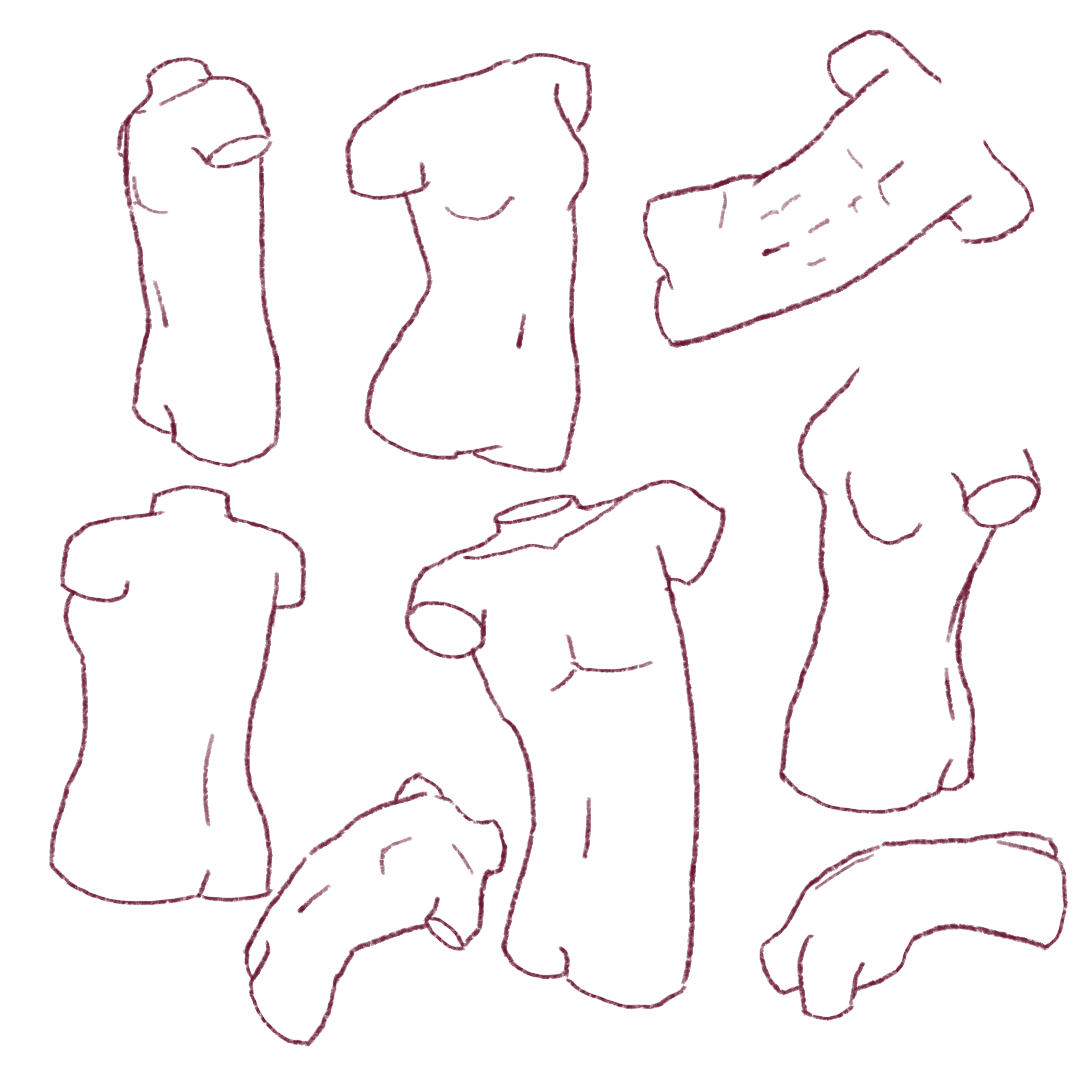
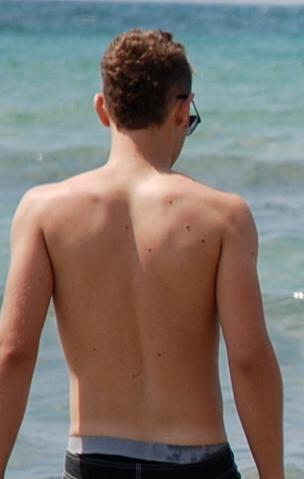
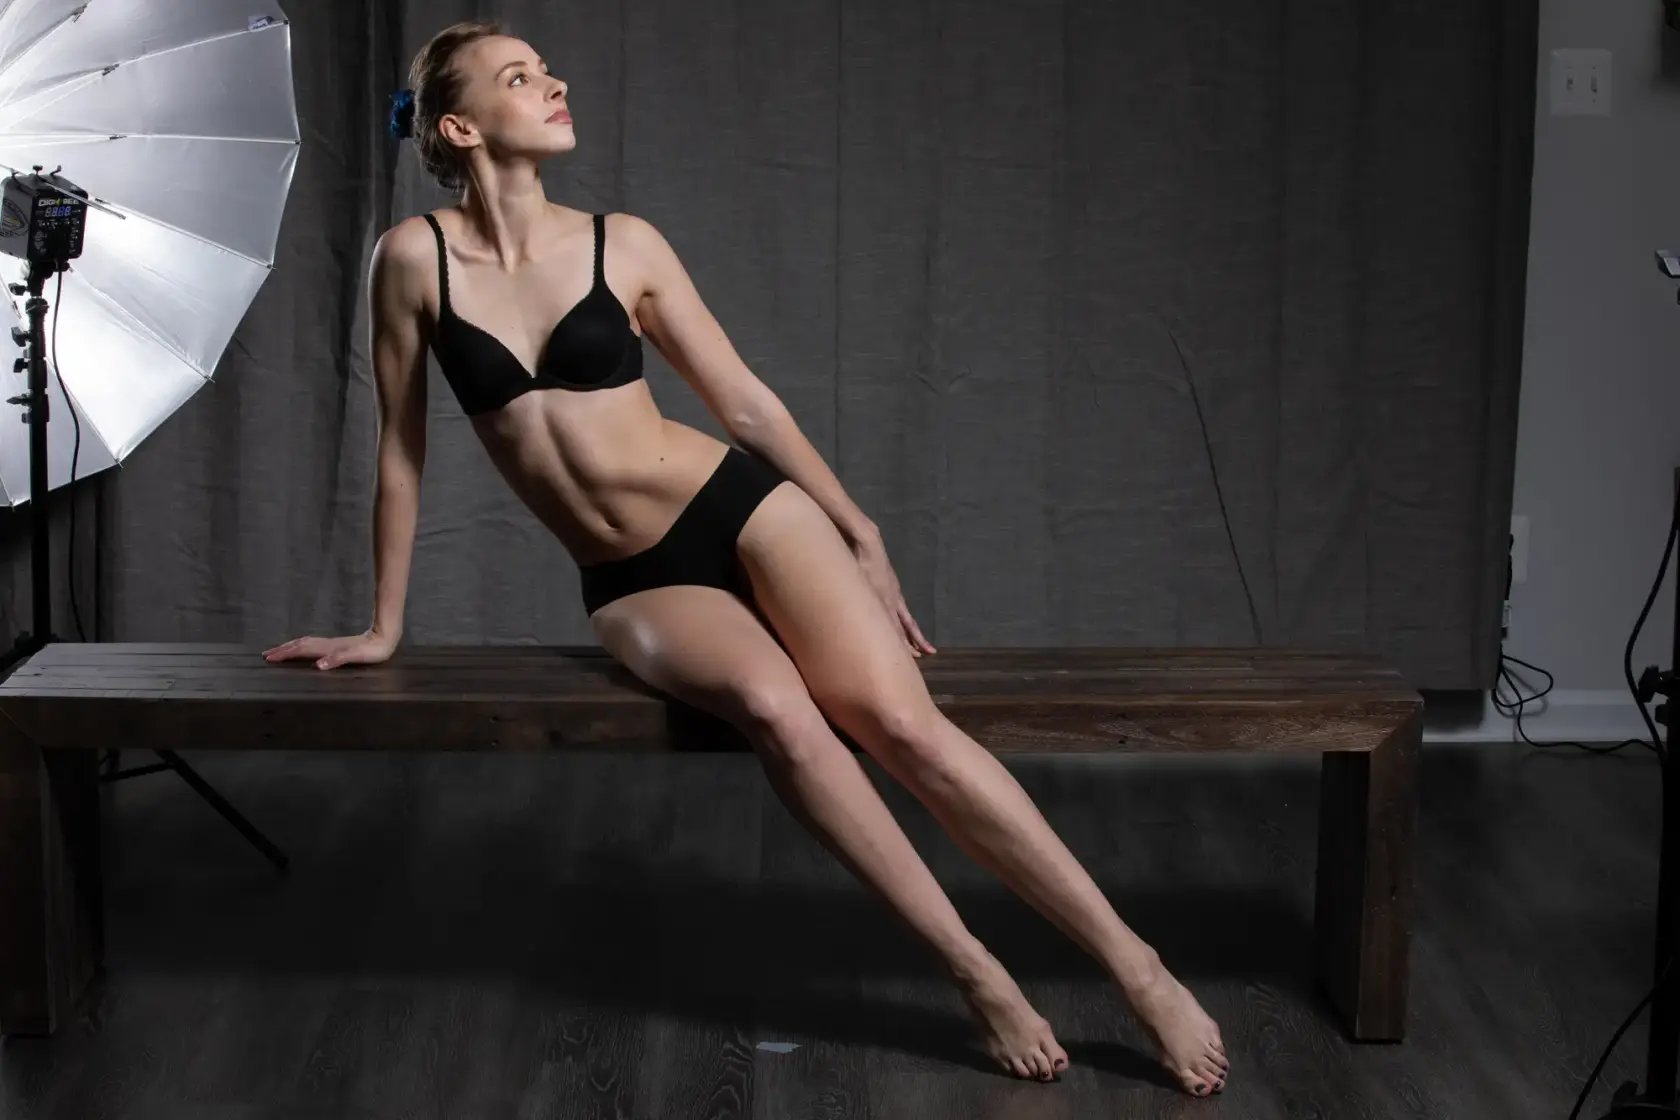
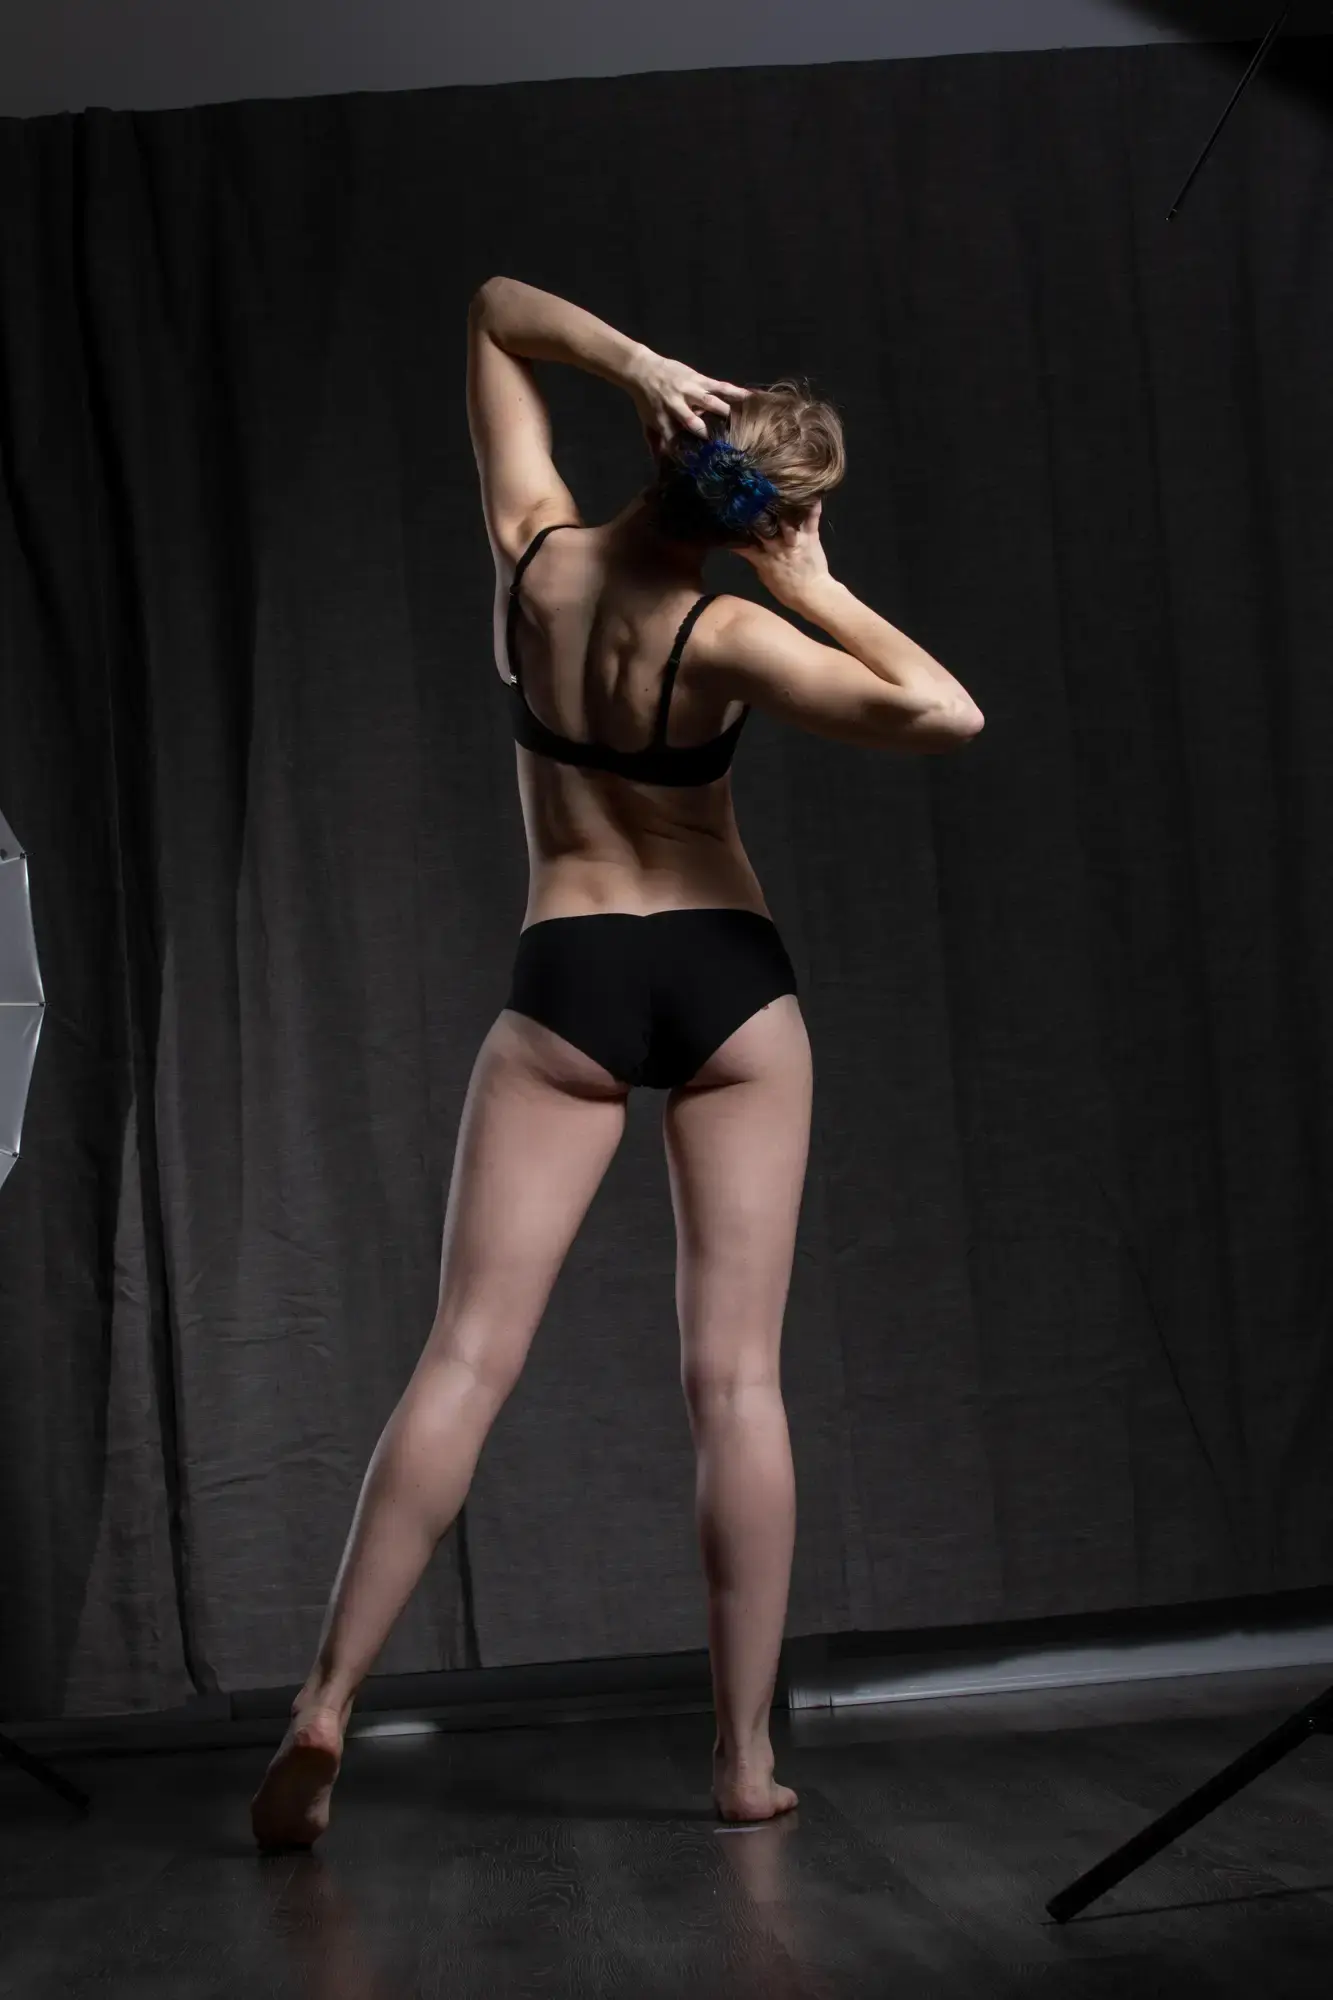
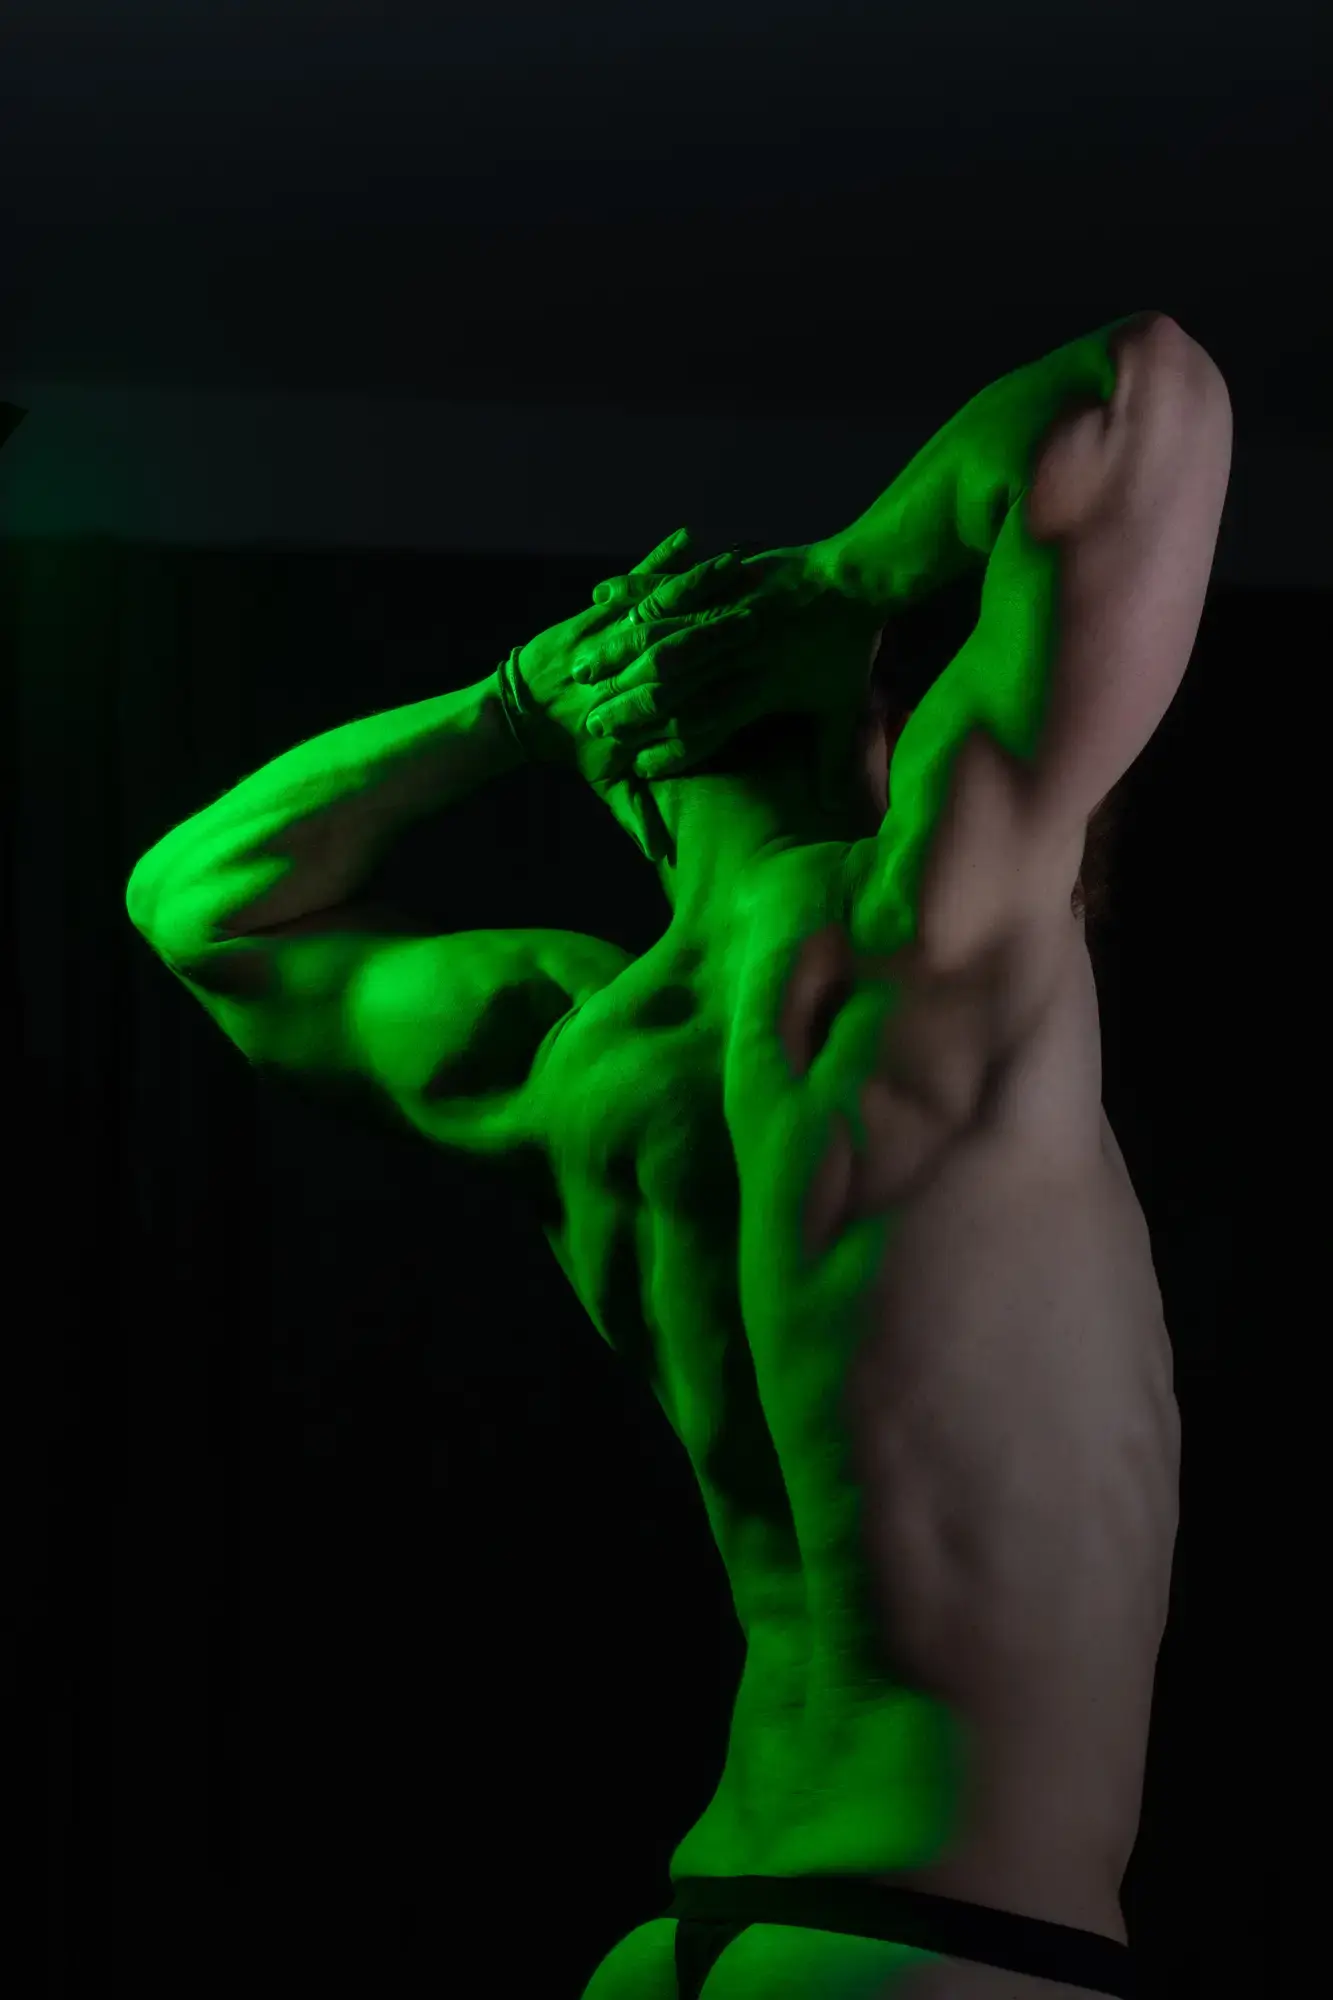
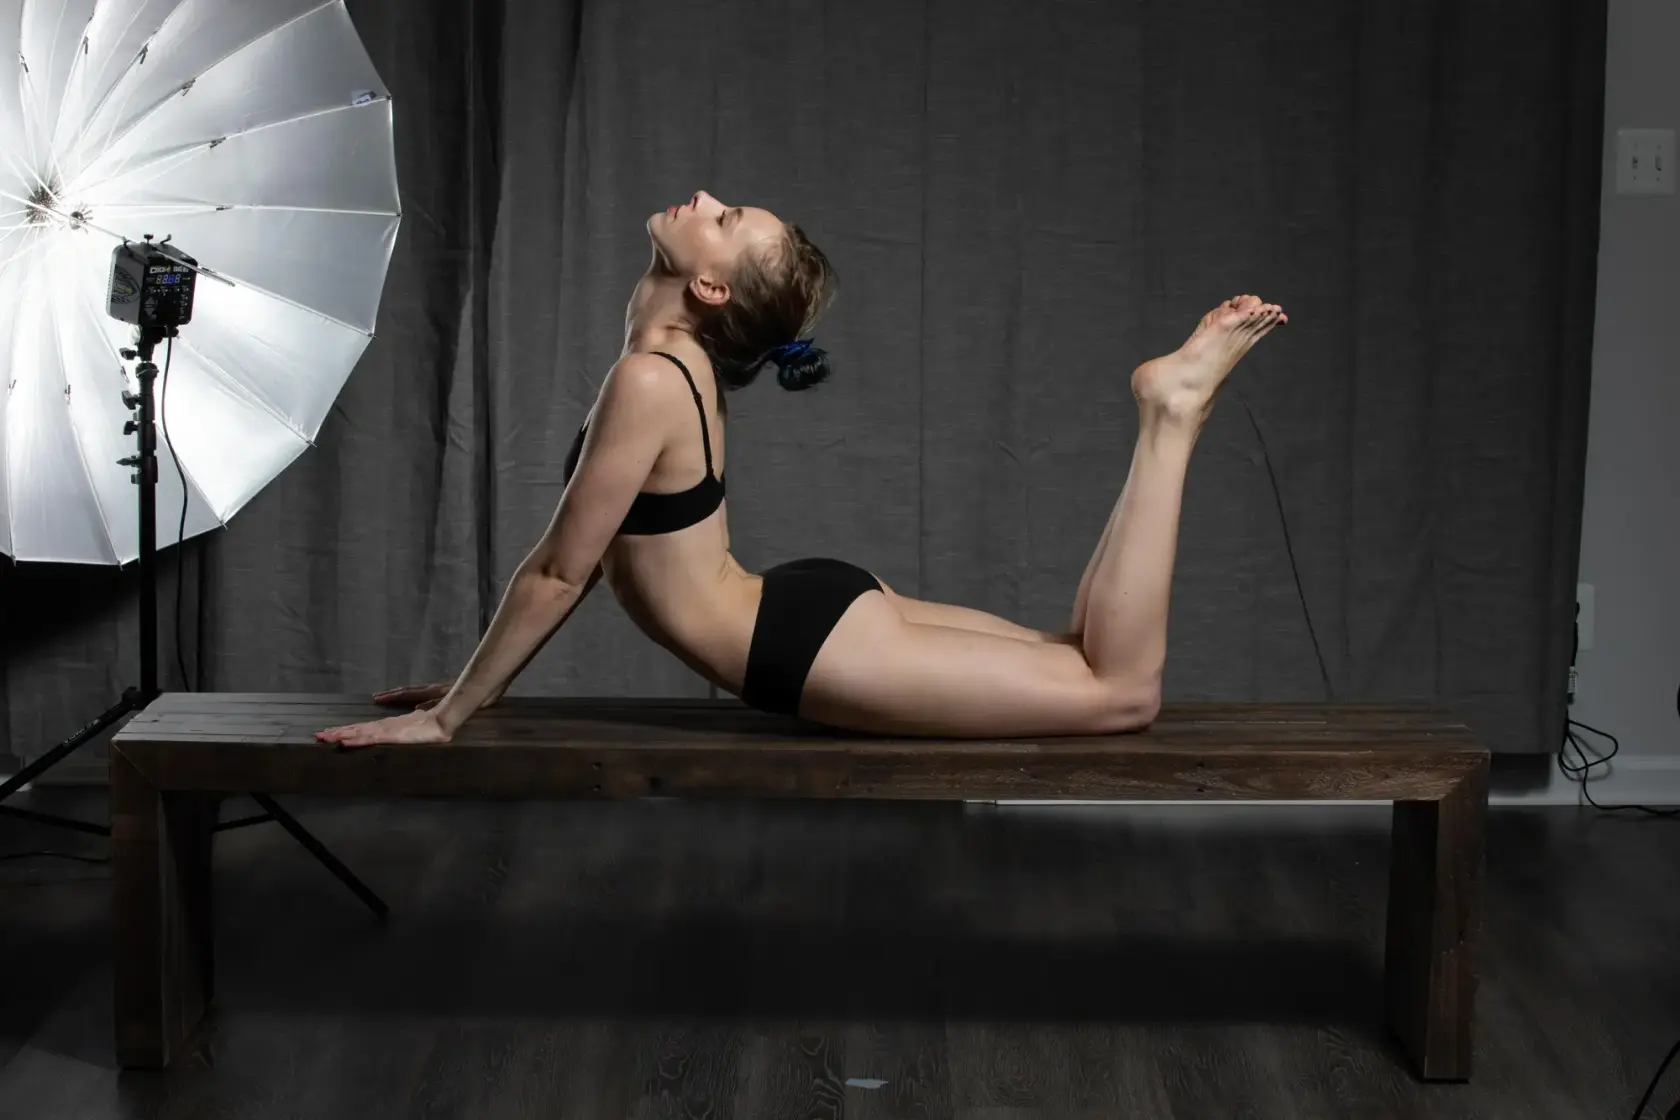
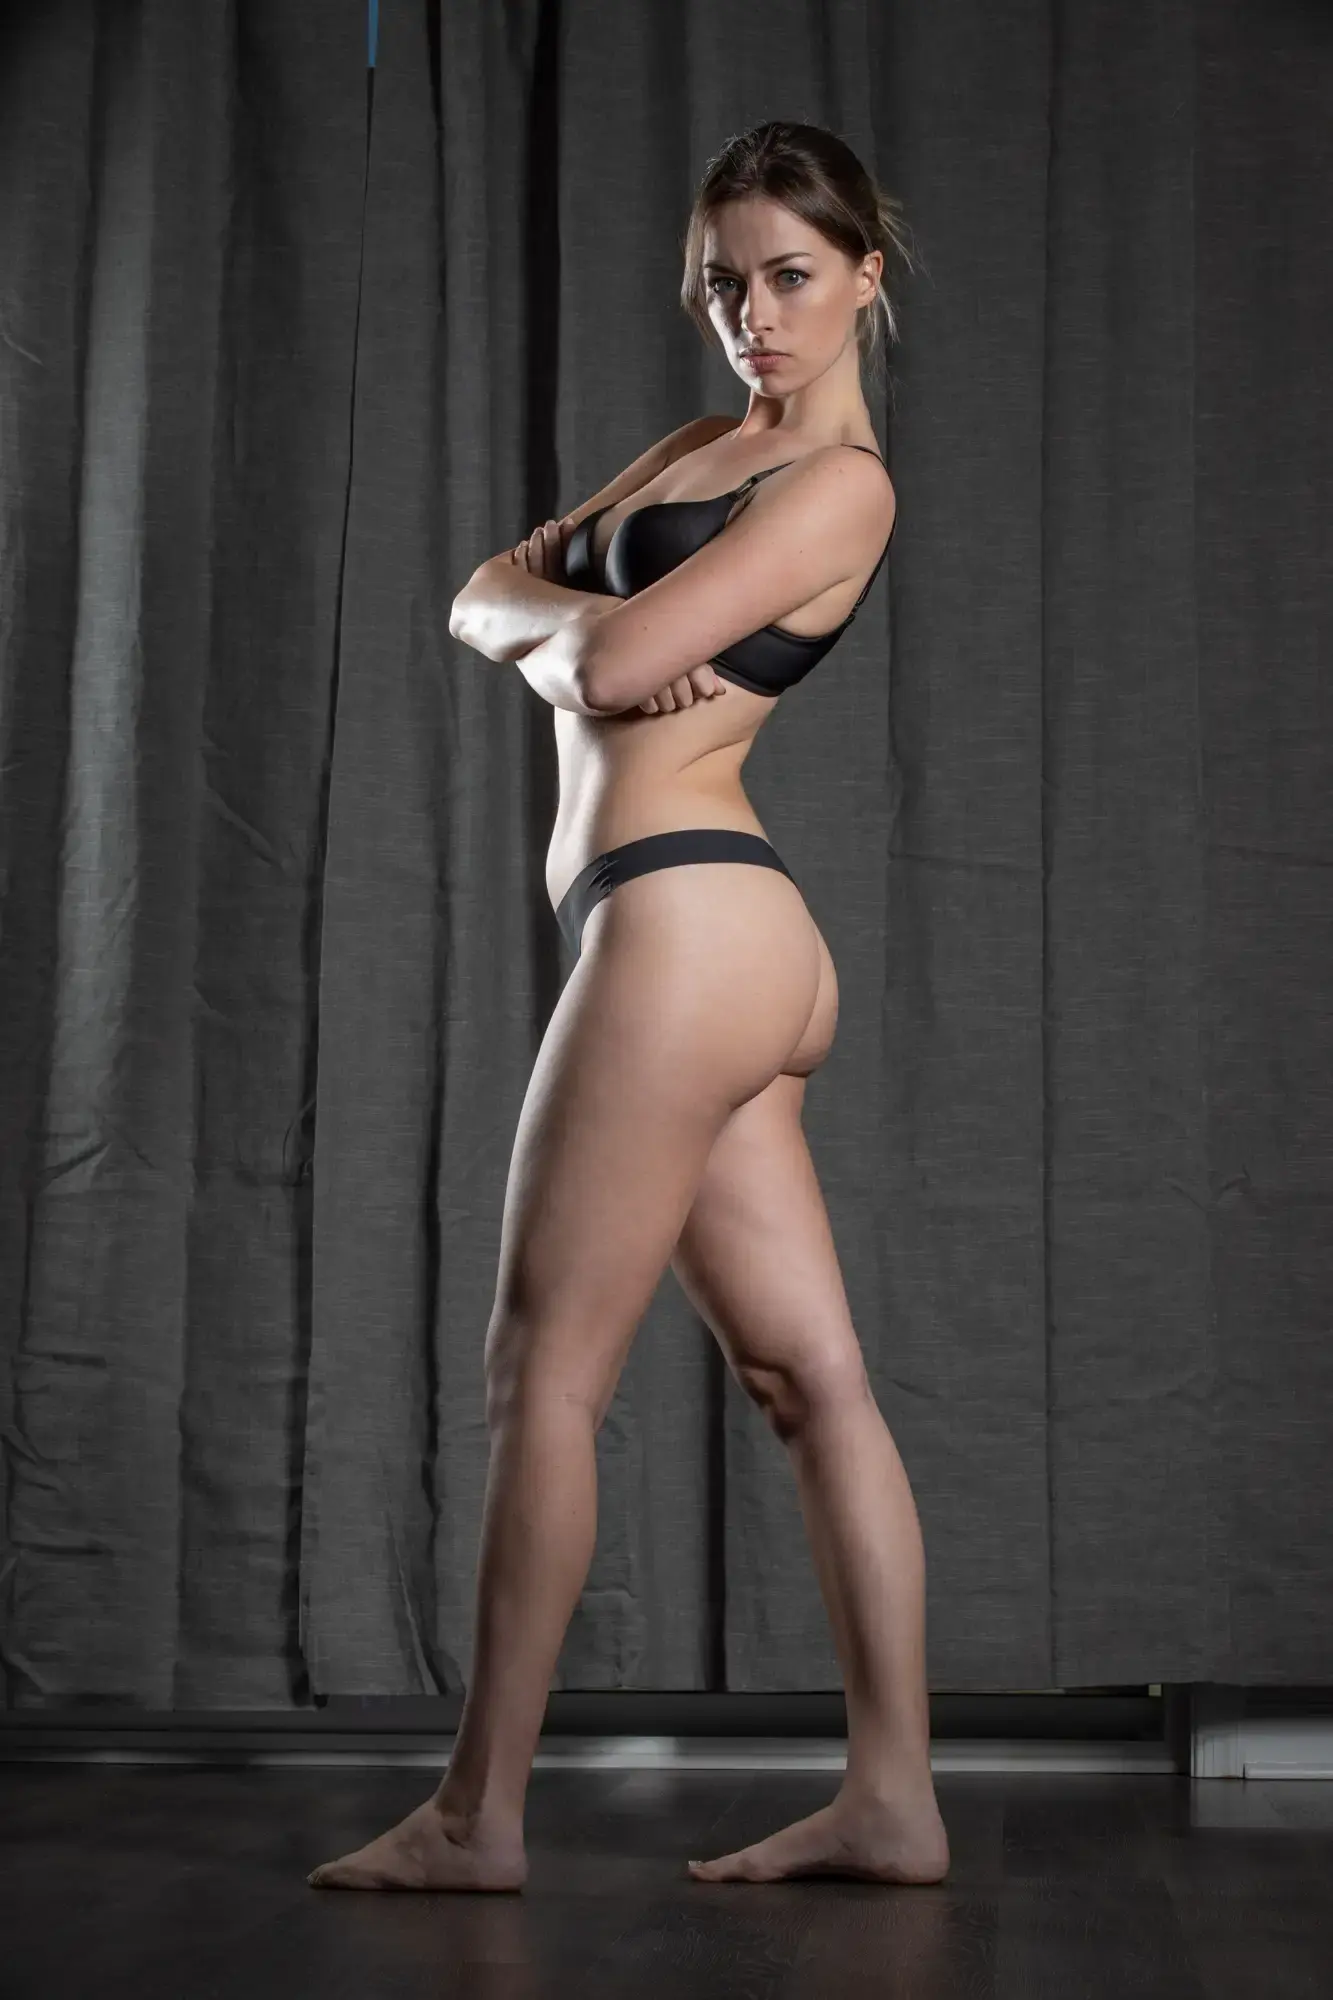
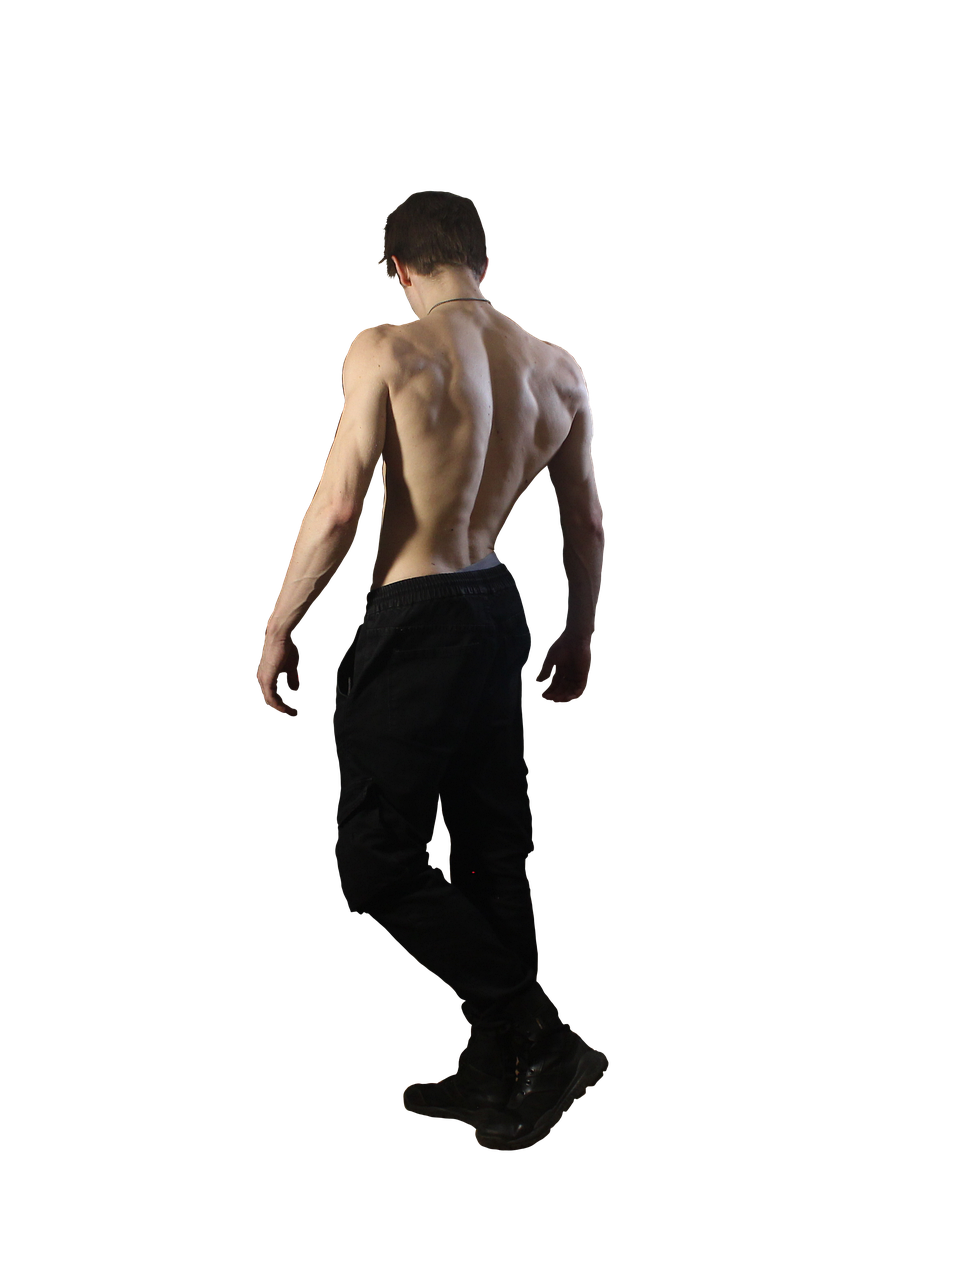
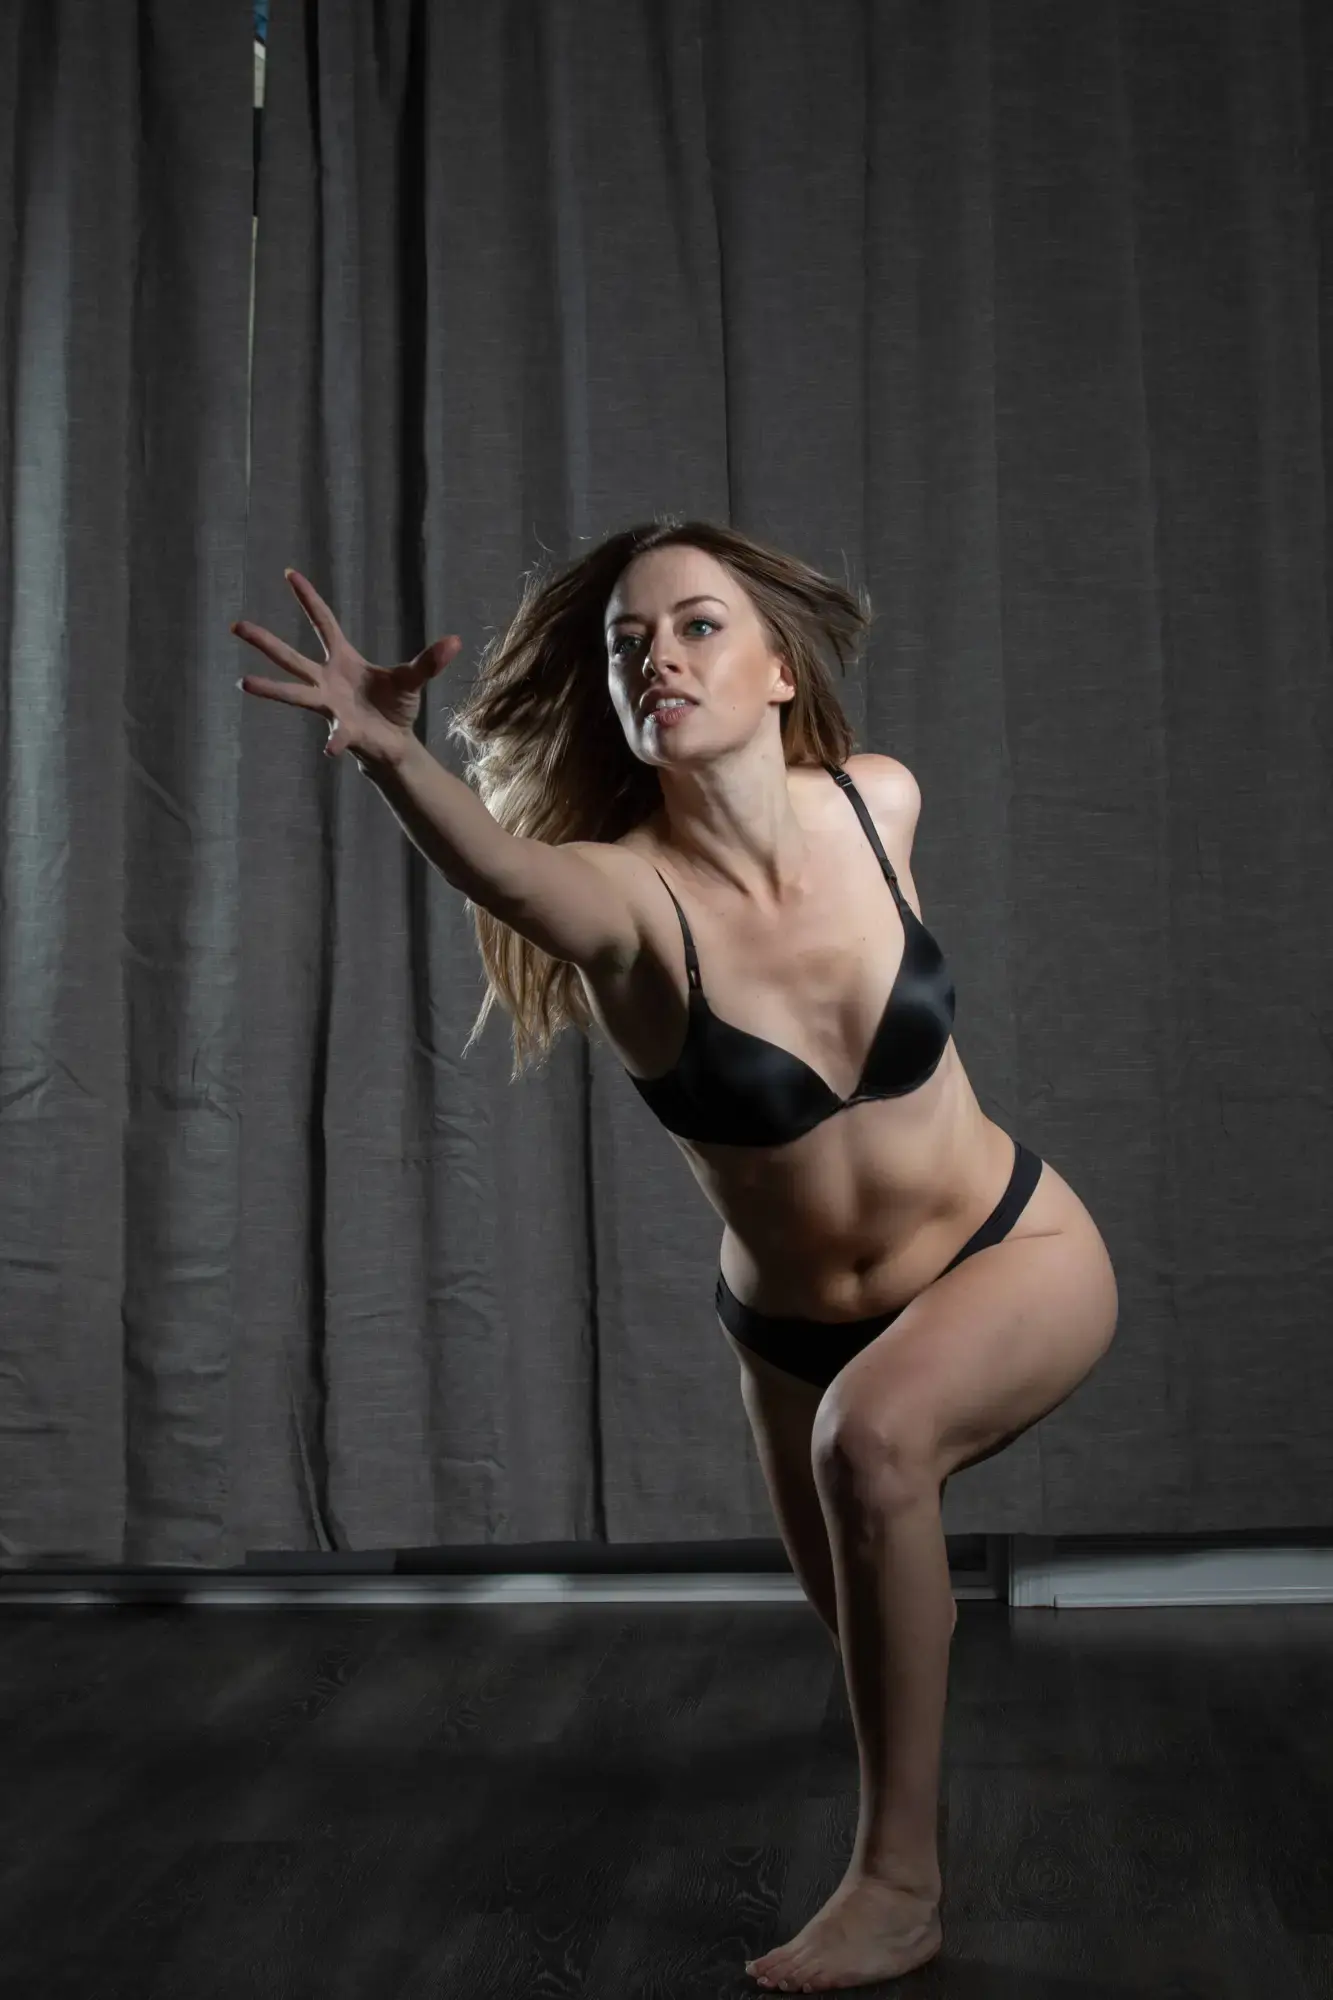
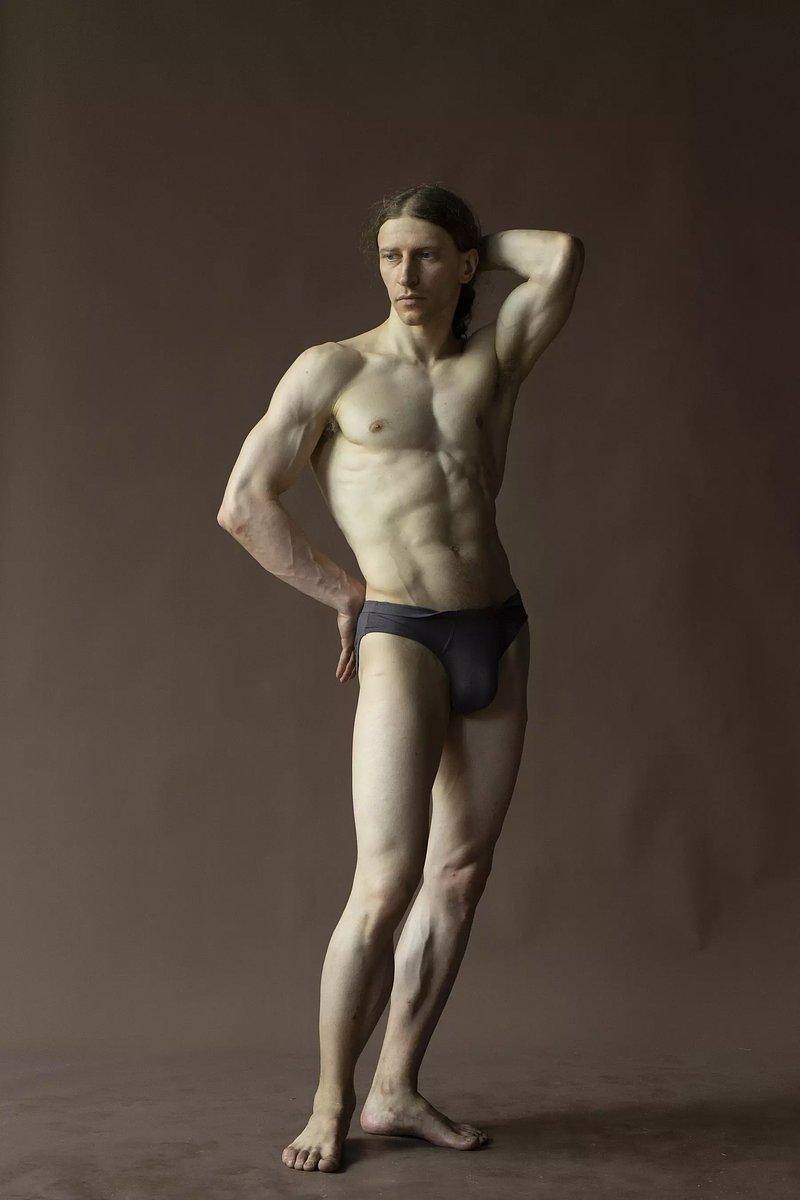
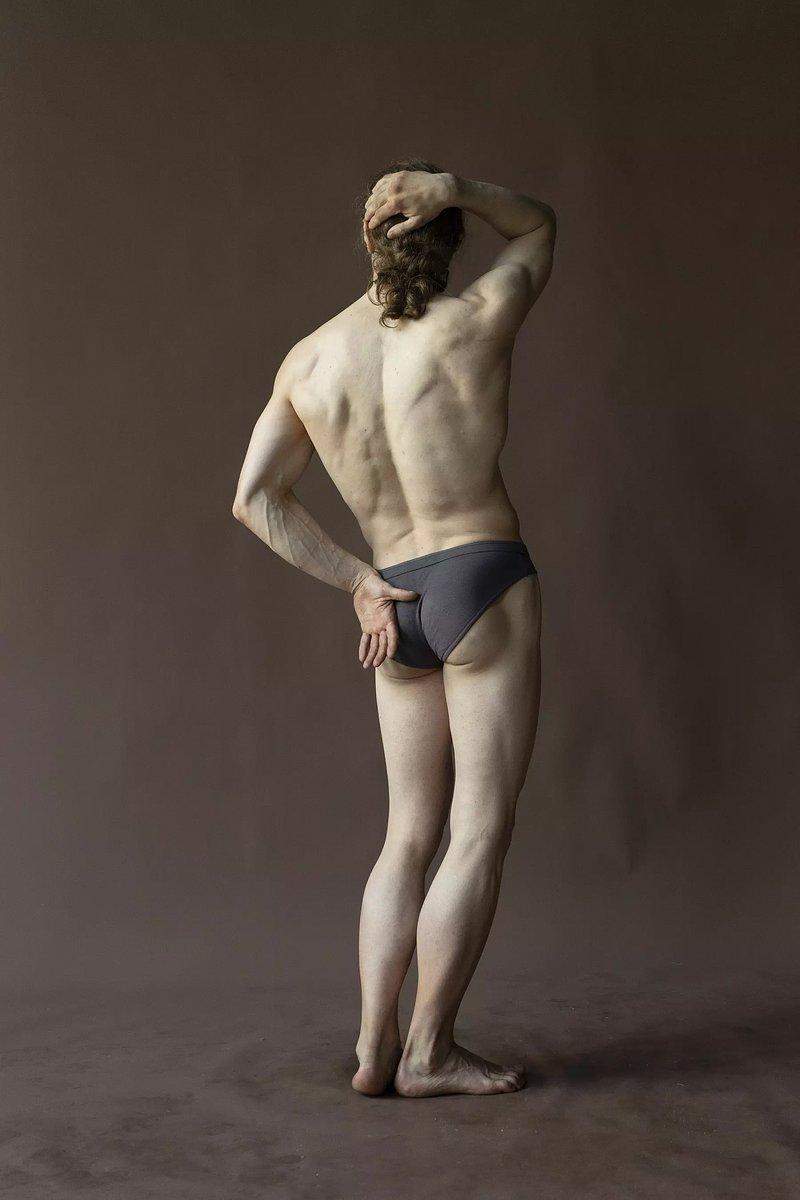
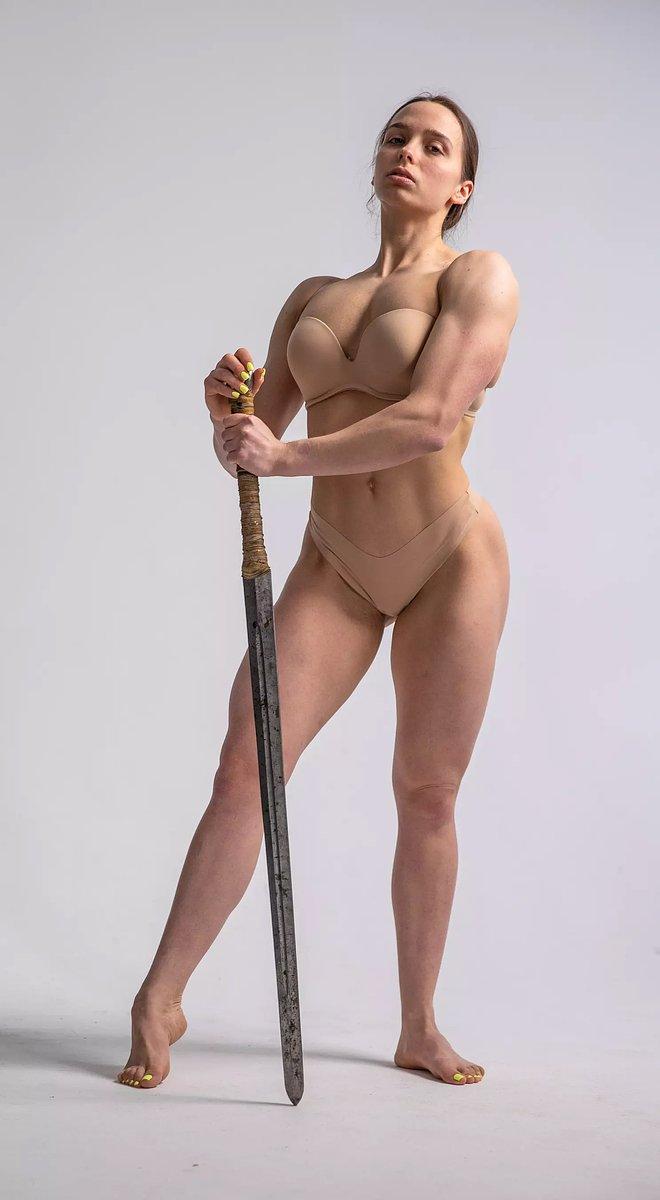
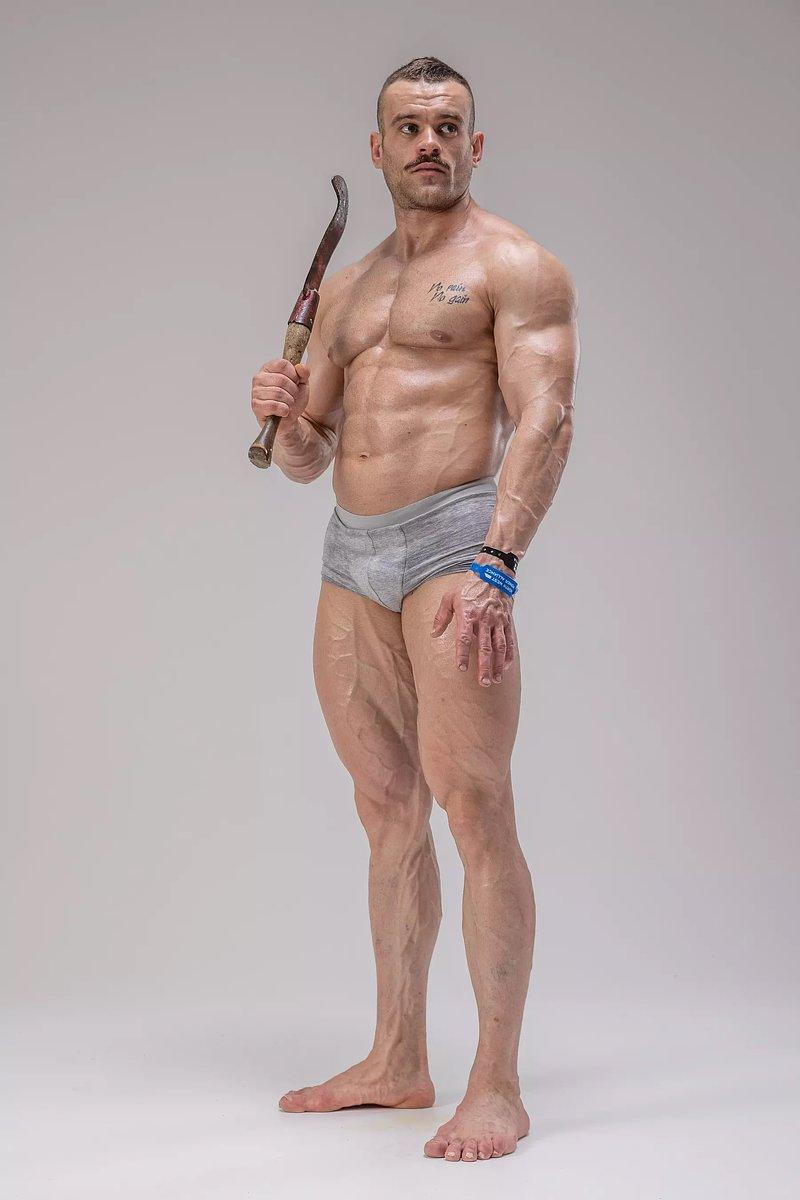
Reference Pictures (for study only)
From Reference.Pictures, Wikimedia, Pixabay

credit to: Reference.Pictures

credit to: Reference.Pictures

credit to: Vox Efx; this image is modified (cropped)
credit to: אנדר-ויק
credit to: Reference.Pictures
credit to: Reference.Pictures

credit to: Reference.Pictures
credit to: Reference.Pictures
credit to: Reference.Pictures

credit to: Reference.Pictures

credit to: Reference.Pictures
credit to: Reference.Pictures
credit to: Raman_Spirydonau
credit to: Reference.Pictures

credit to: Reference.Pictures
How to draw a Box (DrTzy)
Preview:
How to draw the perfect Box every time
KeyWords:
- Dimension : A direction within Space
- Vanishing Points : The point at which parallel lines meet (Only applies perspective)
- Perspective : A Point of View
- Convergence : The coming together of parallel lines
Formula:
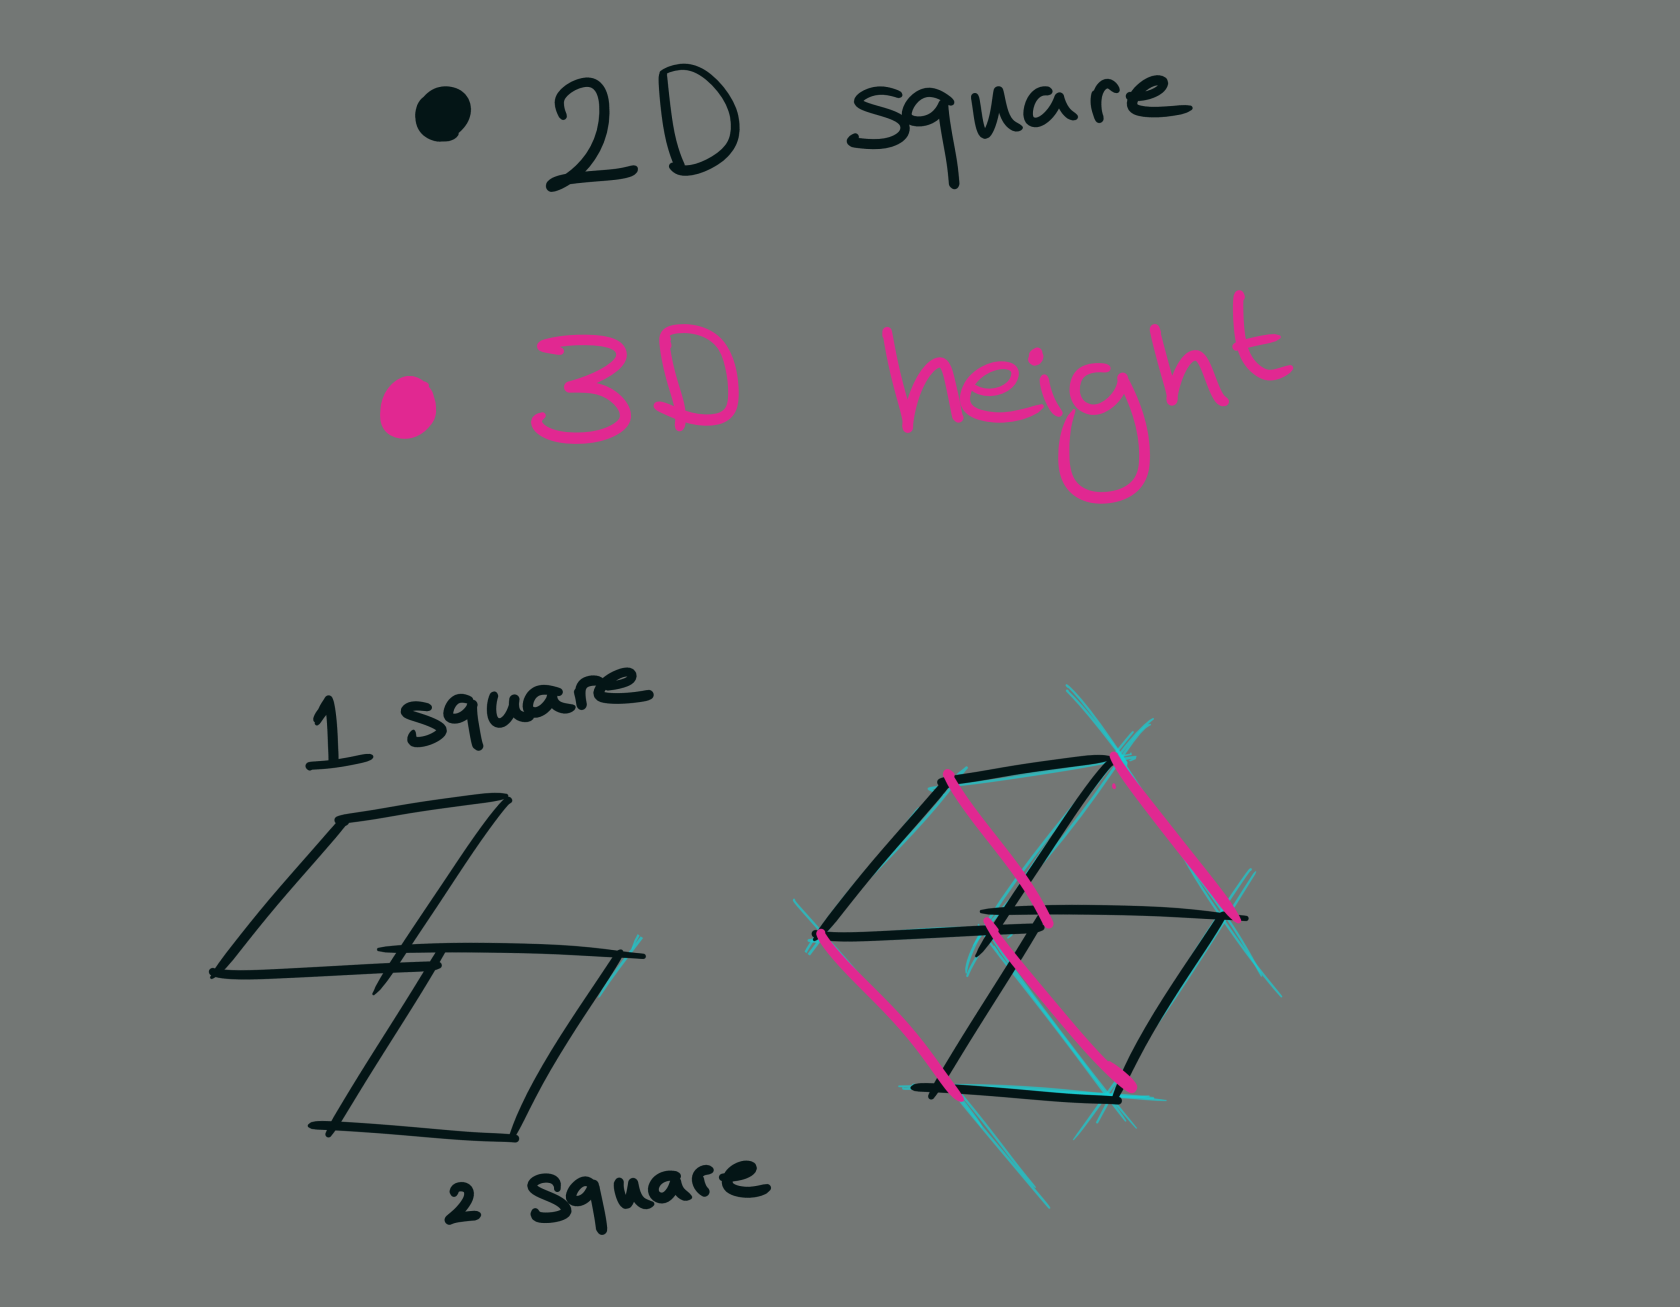
2D = Length + Width
3D = Length + Width + Height
How to draw a Box
A Box is a 3D shape
To make a 3D Shape, connect 2 or more 2D Shapes through a 3rd Dimension
For Boxes, just connect 2 squares through height - (height is the 3rd Dimension btw)
Actually Drawing it
Now you know the principles, I'll show you how I execute it
1. Draw a 2D version of your shape
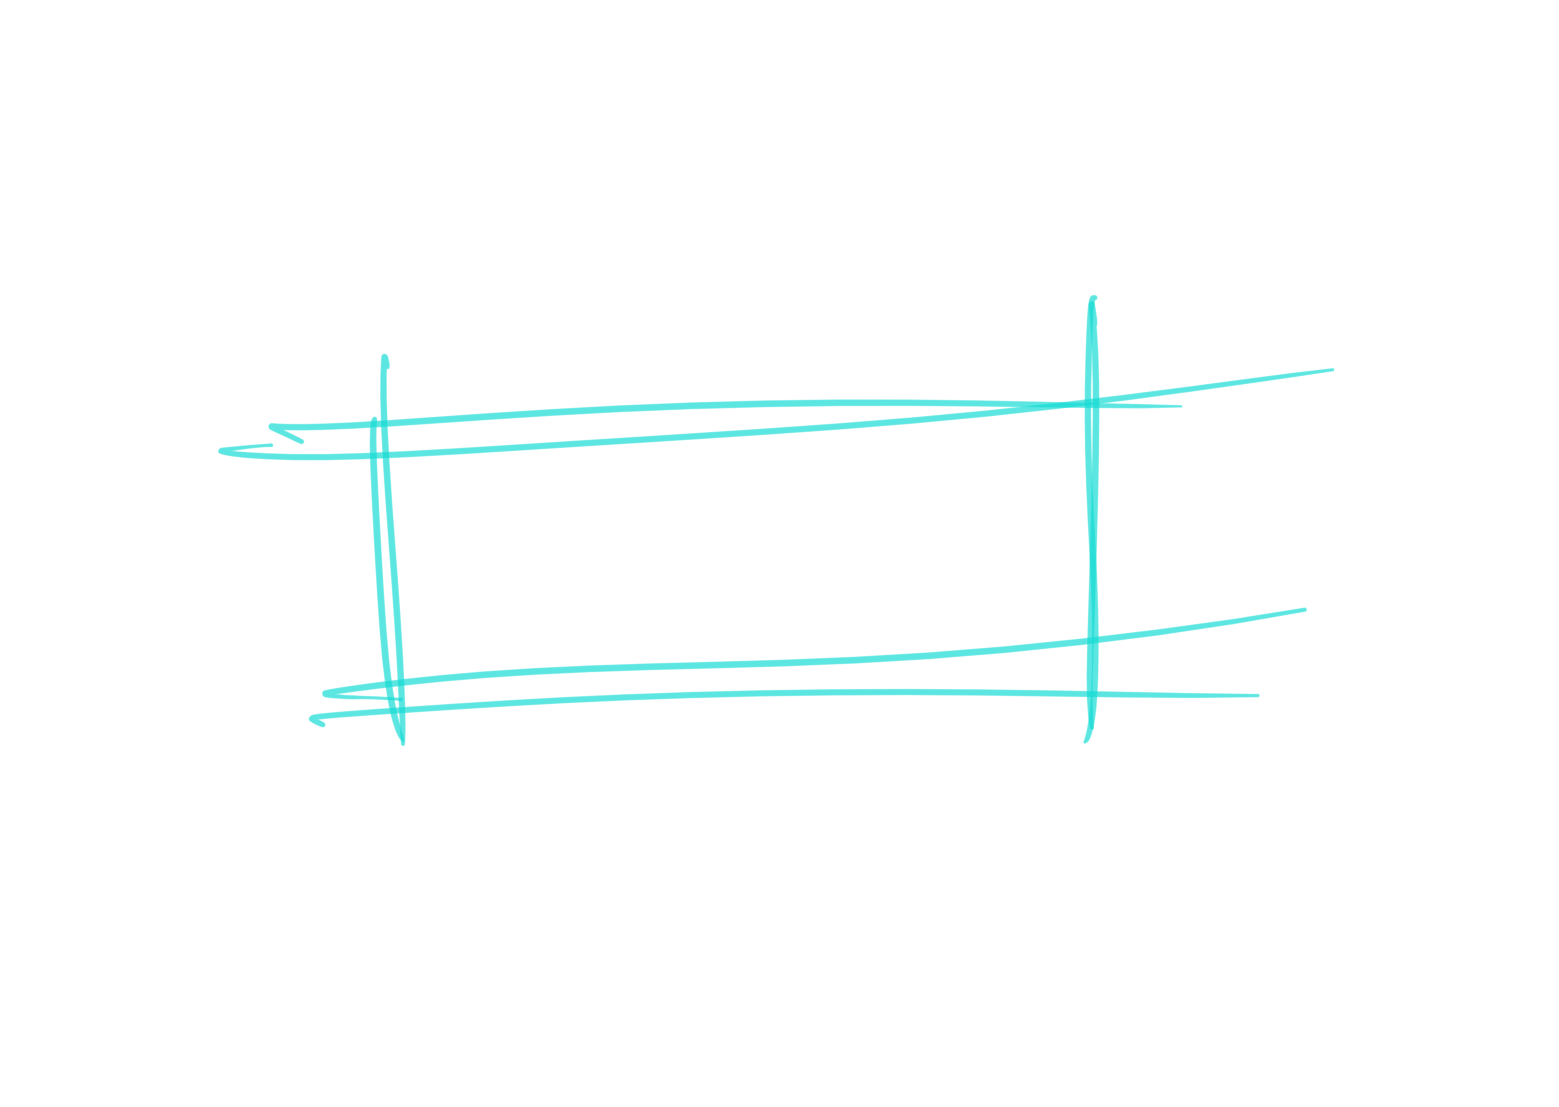
- Make sure this 2D-version is front-facing - (It needs to be flat with no tilting)
The purpose of this step is to keep your future proportions consistent
2. Rotate that 2D version with your imagination
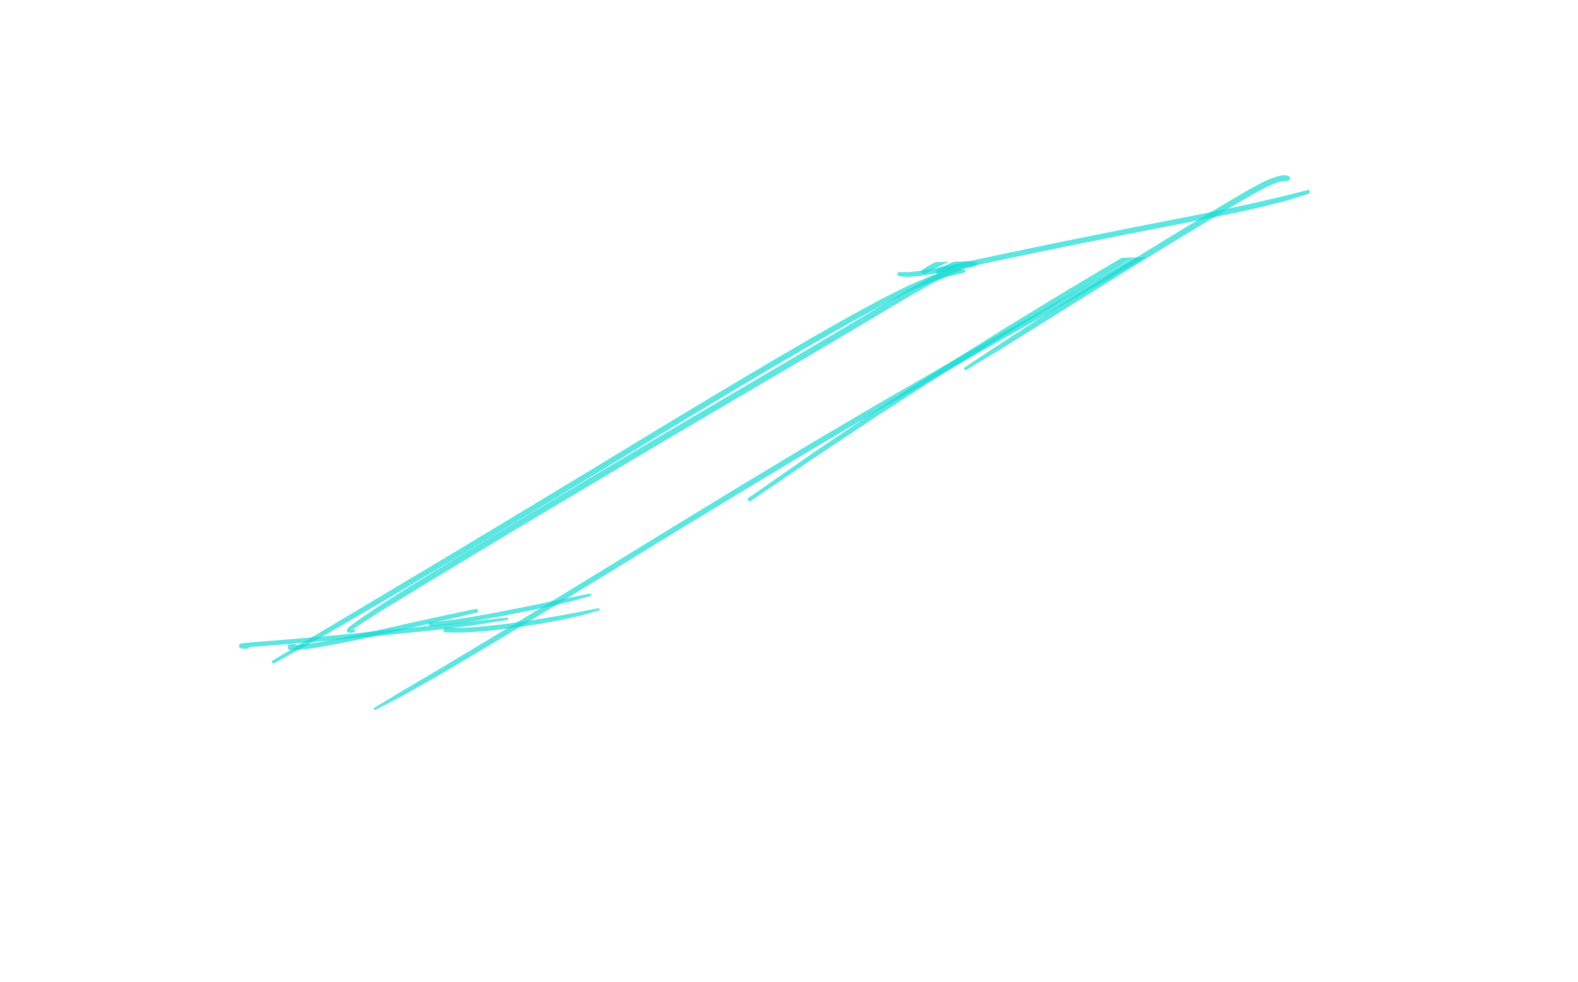
- At this point, start imagining what the final shape will look like - a rough draft in your mind
The purpose of this step is to choose the angle and position of your shape
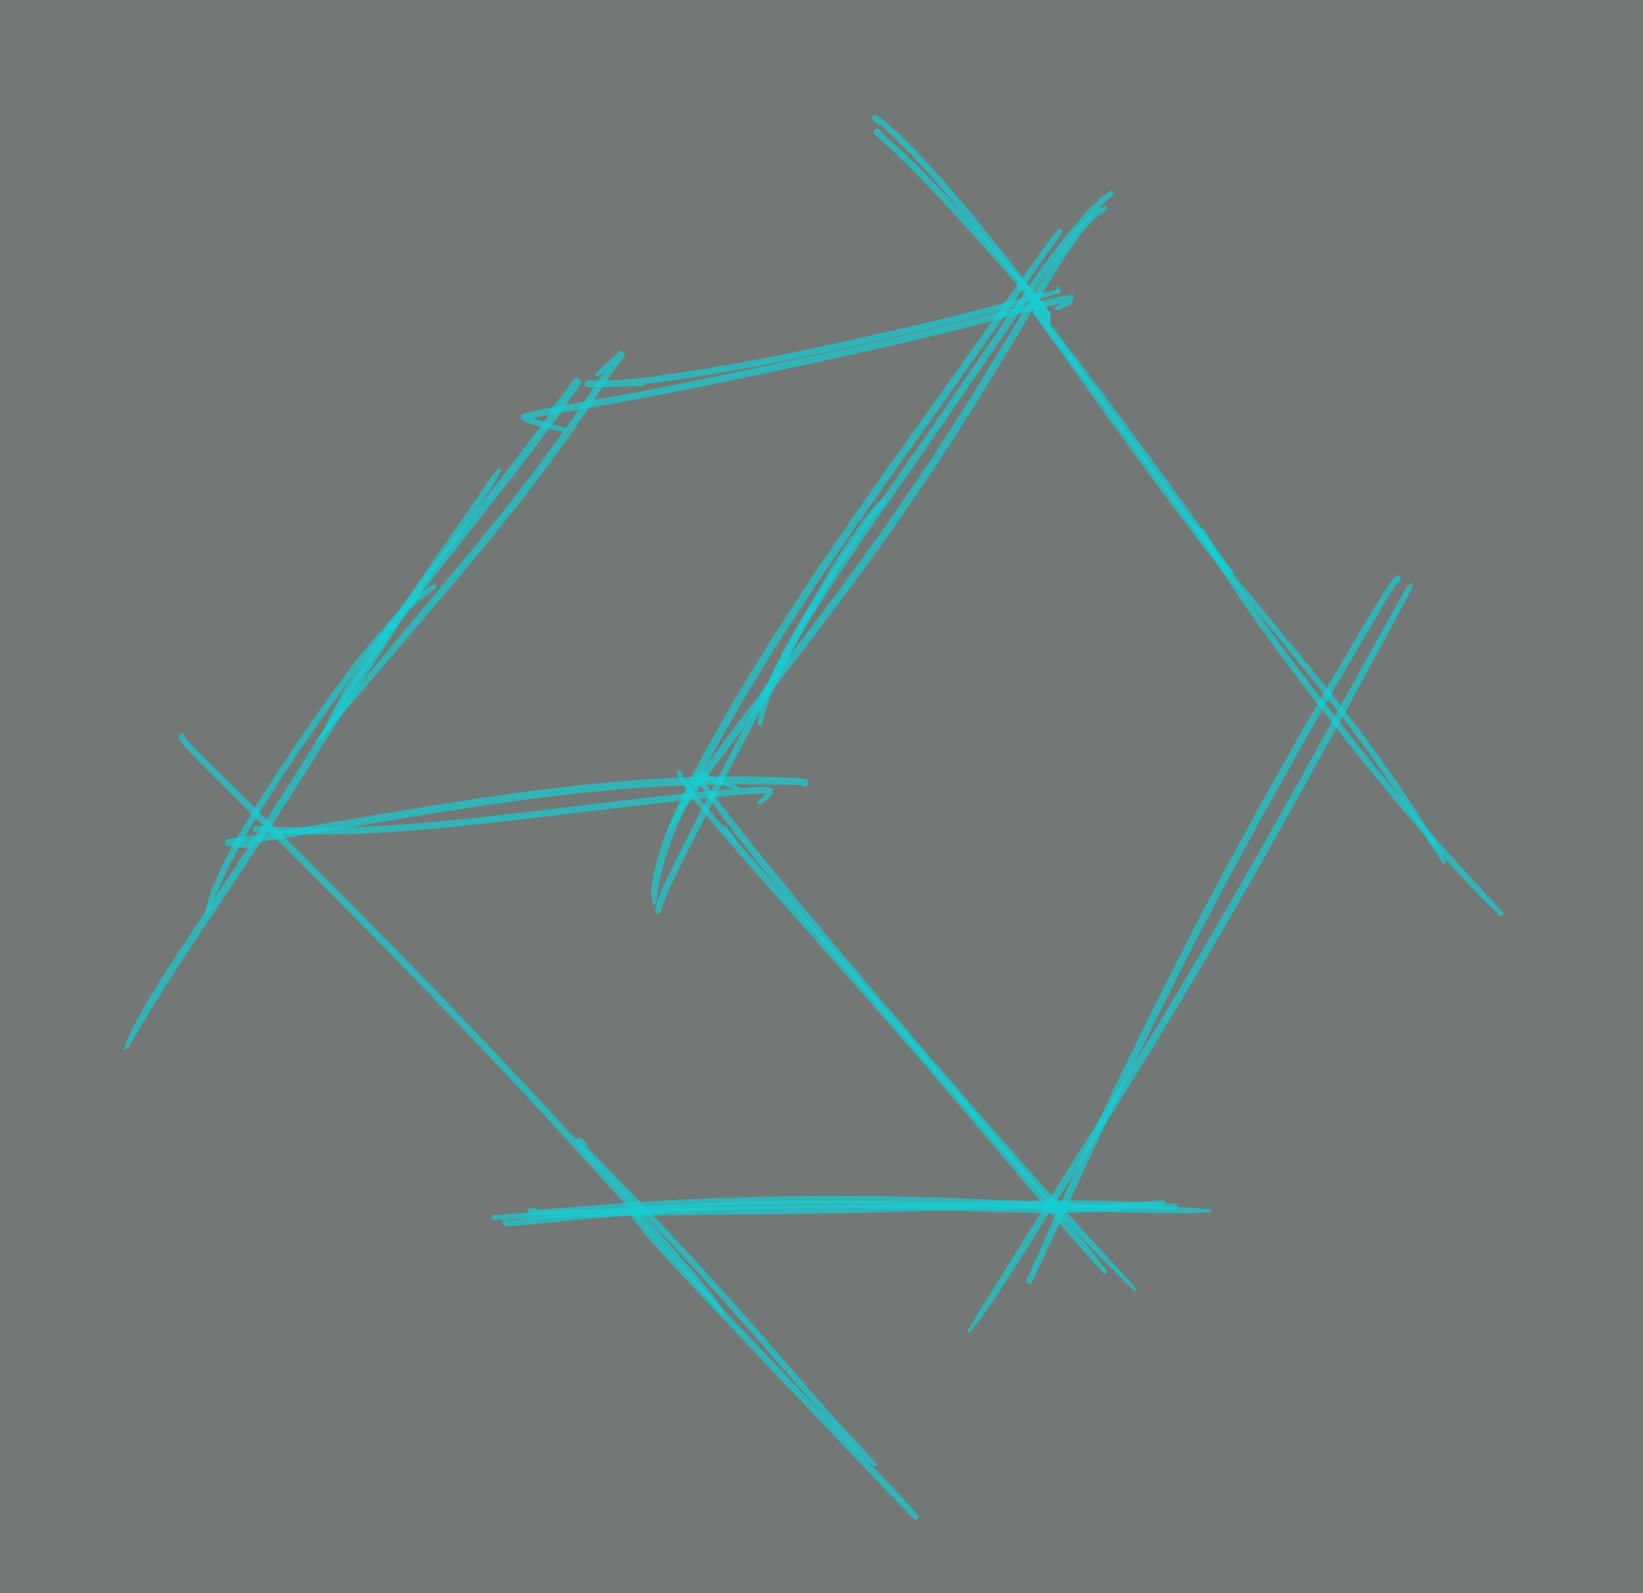
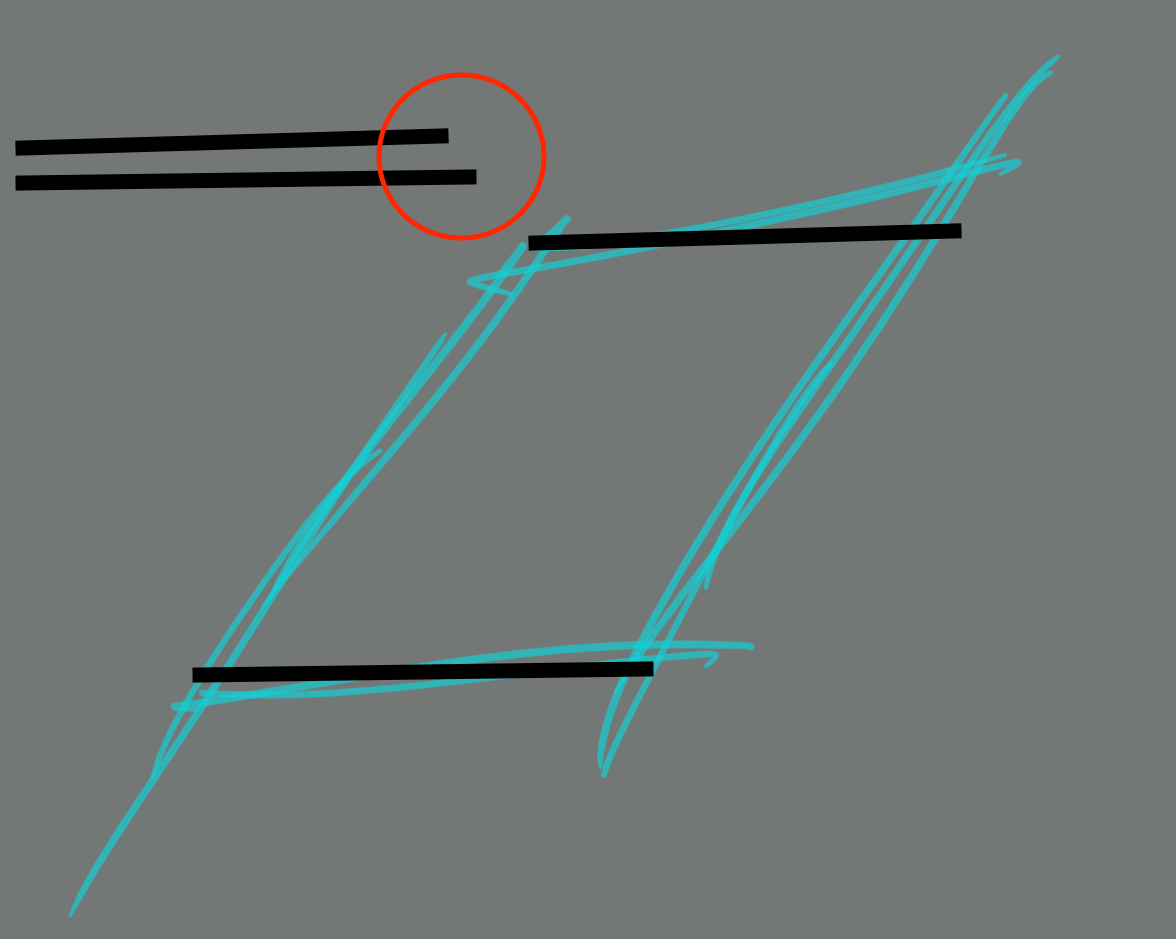
3. Draw perpendicular lines from your 2D shape
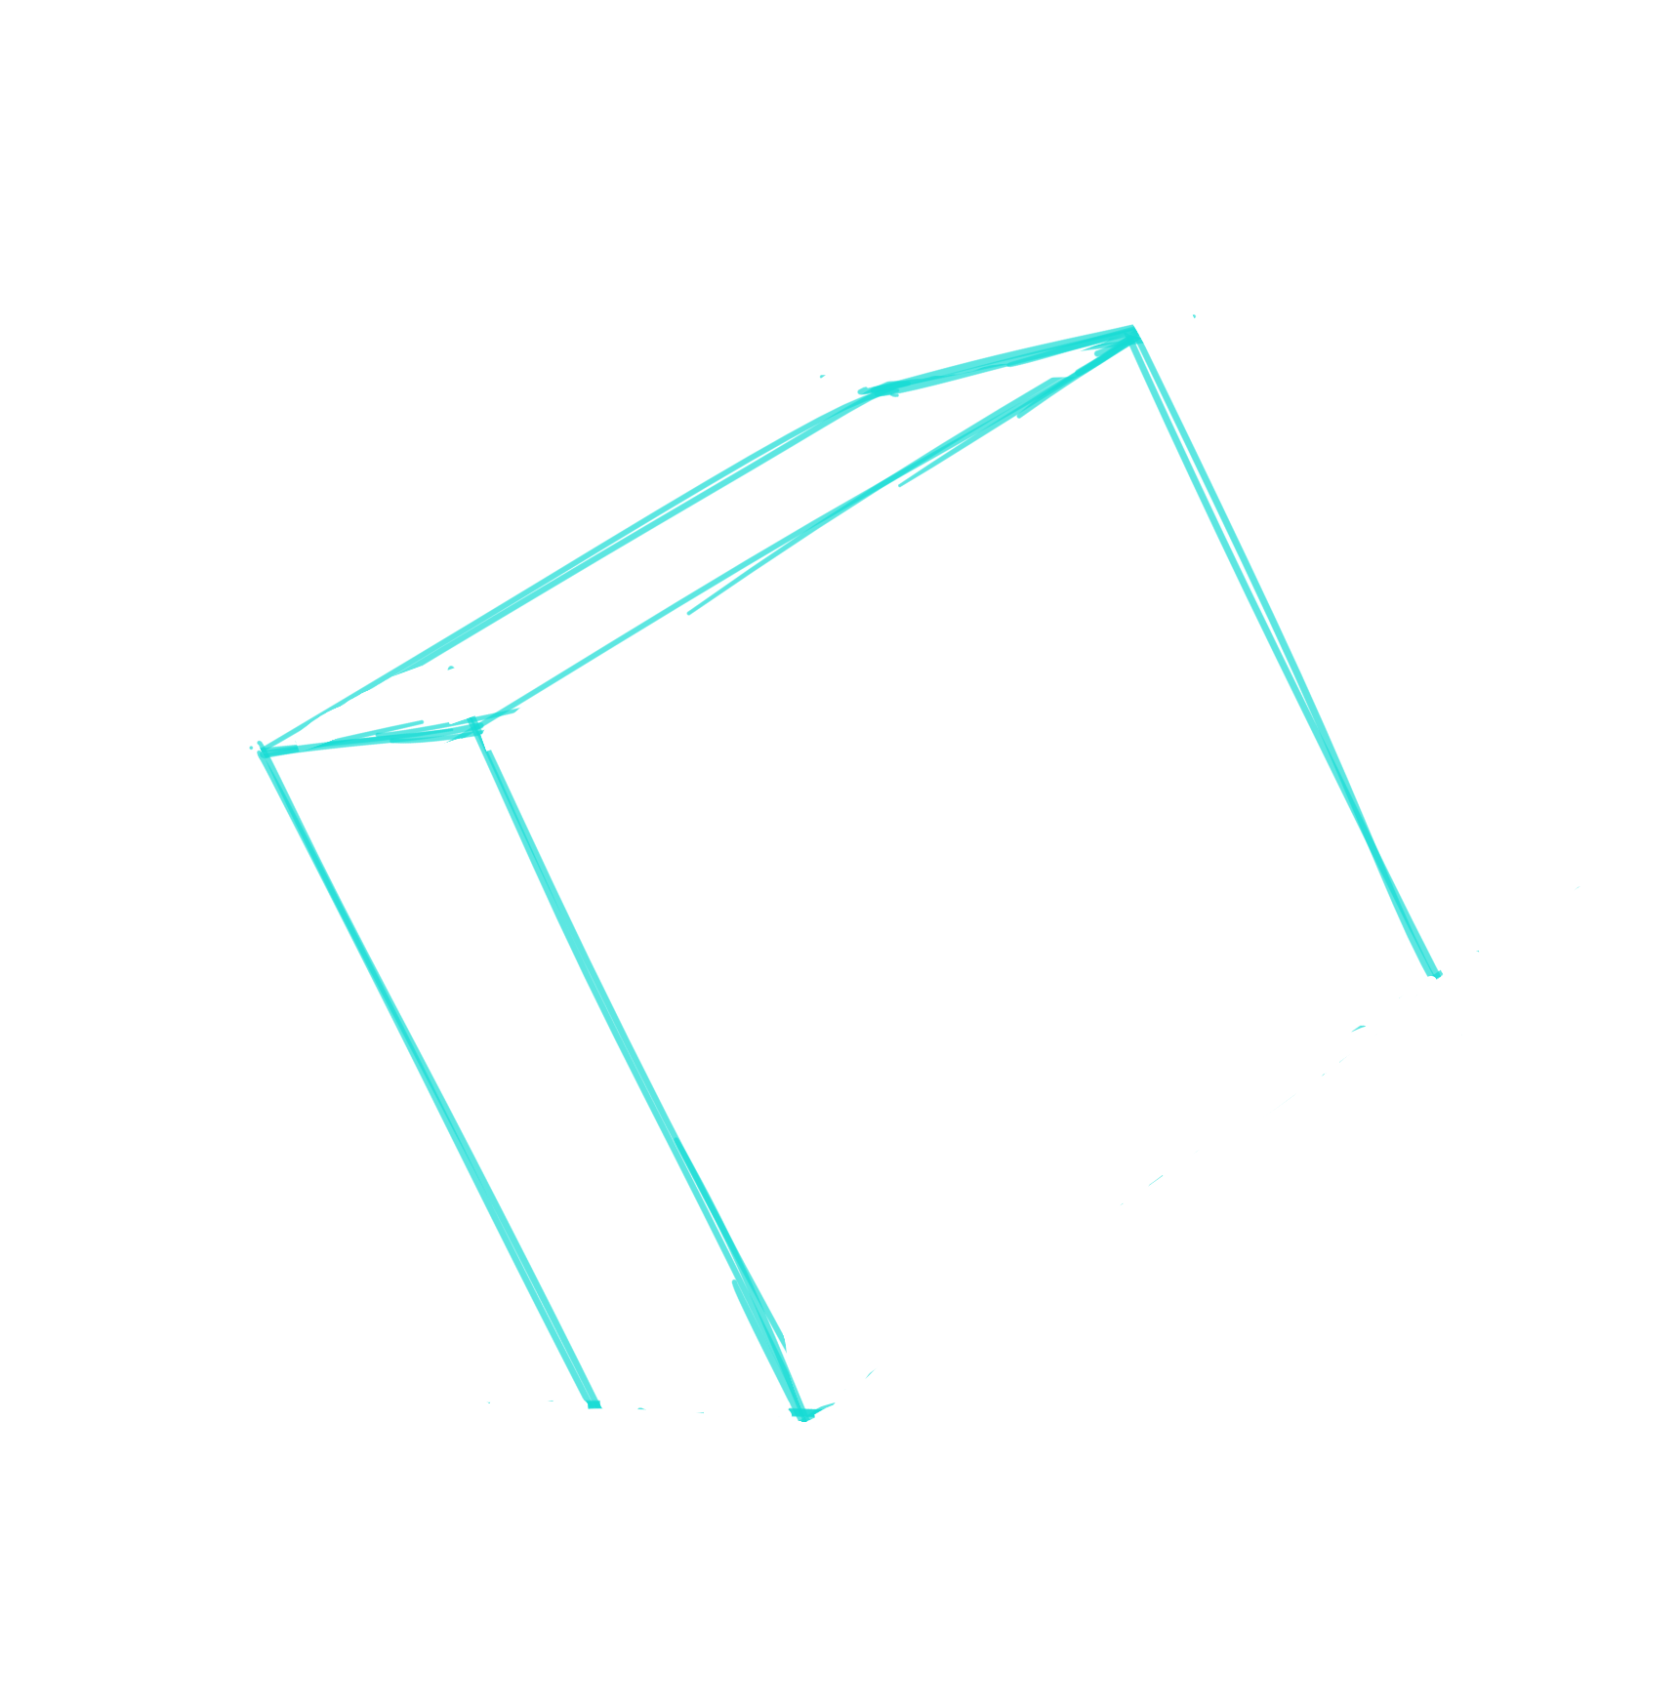
- Make sure every set of lines facing the same direction are parallel
- Depend on imagination and memory to know what "90°" is supposed to look like
The purpose of this step is to give the 2D shape a 3rd Dimension
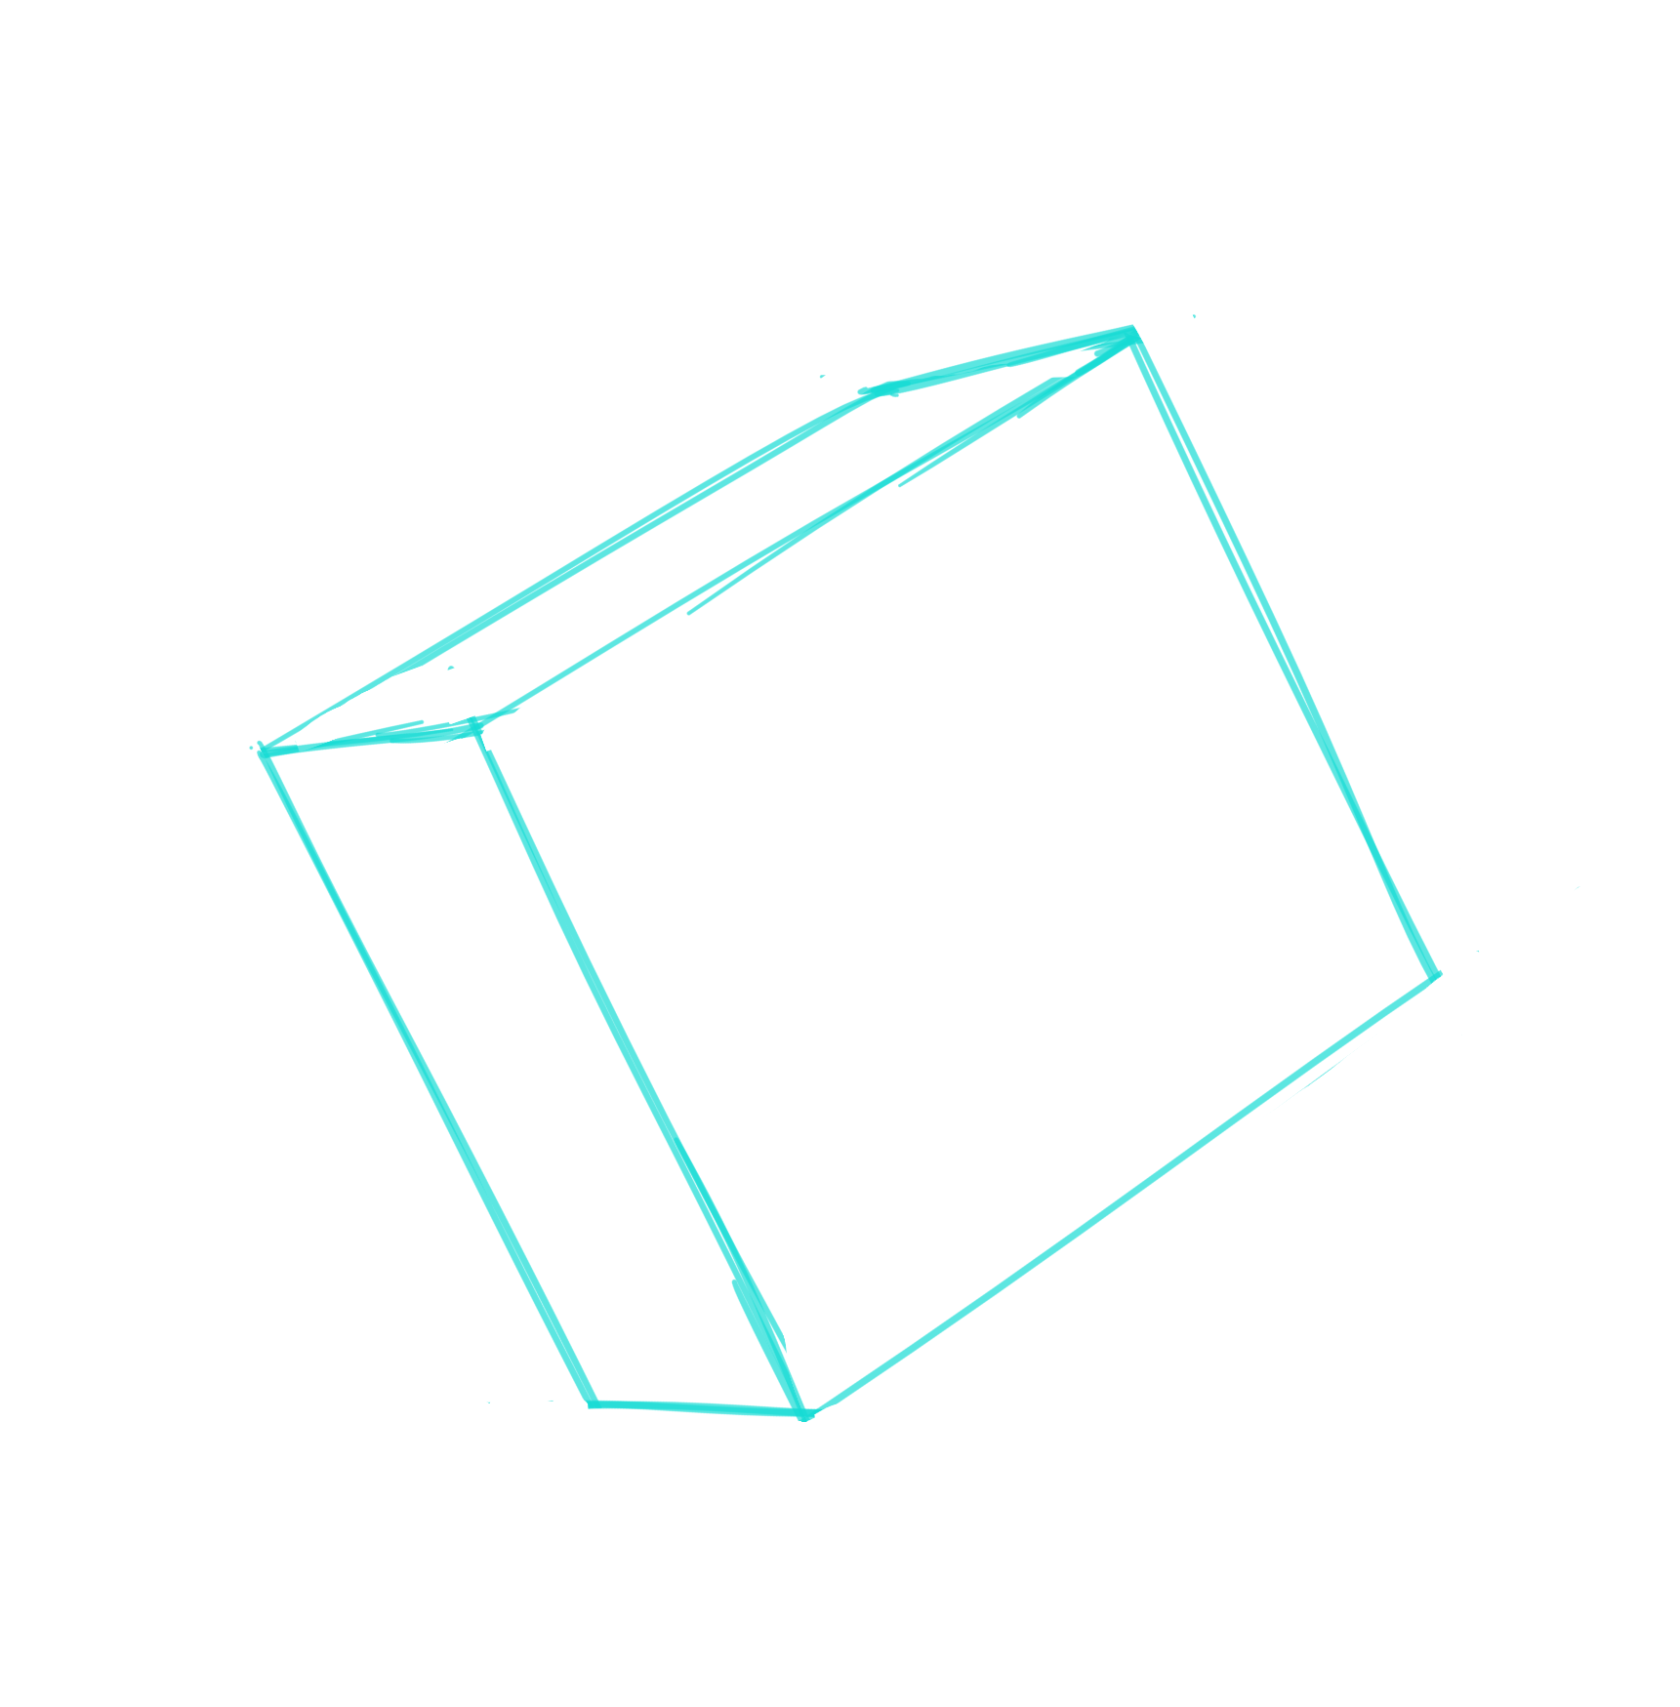
4. Draw the last parallel lines
Vanishing Points
"Just connect 2 squares and a box will appear"..
That is not enough!!
You need Vanishing Points too!

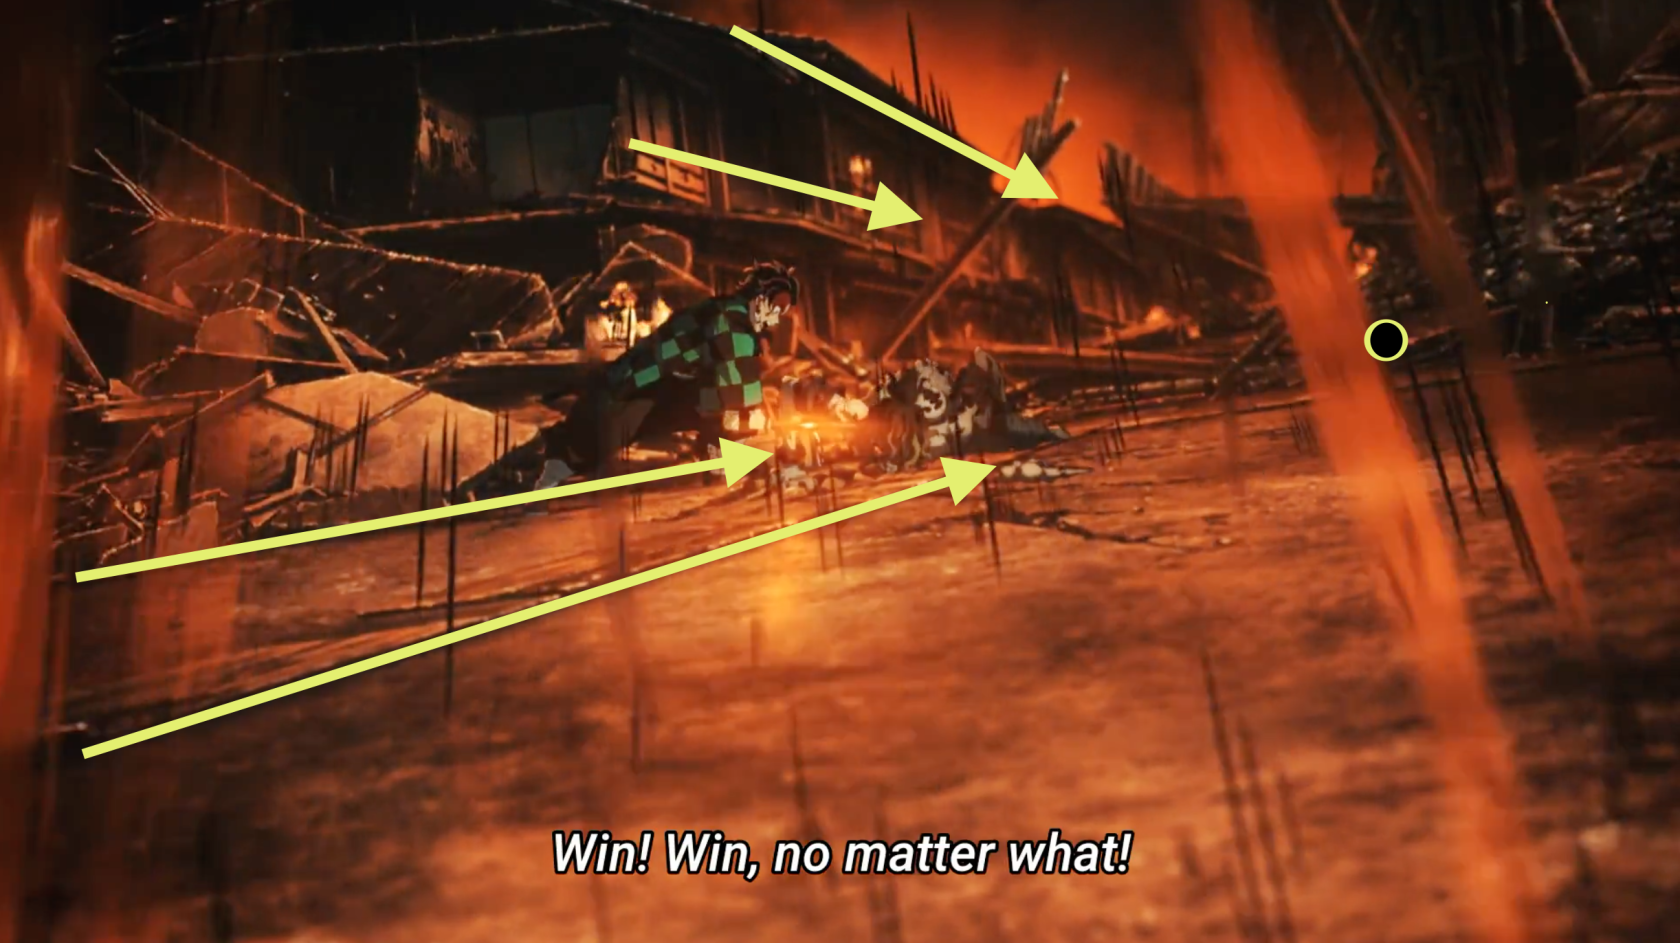
When drawing a Box, Parallel Lines should converge into the same Vanishing Point
(This makes it look real)
But 90% of the time, the vanishing point will be off-screen and you'll have to imagine the vanishing point
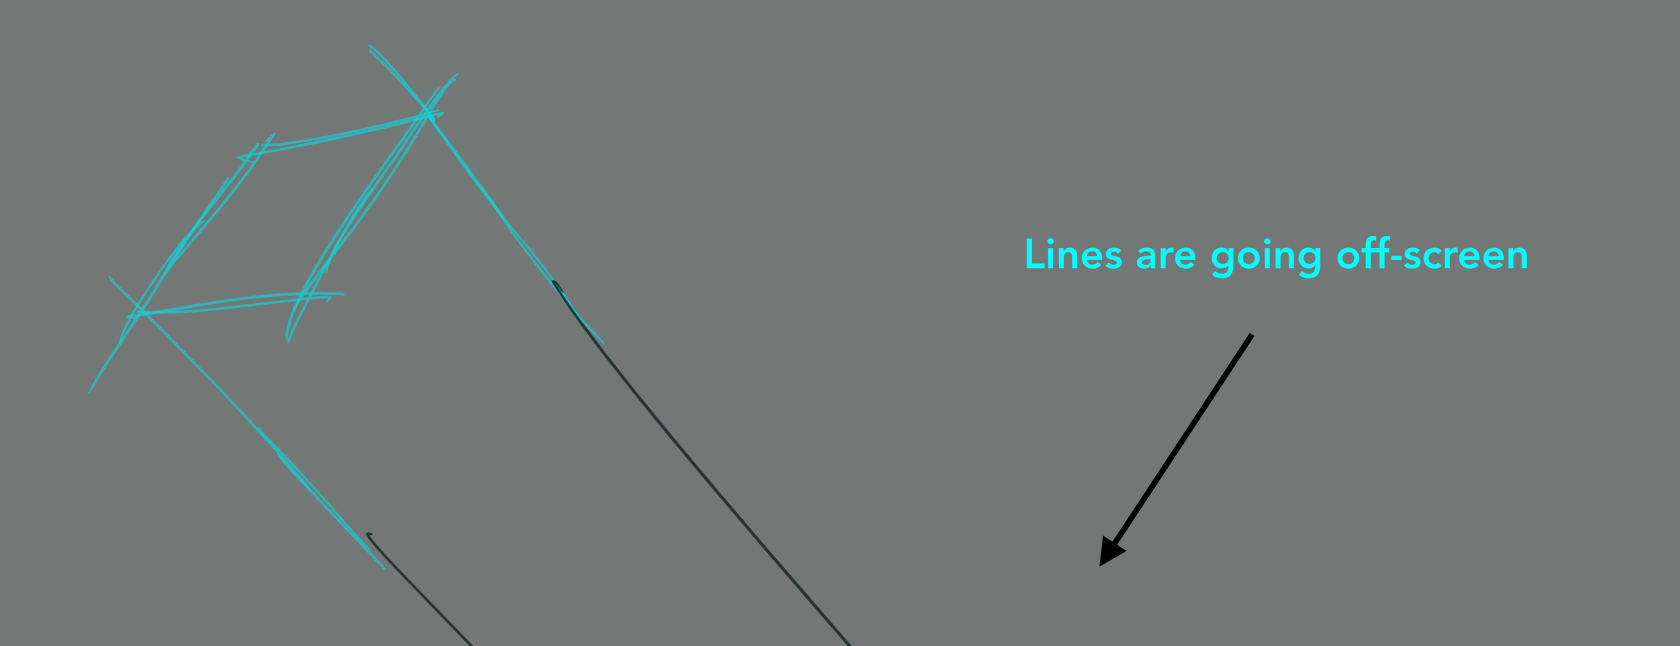
But don't focus on the Vanishing Point itself
Rather, spend your attention on the [Convergence of Lines] instead
Principles:
- Severe convergence = Vanishing Point is close to Subject (From audience's Perspective)
- Mild convergence = Vanishing Point is far from Subject (From audience's Perspective)
- The parallel line that's closest to you is always a little wider
- The parallel line that's furthest to you is always a closest wider
- Vanishing Point above the shape = You're looking at the bottom of the shape
- Vanishing Point below the shape = You're looking at the top of the shape
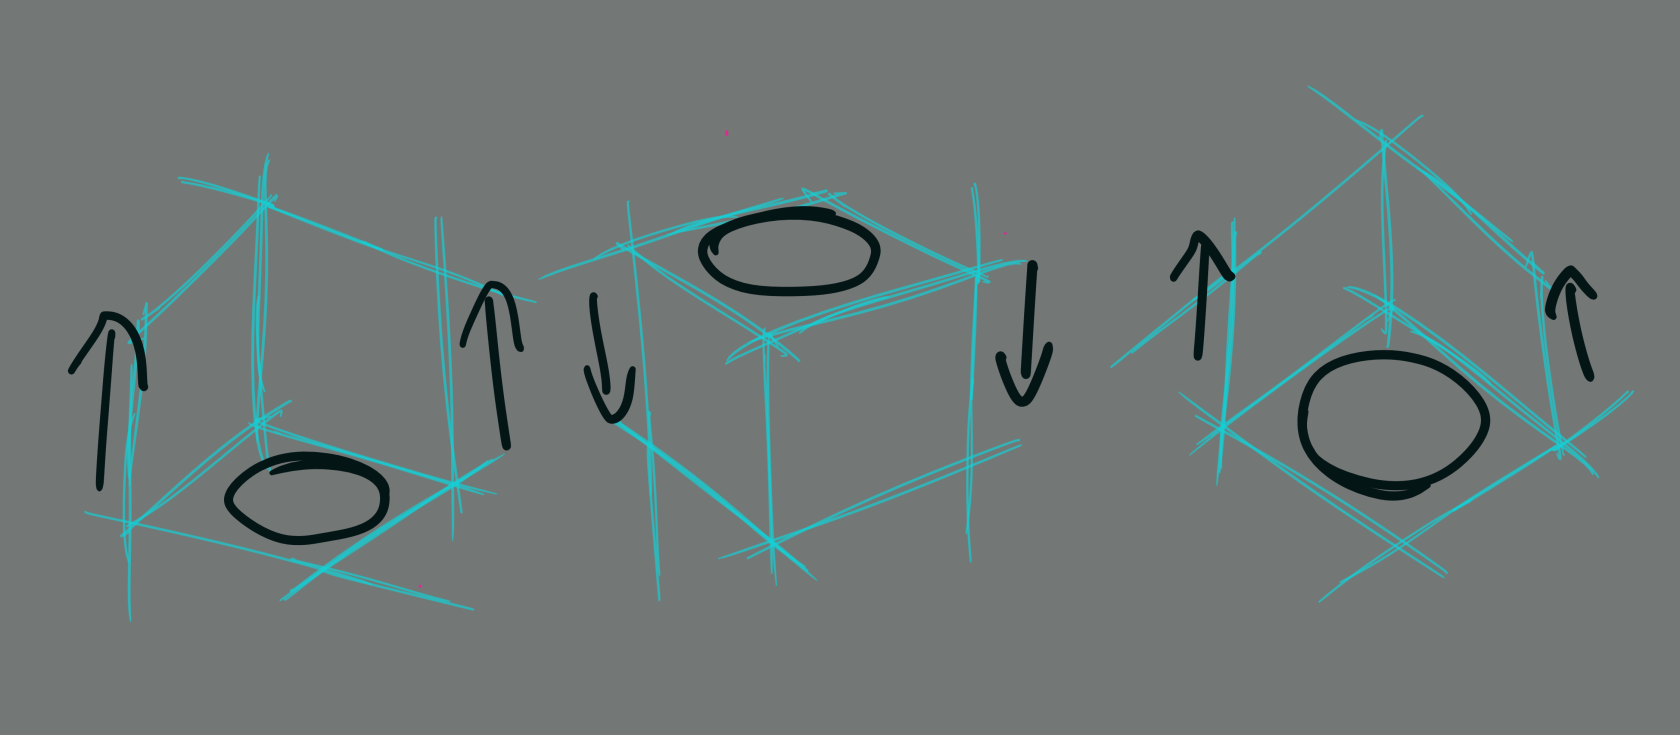
(The logic that applies to above and below also apply to left and right)
Proportions of a Human Body (Rina_smo)
Preview:
Learnt how to draw different body types with the right proportions.
Synonyms: adults; children; male body; female body; body proportions
Summary
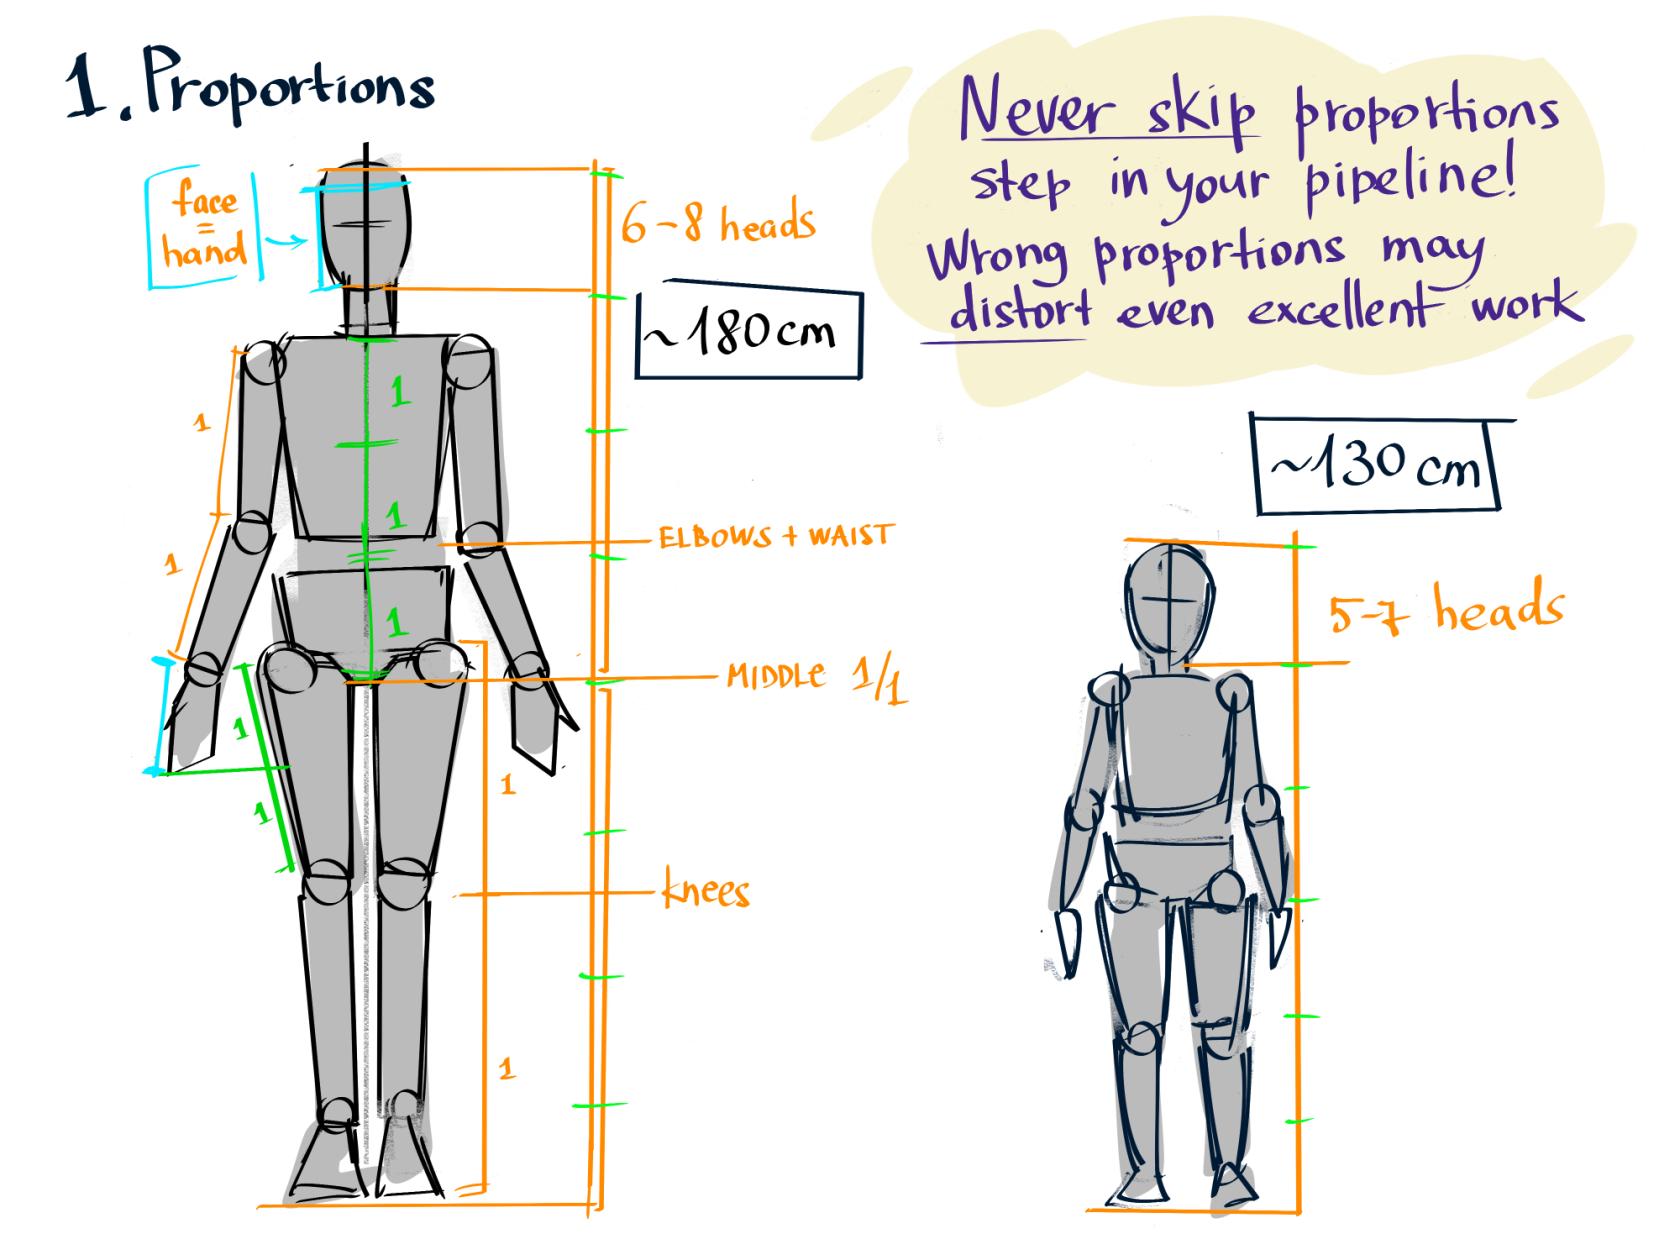
Proportions are a very important stage in drawing the human body. Beginners often skip this stage and move straight on to drawing muscles, small details, and so on. In this guide, I want to talk about why you should never skip this initial preparation for drawing!
Measuring system, landmarks
For many centuries, people have used various units of measurement derived from the lengths of different parts of the human body, such as feet, inches, and yards. Artists throughout history have also used similar units of measurement in their drawings!
- First, you should always pay attention to how many heads fit into the height of the person being depicted. Usually, for an average adult, this number is 6-8 heads. If we are drawing a child, the number of heads will be smaller - it all depends on their height. Of course, children's heads are smaller than those of adults, but the difference is not as significant as when comparing, for example, legs, so we are used to children having large heads relative to their bodies, and if the head is small, then we are looking at a tall adult.
- Equally important landmarks are the length of the arms and legs. To find the length of the legs, divide the body in half - this will be the groin point, where the legs begin to grow. And to find the length of the arms, you first need to find the middle of the thigh - that's where the arm will end.
- The elbows are located strictly at waist level, and the knees are the middle of the entire leg.
- The face occupies most of the head and is usually equal to the length of the palm.
In addition to the above, there are many other anchor points that can be used to draw the most realistic proportions of the body and face, but I believe that these points have the greatest impact on the drawing, and the rest can overwhelm beginners and distract them from the main point.
Tweaking proportions
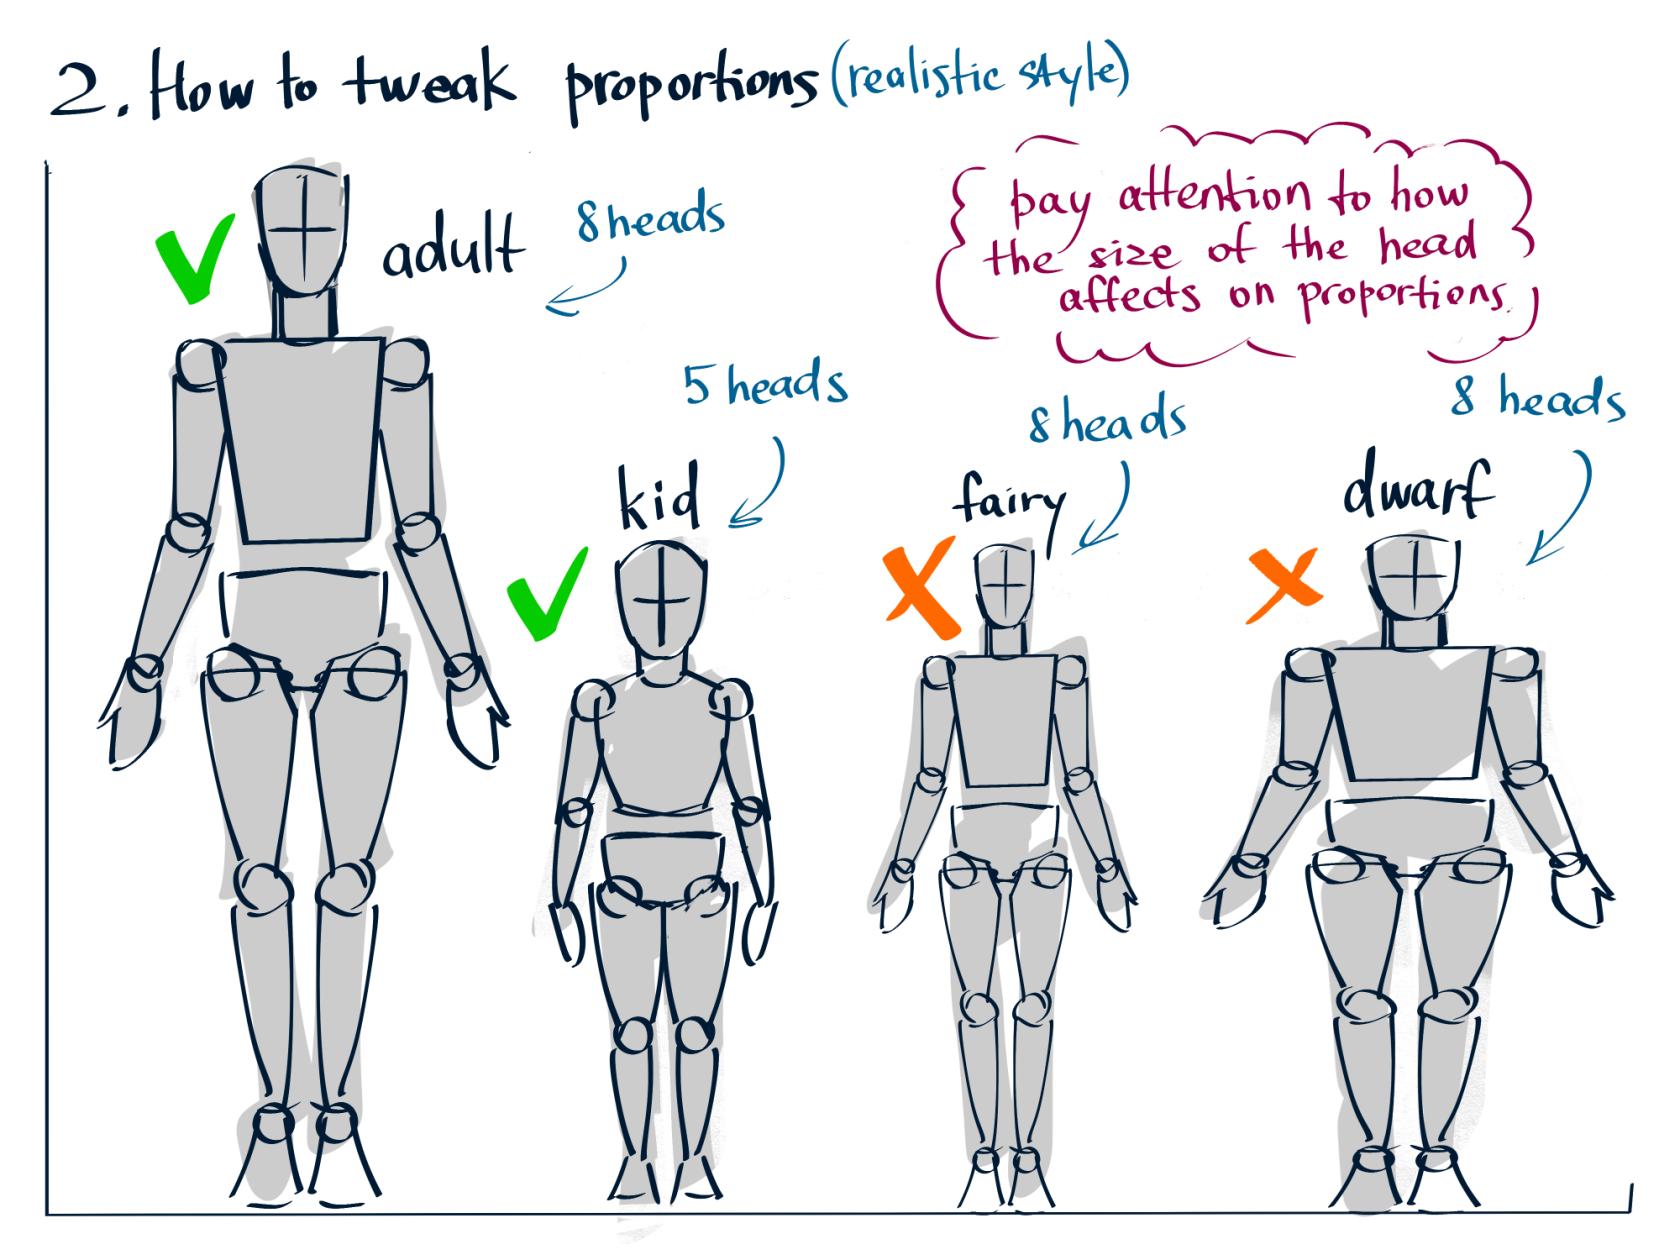
When drawing a realistic character, proportions are especially important, because even a slight distortion can lead to an undesirable result. But when designing unusual characters, such as dwarves, fairies, orcs, etc., these distortions can work in our favor!
Sexual dimorphism
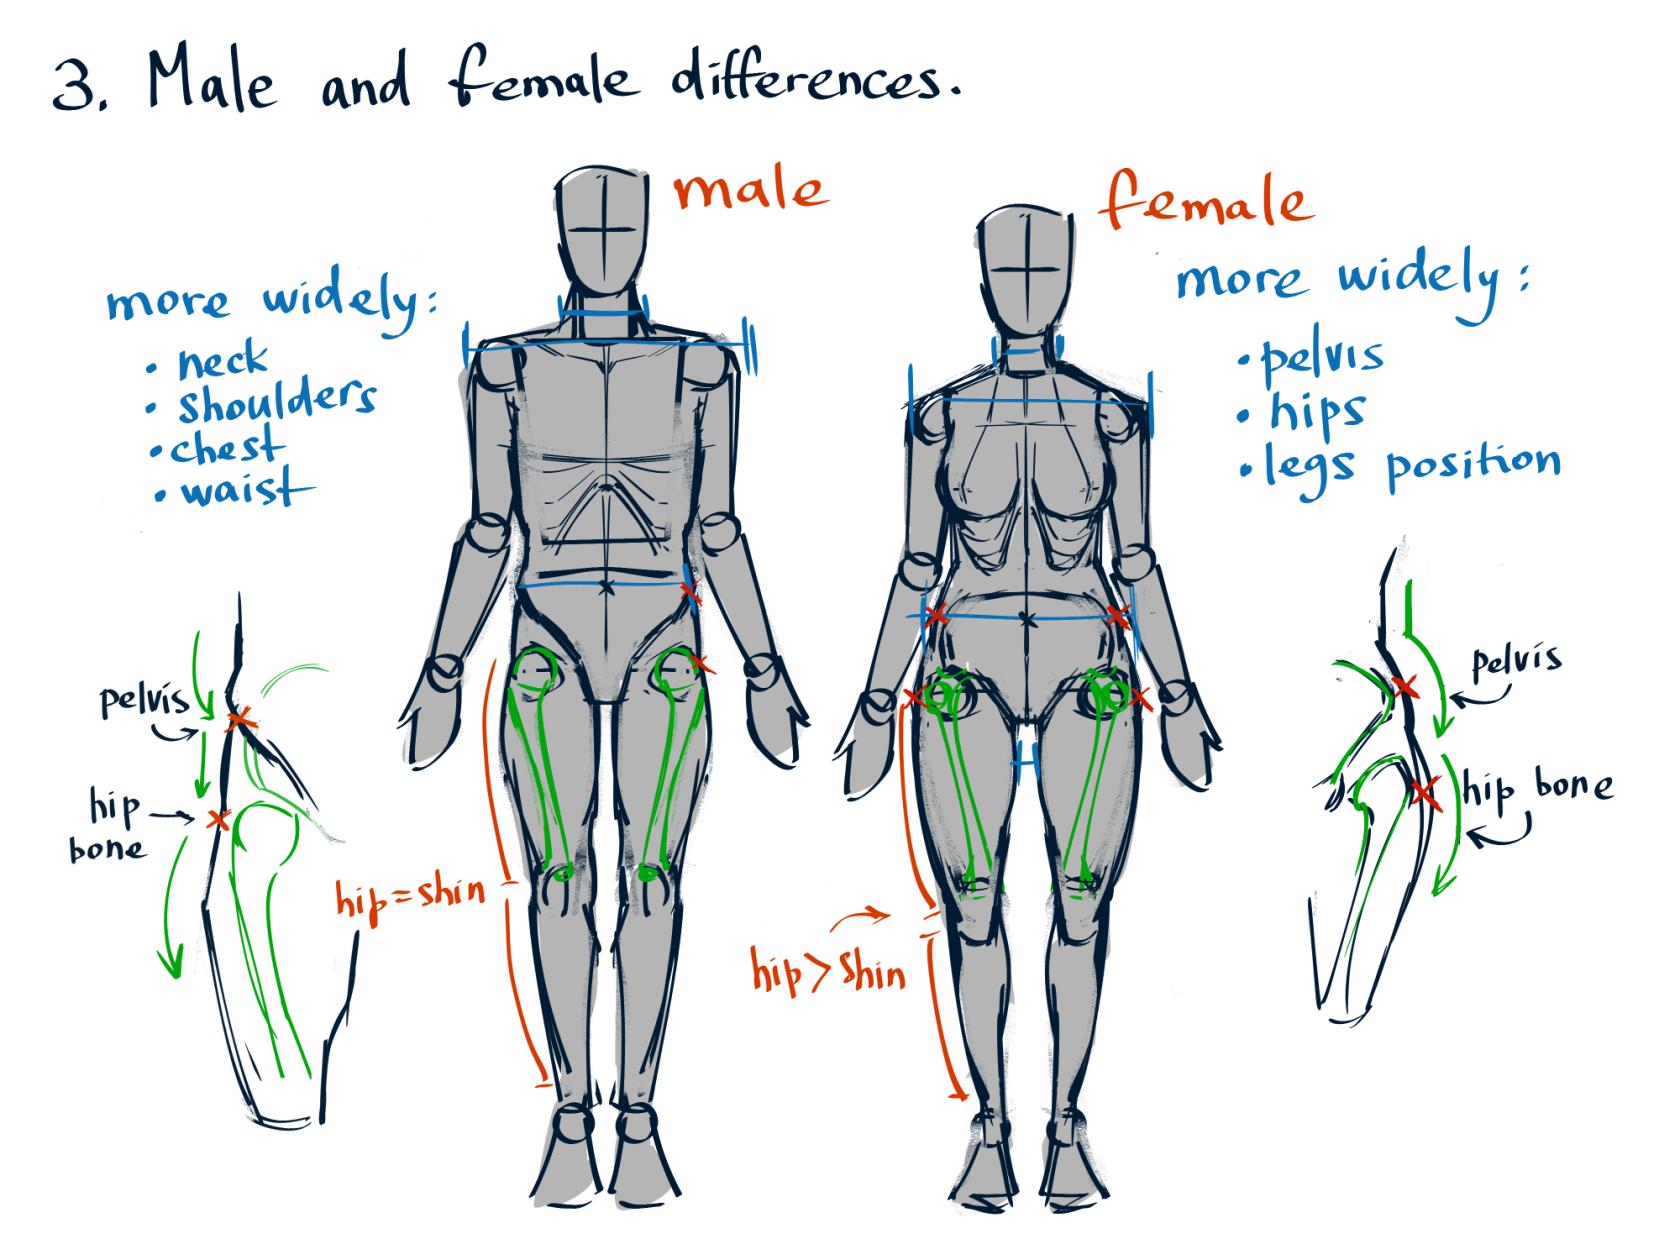
There are also slight differences in proportions between feminine and masculine figures.
The male figure typically has the following characteristics:
- Wider shoulders and chest
- A straighter silhouette
- Naturally more developed muscle mass
- When viewed in profile, the pelvis is positioned straight
The female figure typically has the following characteristics:
- A more curvaceous silhouette
- The pelvis dominates the shoulder girdle in terms of mass
- Due to the wider pelvis, the legs are slightly wider apart
- The legs are often longer in relation to the body than in the male figure
- The thigh may be longer than the lower leg
- Viewed in profile: the pelvis is tilted
Afterword
In conclusion, I would like to remind you that proportions are the foundation; without them, the entire figure will fall apart. Even if you know how to draw each muscle well, these “beads” will scatter if they are not strung on a “thread,” which we use to check ourselves for the accuracy of the figure's proportions.
Also, remember that the proportions discussed in this summary are a kind of generally accepted standard, and if the task requires you to go beyond the standard to achieve your goals, feel free to do so!
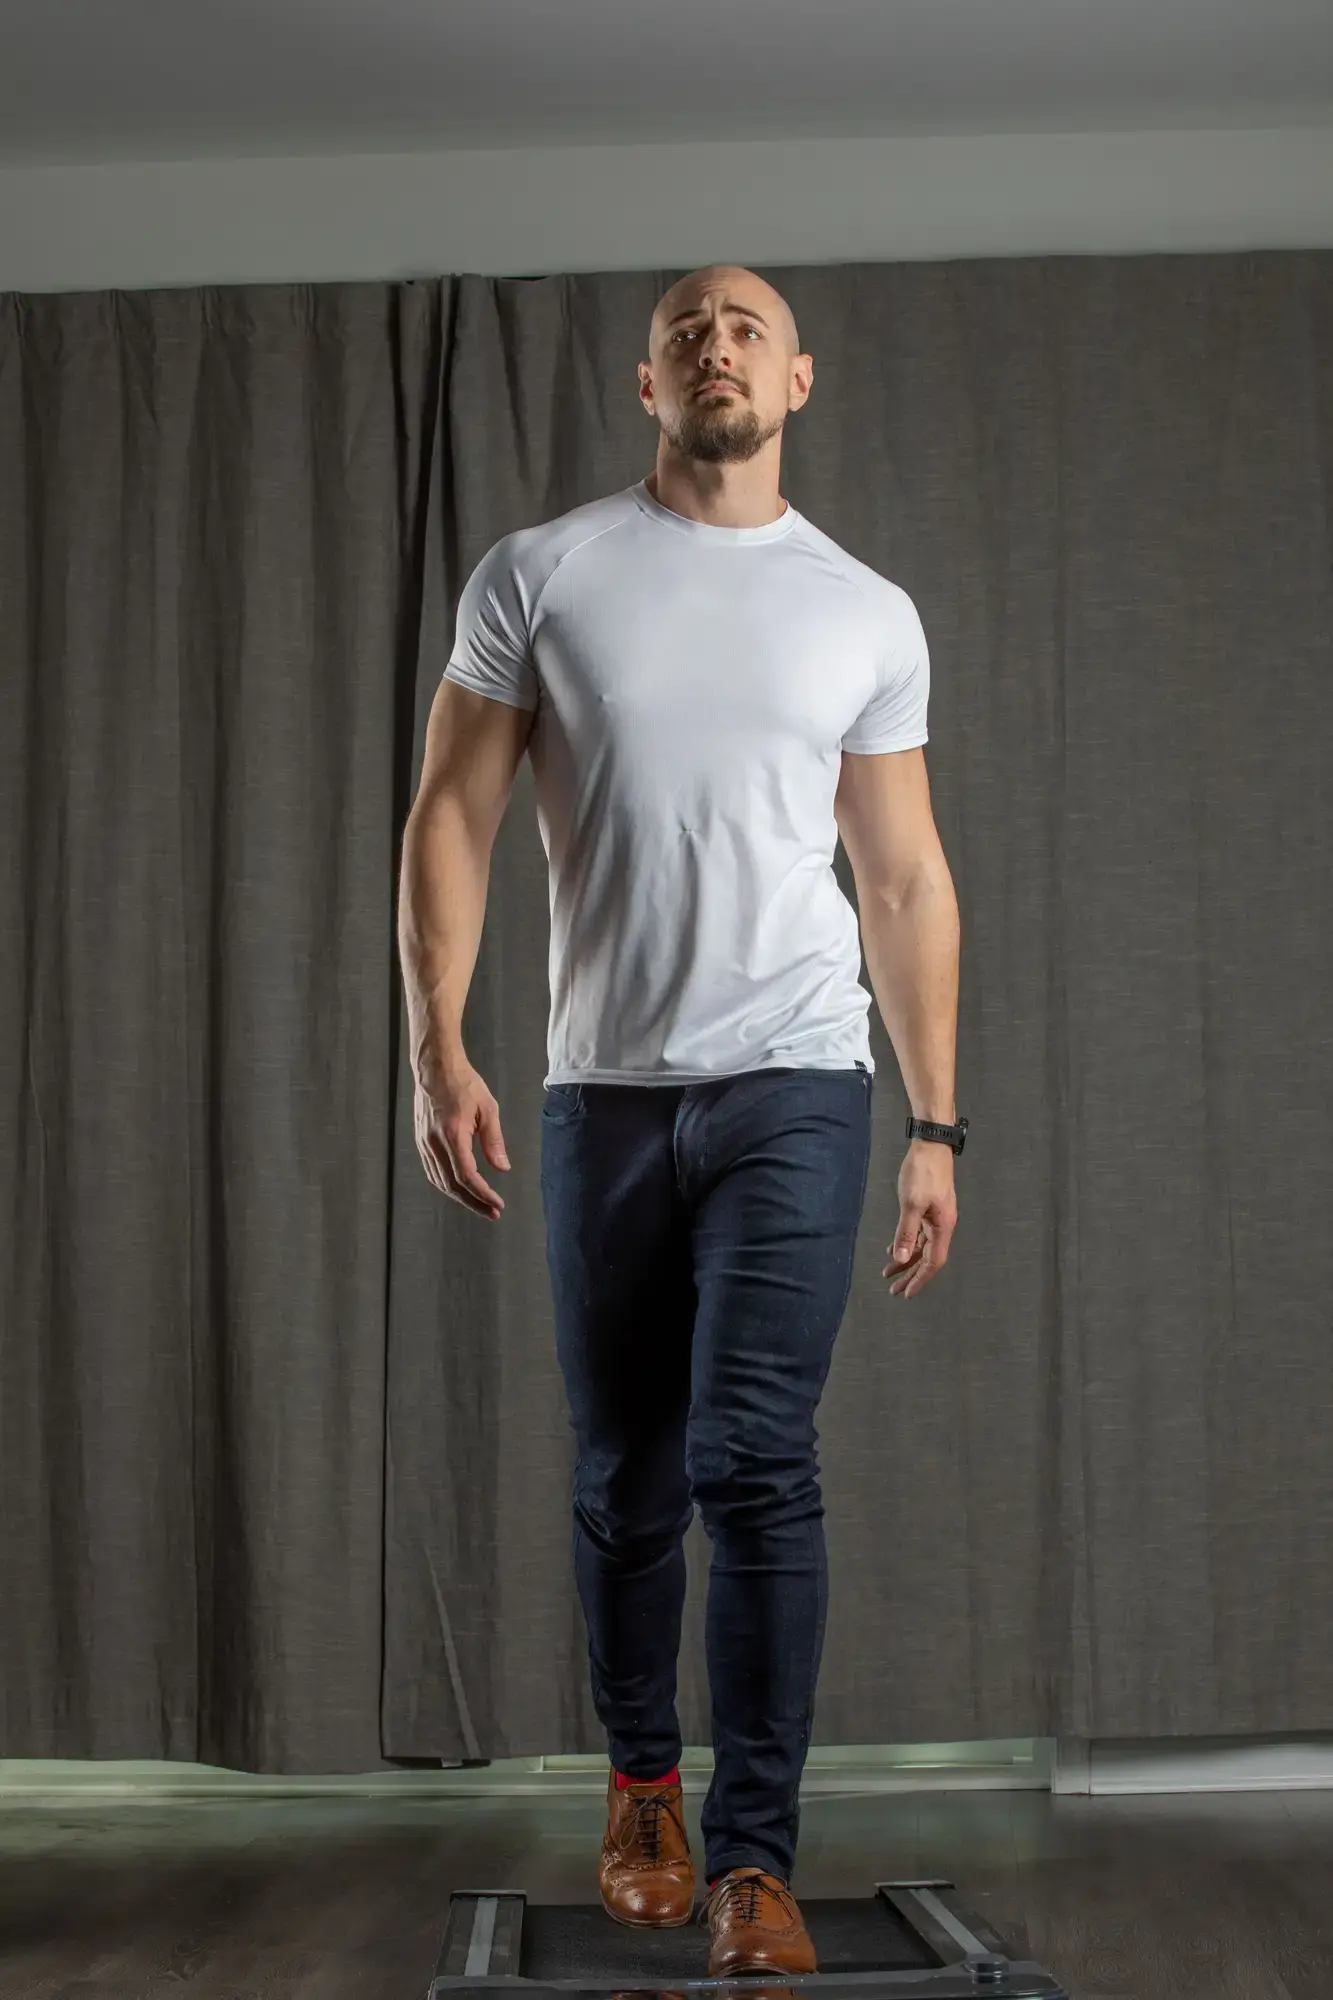
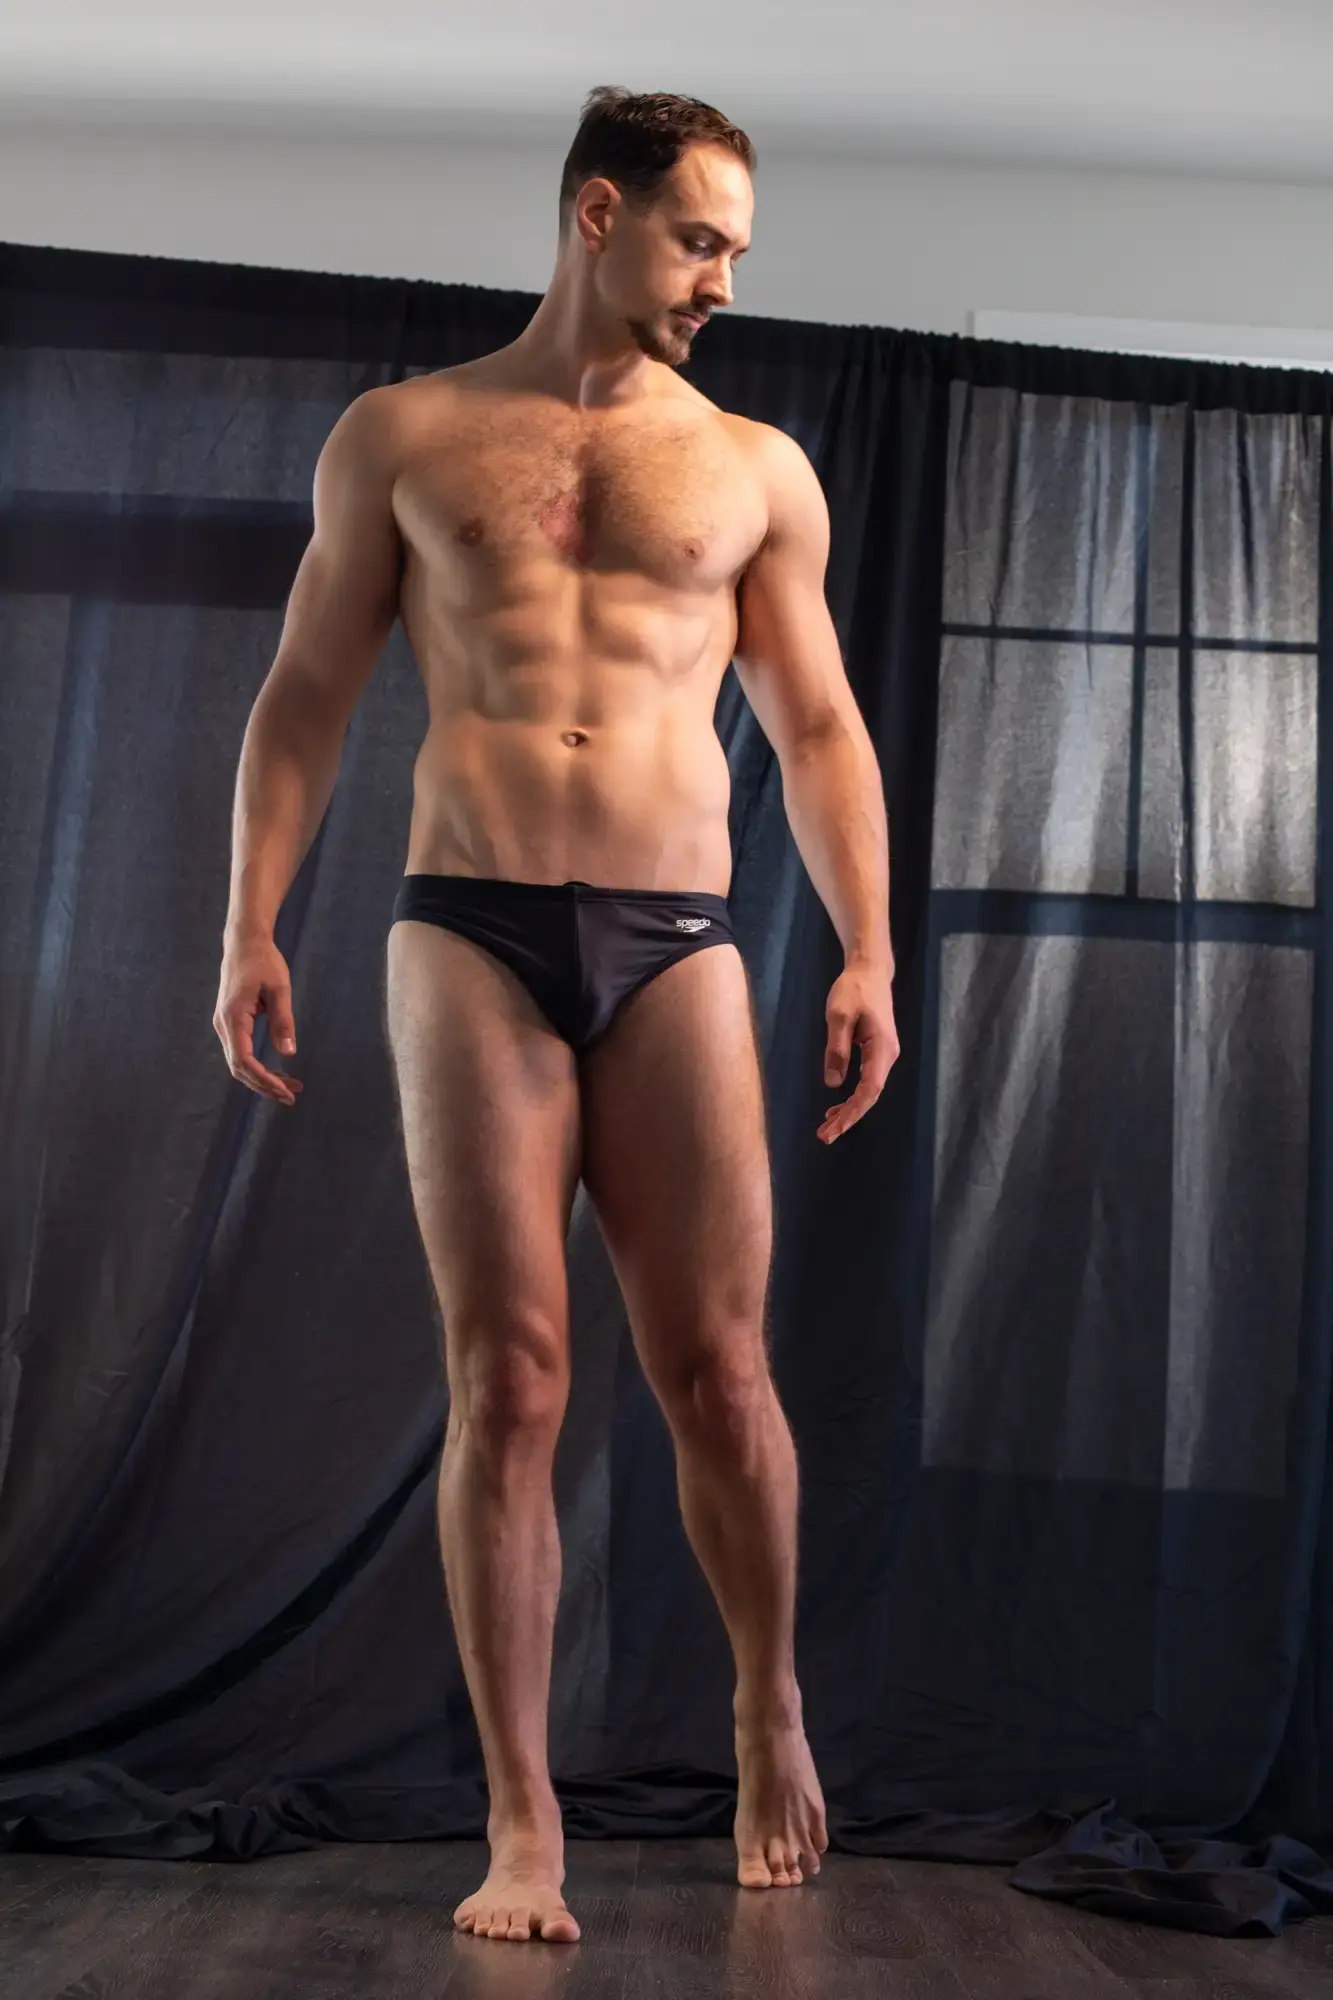
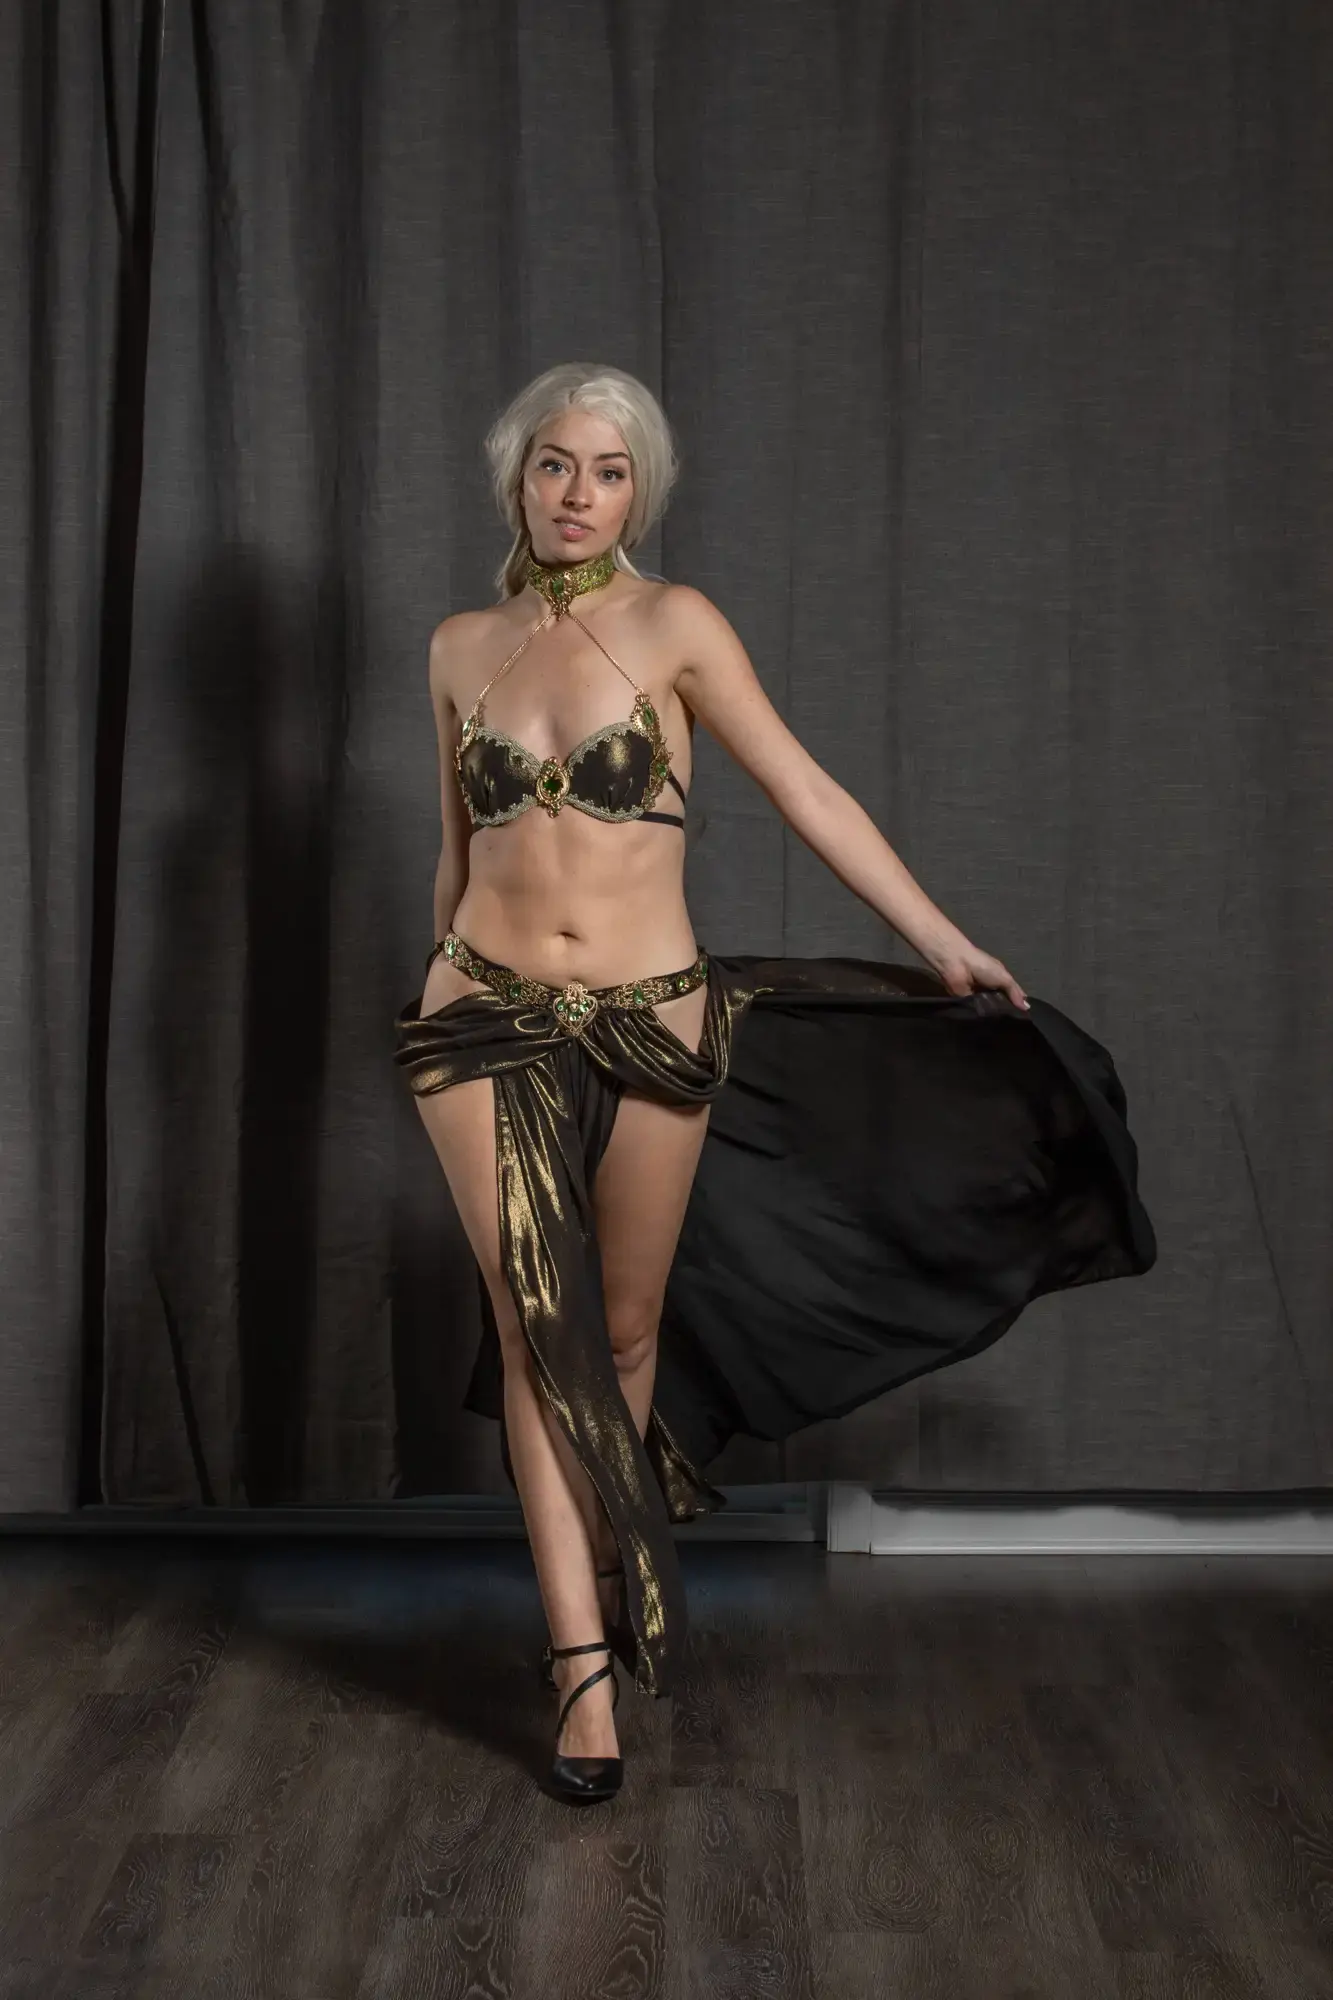
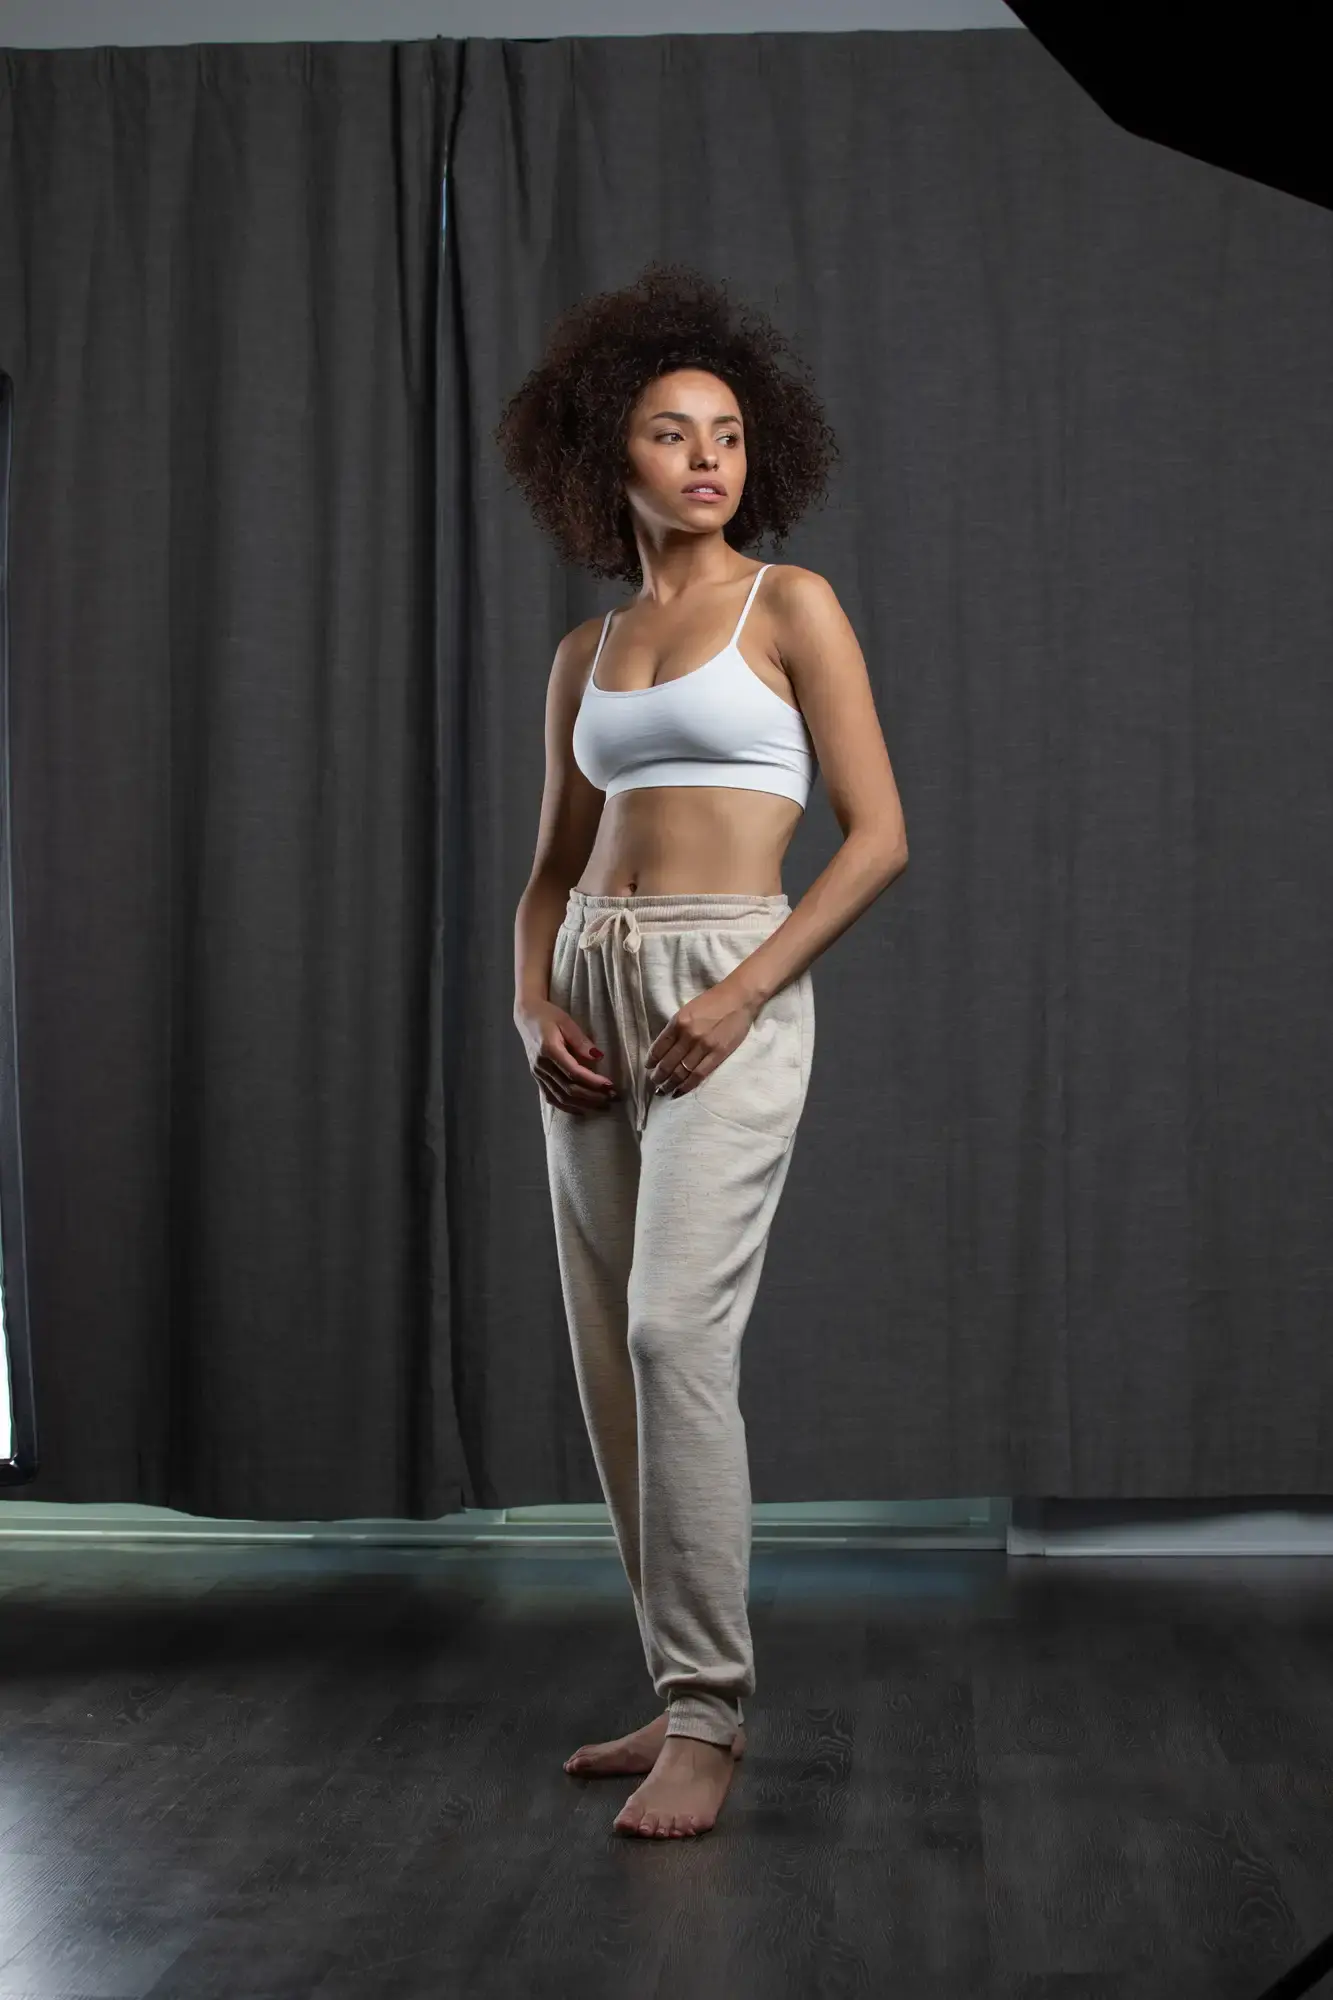
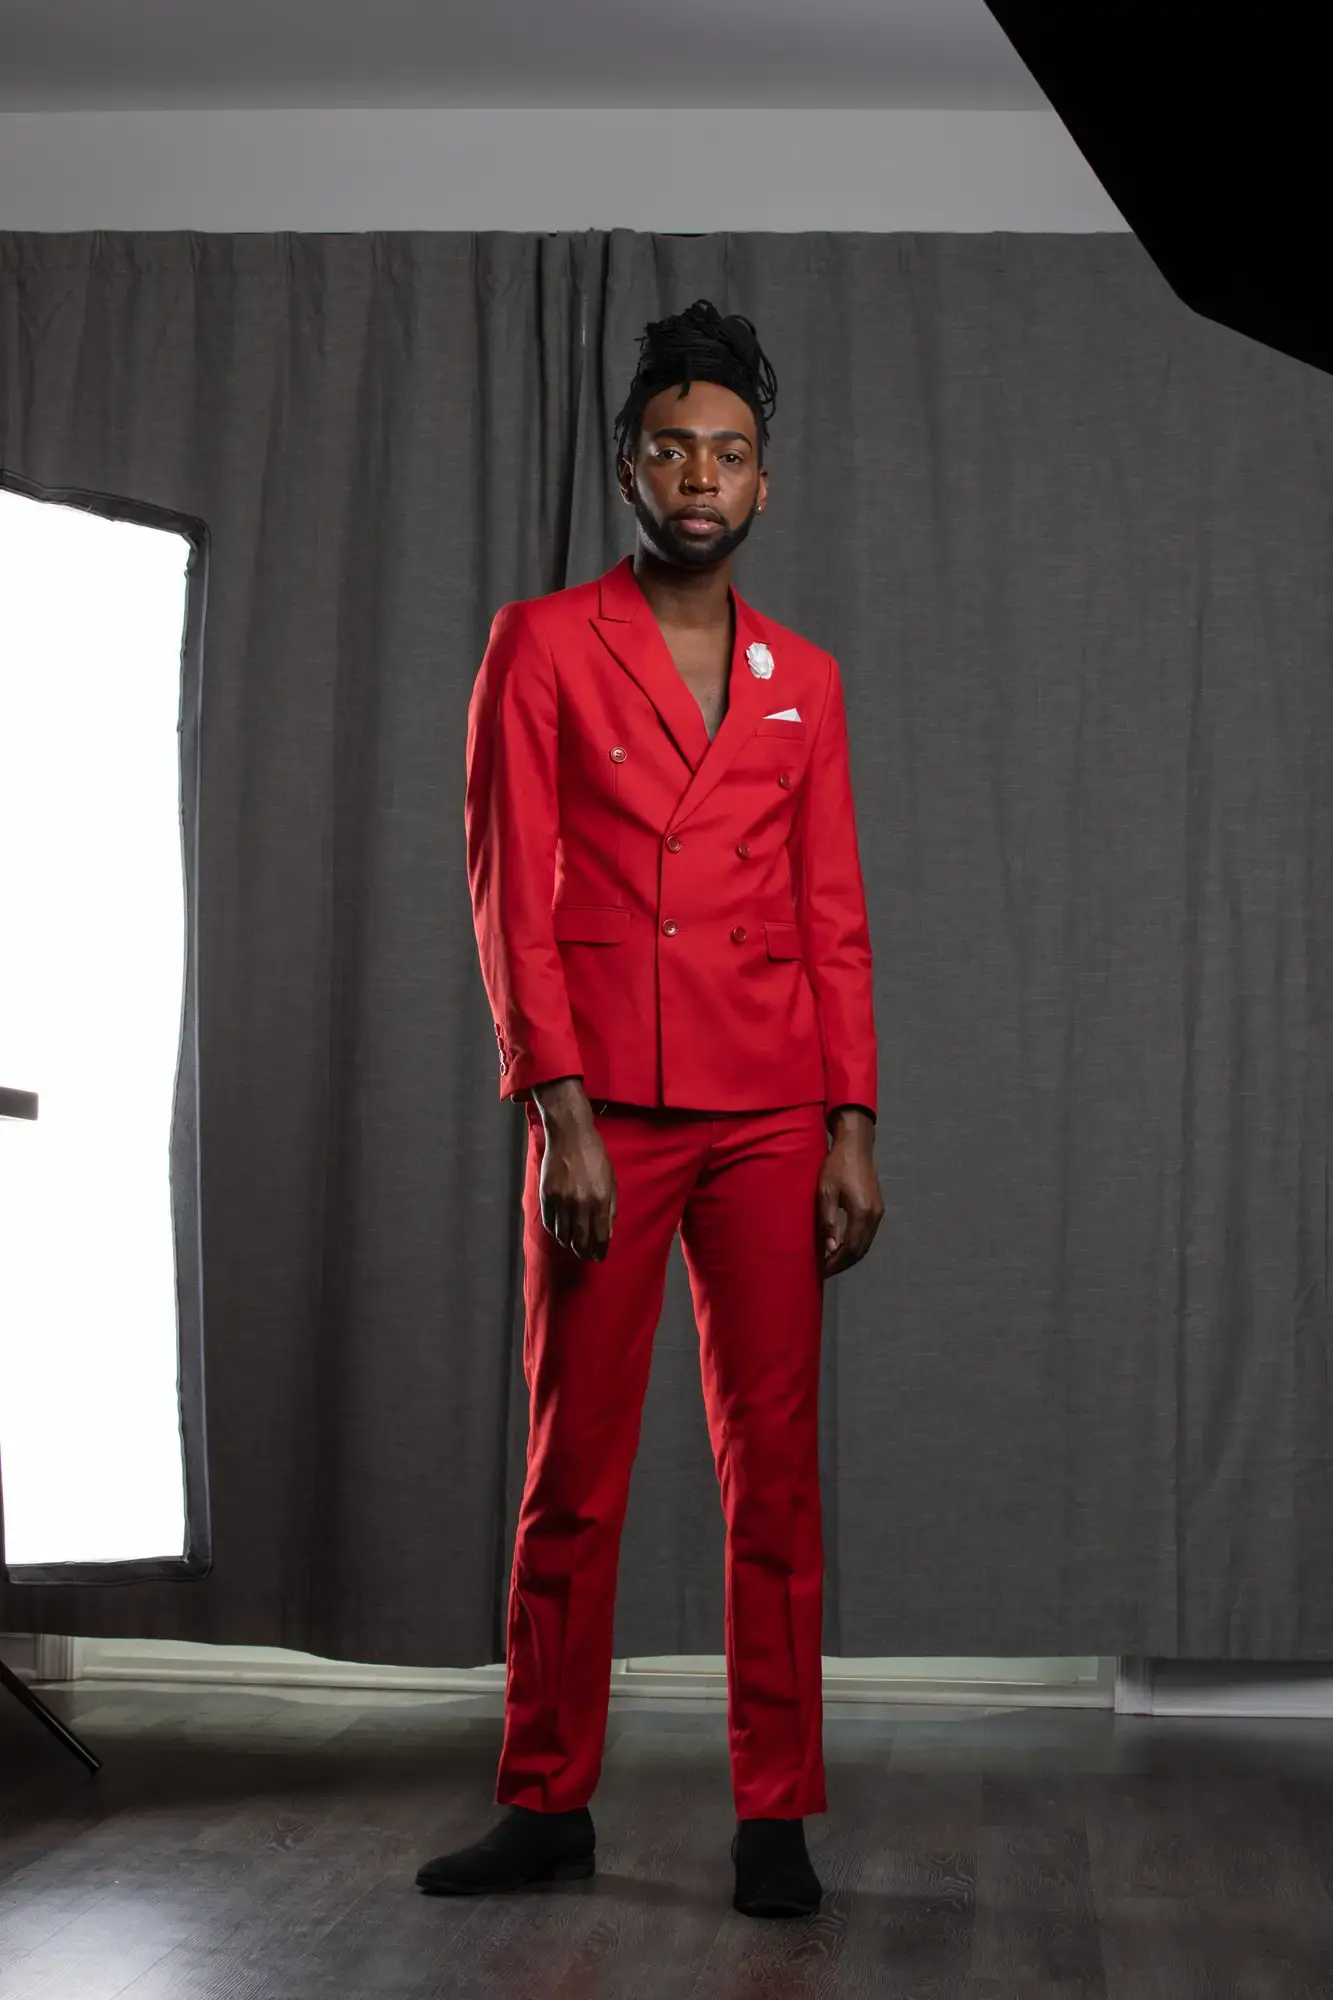
Reference Pictures (for study only)
From Reference.Picture; Grafit Studio
There of course isn't ONE average human body with the perfect proportions, but I still believe some reference is better than none :)

credit to: Reference.Pictures
credit to: Reference.Pictures
credit to: Reference.Pictures
credit to: Reference.Pictures
credit to: Grafit Studio
credit to: Grafit Studio
credit to: Reference.Pictures
credit to: Reference.Pictures
credit to: Grafit Studio
credit to: Grafit Studio