# Head + Neck
# Whole Body Parts
*for example: arm, leg, finger, nose*
# Nose (WIP By Bargain & Updated on 06/08/25)
Preview:
This line will be visible as a preview to your page - write what makes your page special or write whatever you want.
About **86 characters** are visible -> here is a counter: [wordcounter.net](https://wordcounter.net/character-count)
**\*insert drawings that harmonize well with the summary\***
#### **Functions**
The nose is one of the main passageways for air in and out of the lungs; warming, conditioning and filtering the air you breath.
#### **How to draw the body part**
You can work with simplified shapes so that other artists can memorize more information. You can also go more detailed, if that's what you prefer.
Different viewpoints help a lot with building a better understanding.
Drawings that visualize the functions mentioned before are always great.
**\*insert drawings that help drawing the body part\***
#### **Advanced**
Everything beyond the basics
What is also important if one wants to study this body part beyond the basics?
Go over the body part more in detail and share intermediate up to expert knowledge.
This part is collapsed at first, because we don't want to scare the reader with too much text.
**\*insert drawings if needed for explanation\***
Name the sources (websites) here, for example "From Wikimedia, Pixabay, Unsplash"
This part is collapsed at first, so that the images won't load when opening the article.
**\*insert real life pictures\***
Check out [this page](https://www.anatomyarchive.org/books/information-for-creator/page/reference-pictures "Reference Pictures") for resources and explanation
Preview:
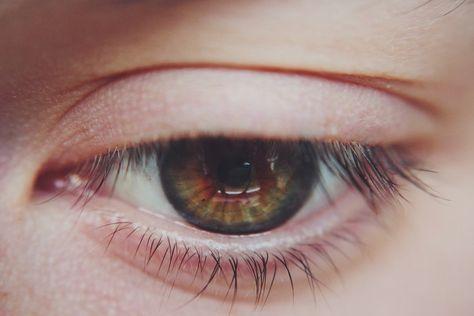
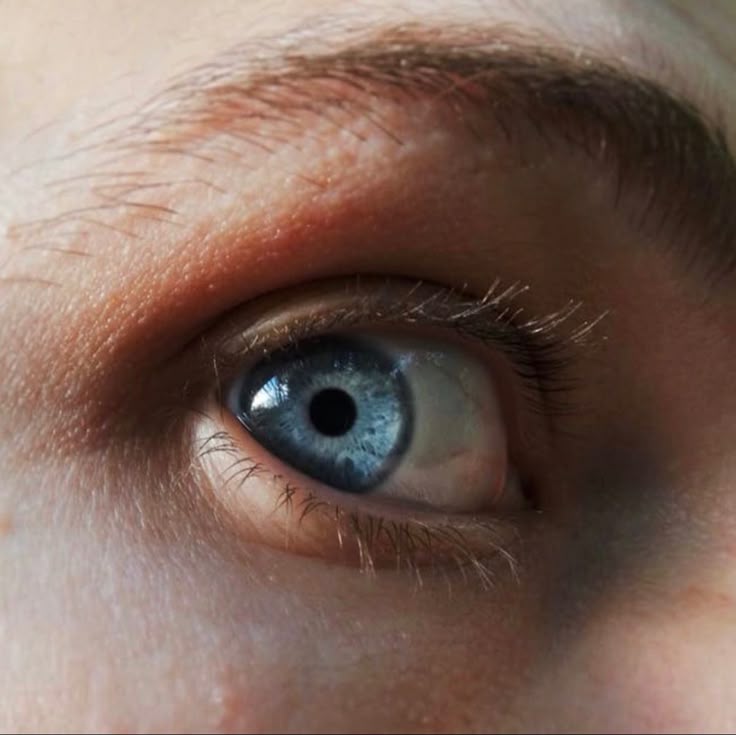
The human eye is the most fascinating feature that someone can have. Each person has their own unique eyes. truly, the eye is a door for a person's soul.
Eyes
[](https://www.anatomyarchive.org/uploads/images/gallery/2025-08/scaled-1680-/eye-ref.jpg)
[](https://www.anatomyarchive.org/uploads/images/gallery/2025-08/scaled-1680-/eye-ref-3.jpg)
[](https://www.anatomyarchive.org/uploads/images/gallery/2025-08/scaled-1680-/eye-ref-2.jpg)
[](https://www.anatomyarchive.org/uploads/images/gallery/2025-08/scaled-1680-/eye-ref-1.jpg)
Preview:
Overview of facial muscles, front and side view.
From Grafit Studio, Reference.Pictures
[](https://www.anatomyarchive.org/uploads/images/gallery/2025-10/scaled-1680-/reference-pictures-expressions-5163-copy.webp)
**credit to:** [**Reference.Pictures**](https://reference.pictures/)
[](https://www.anatomyarchive.org/uploads/images/gallery/2025-10/scaled-1680-/reference-pictures-expressions-5040-copy.webp)
**credit to:** [**Reference.Pictures**](https://reference.pictures/)
[](https://www.anatomyarchive.org/uploads/images/gallery/2025-10/scaled-1680-/grafit-sample-066.jpg)
**credit to:** [**Grafit Studio**](https://www.artstation.com/grafit/store?tab=digital_product)
[](https://www.anatomyarchive.org/uploads/images/gallery/2025-10/scaled-1680-/reference-pictures-expressions-5509-copy.webp)
**credit to:** [**Reference.Pictures**](https://reference.pictures/)
[](https://www.anatomyarchive.org/uploads/images/gallery/2025-10/scaled-1680-/reference-pictures-expressions-5545-copy.webp)
**credit to:** [**Reference.Pictures**](https://reference.pictures/)
[](https://www.anatomyarchive.org/uploads/images/gallery/2025-10/scaled-1680-/reference-pictures-expressions-5496-copy.webp)
**credit to:** [**Reference.Pictures**](https://reference.pictures/)
[](https://www.anatomyarchive.org/uploads/images/gallery/2025-10/scaled-1680-/grafit-sample-072.jpg)
**credit to:** [**Grafit Studio**](https://www.artstation.com/grafit/store?tab=digital_product)
[](https://www.anatomyarchive.org/uploads/images/gallery/2025-10/scaled-1680-/grafit-sample-070.jpg)
**credit to:** [**Grafit Studio**](https://www.artstation.com/grafit/store?tab=digital_product)
[](https://www.anatomyarchive.org/uploads/images/gallery/2025-10/scaled-1680-/grafit-sample-071.jpg)
**credit to:** [**Grafit Studio**](https://www.artstation.com/grafit/store?tab=digital_product)
[](https://www.anatomyarchive.org/uploads/images/gallery/2025-10/scaled-1680-/reference-pictures-expressions-vanessa-040-copy.webp)
**credit to:** [**Reference.Pictures**](https://reference.pictures/)
[](https://www.anatomyarchive.org/uploads/images/gallery/2025-10/scaled-1680-/grafit-sample-064.jpg)
**credit to:** [**Grafit Studio**](https://www.artstation.com/grafit/store?tab=digital_product)
[](https://www.anatomyarchive.org/uploads/images/gallery/2025-10/scaled-1680-/grafit-sample-062.jpg)
**credit to:** [**Grafit Studio**](https://www.artstation.com/grafit/store?tab=digital_product)
[](https://www.anatomyarchive.org/uploads/images/gallery/2025-10/scaled-1680-/grafit-sample-078.jpg)
**credit to:** [**Grafit Studio**](https://www.artstation.com/grafit/store?tab=digital_product)
[](https://www.anatomyarchive.org/uploads/images/gallery/2025-10/scaled-1680-/grafit-sample-073.jpg)
**credit to:** [**Grafit Studio**](https://www.artstation.com/grafit/store?tab=digital_product)
[](https://www.anatomyarchive.org/uploads/images/gallery/2025-10/scaled-1680-/reference-pictures-expressions-frannie-034-copy.webp)
**credit to:** [**Grafit Studio**](https://www.artstation.com/grafit/store?tab=digital_product)
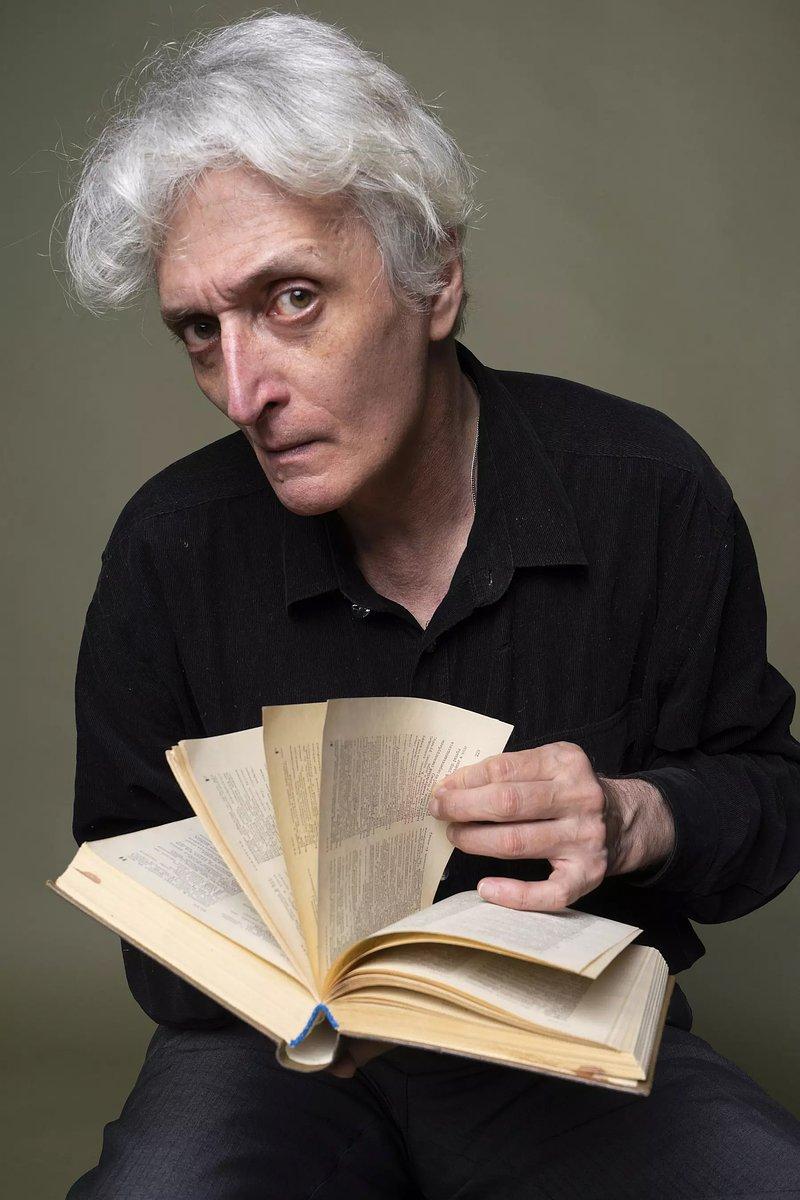
Preview:
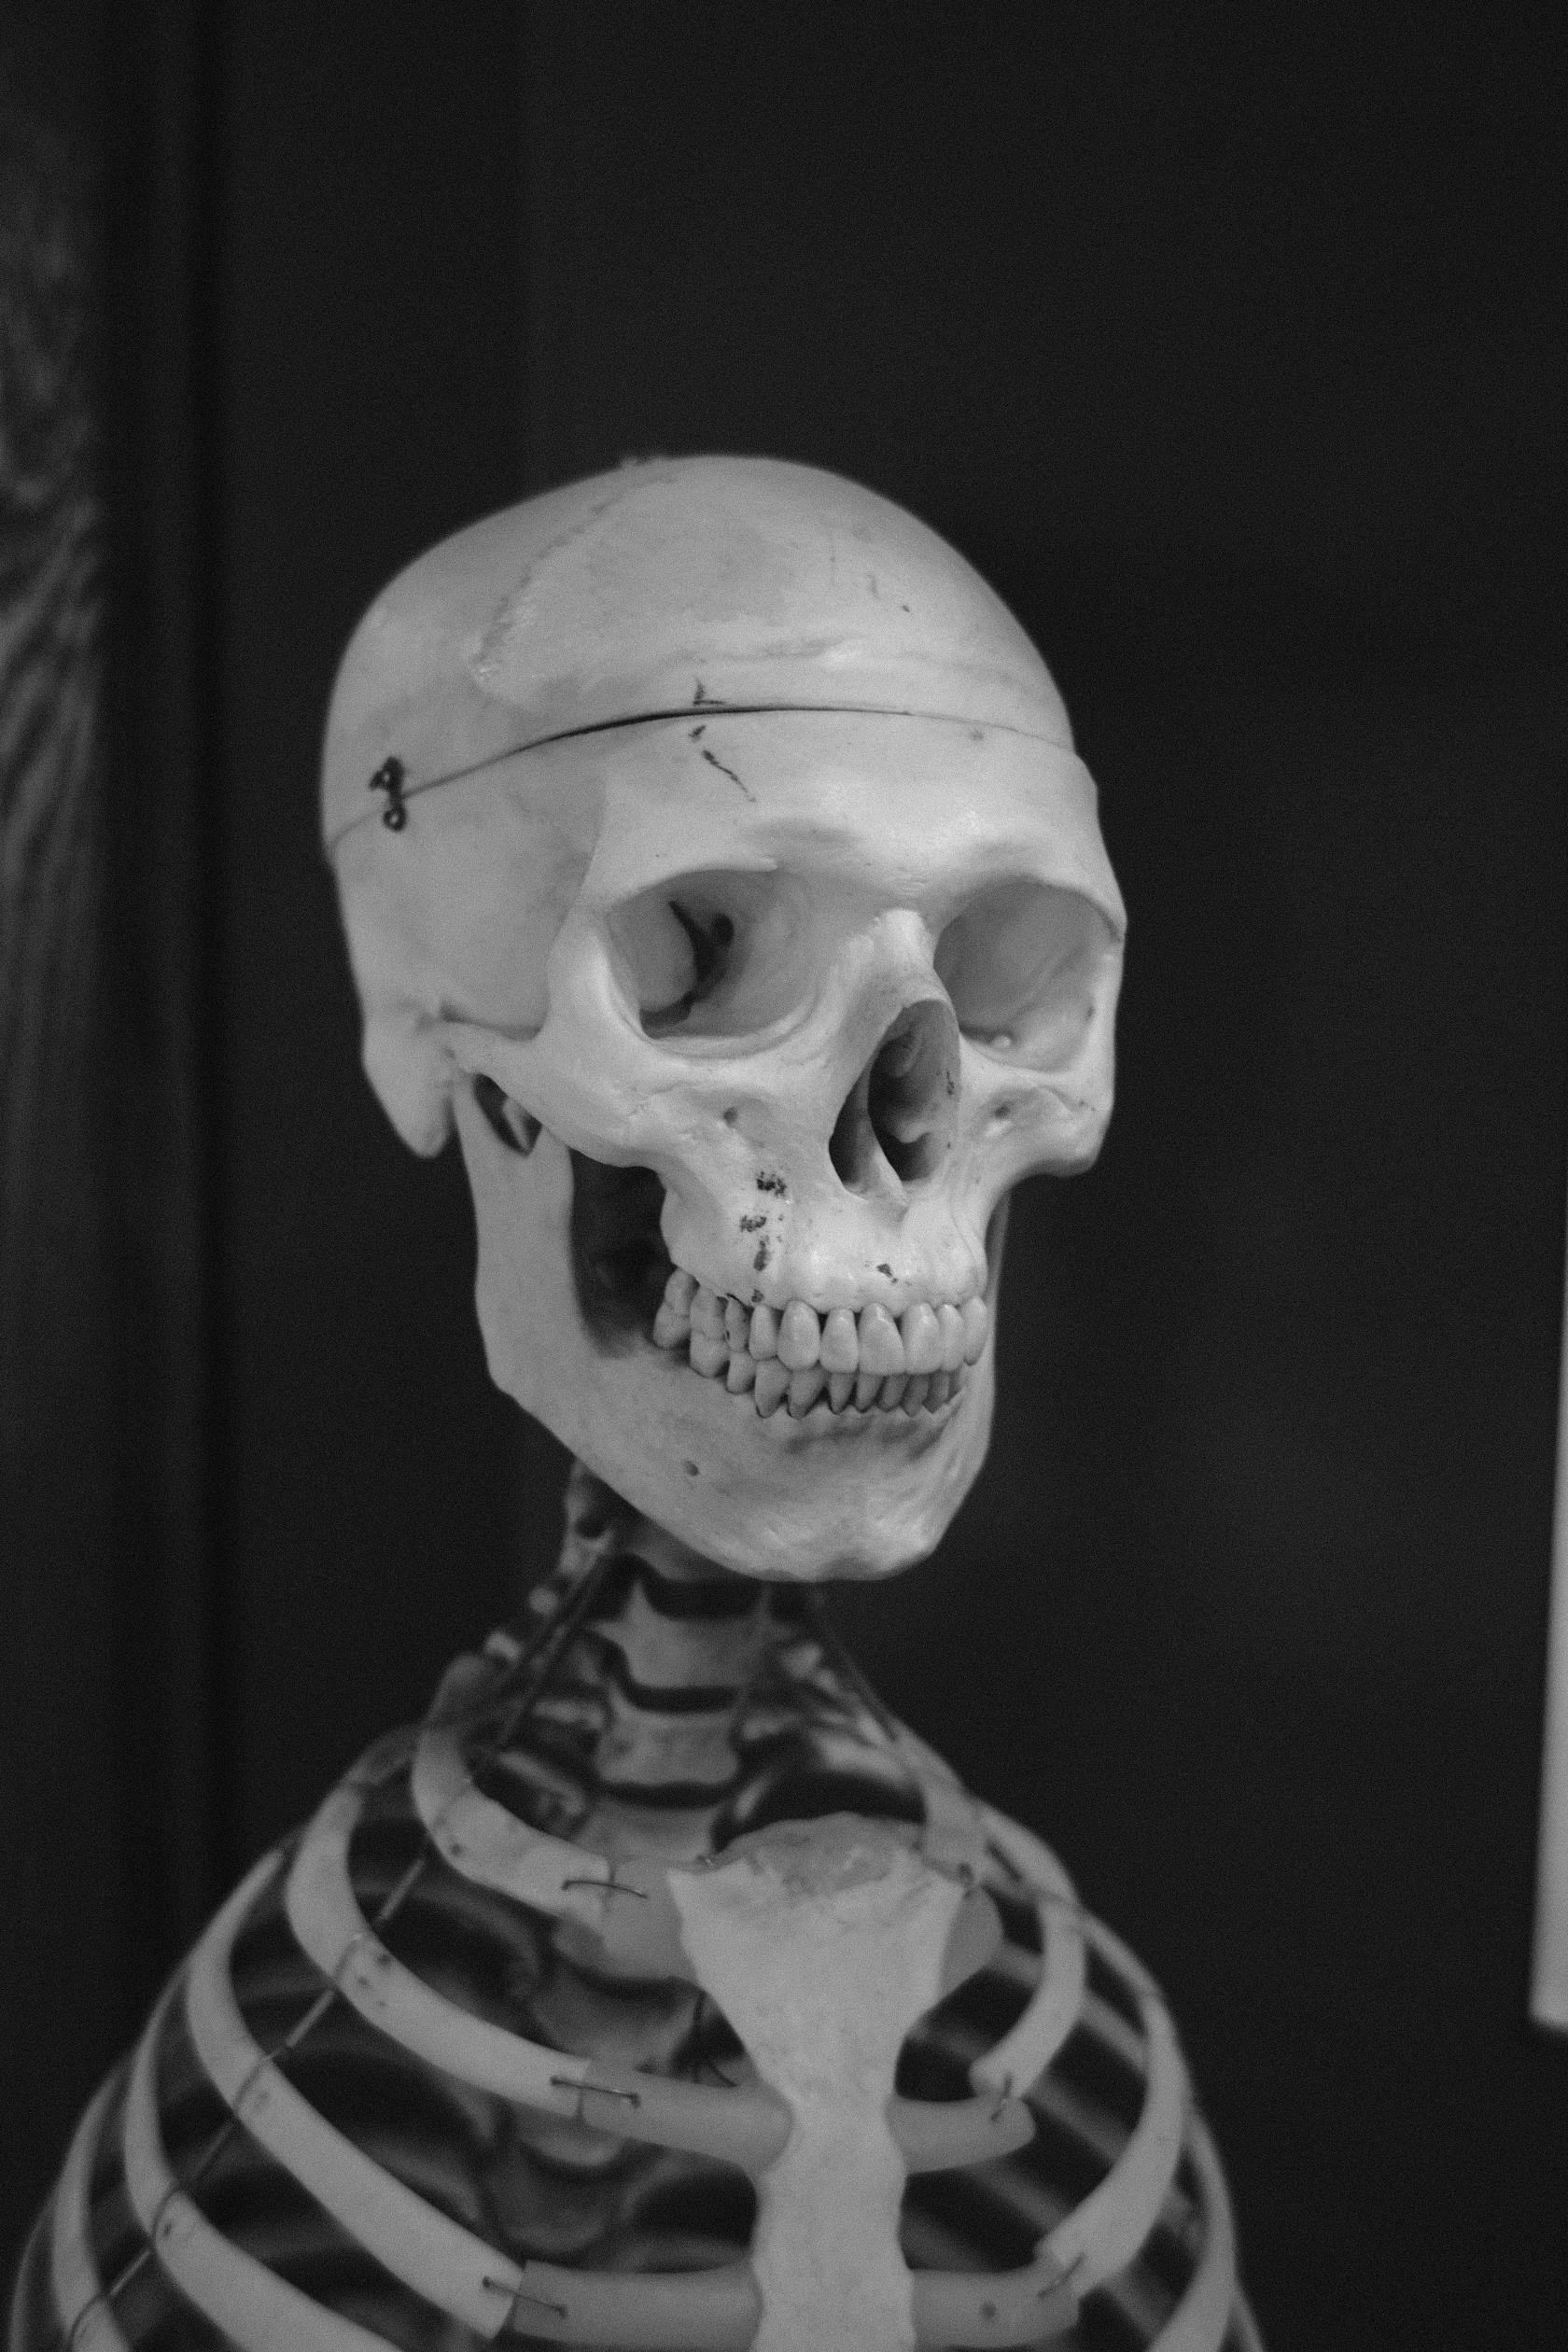
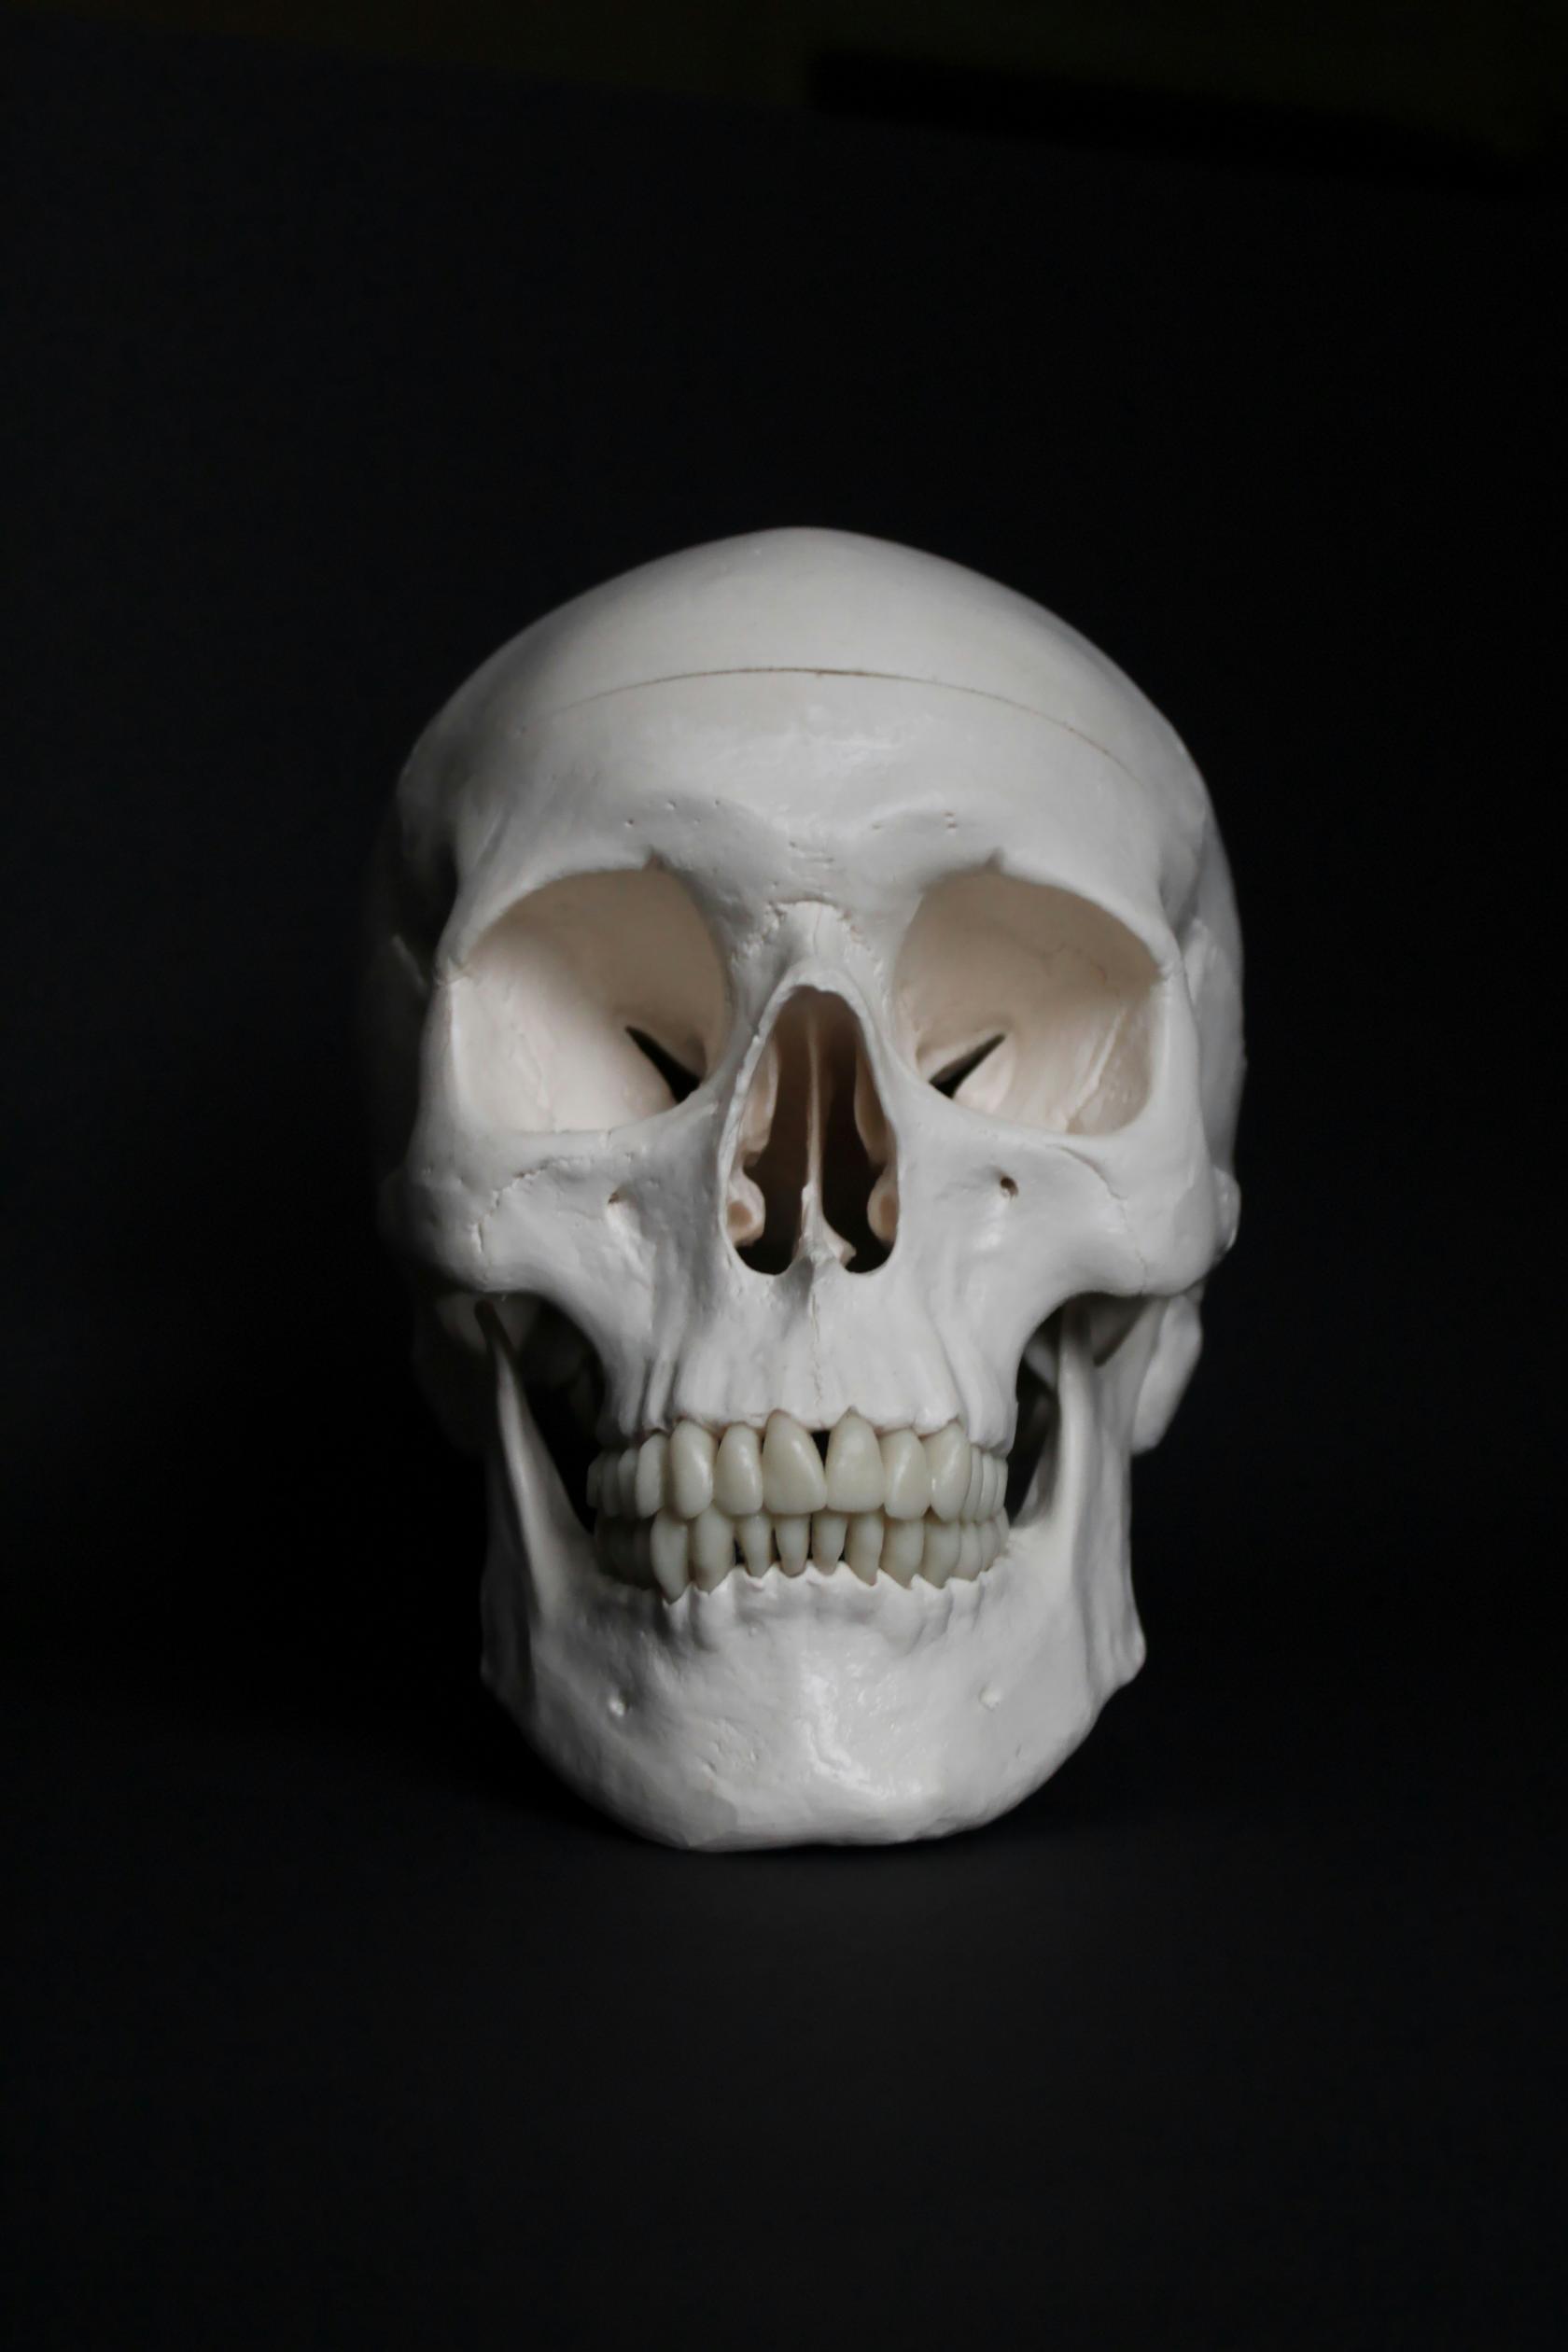
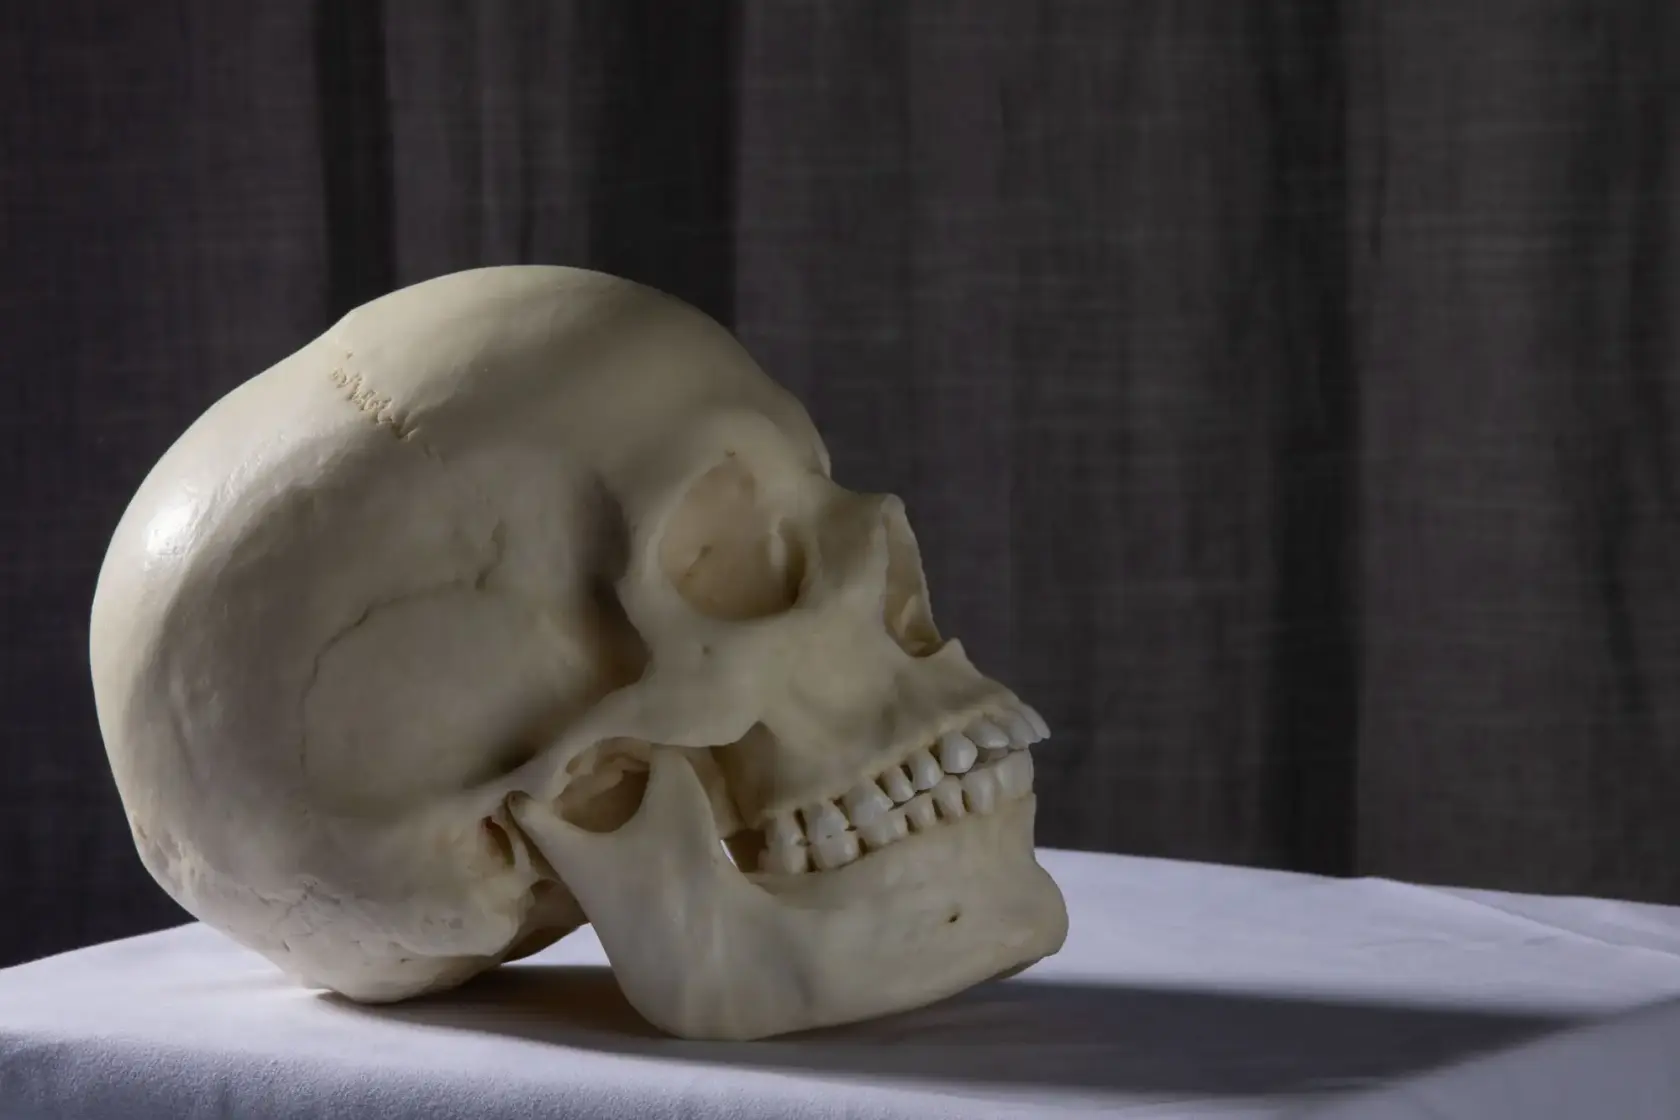
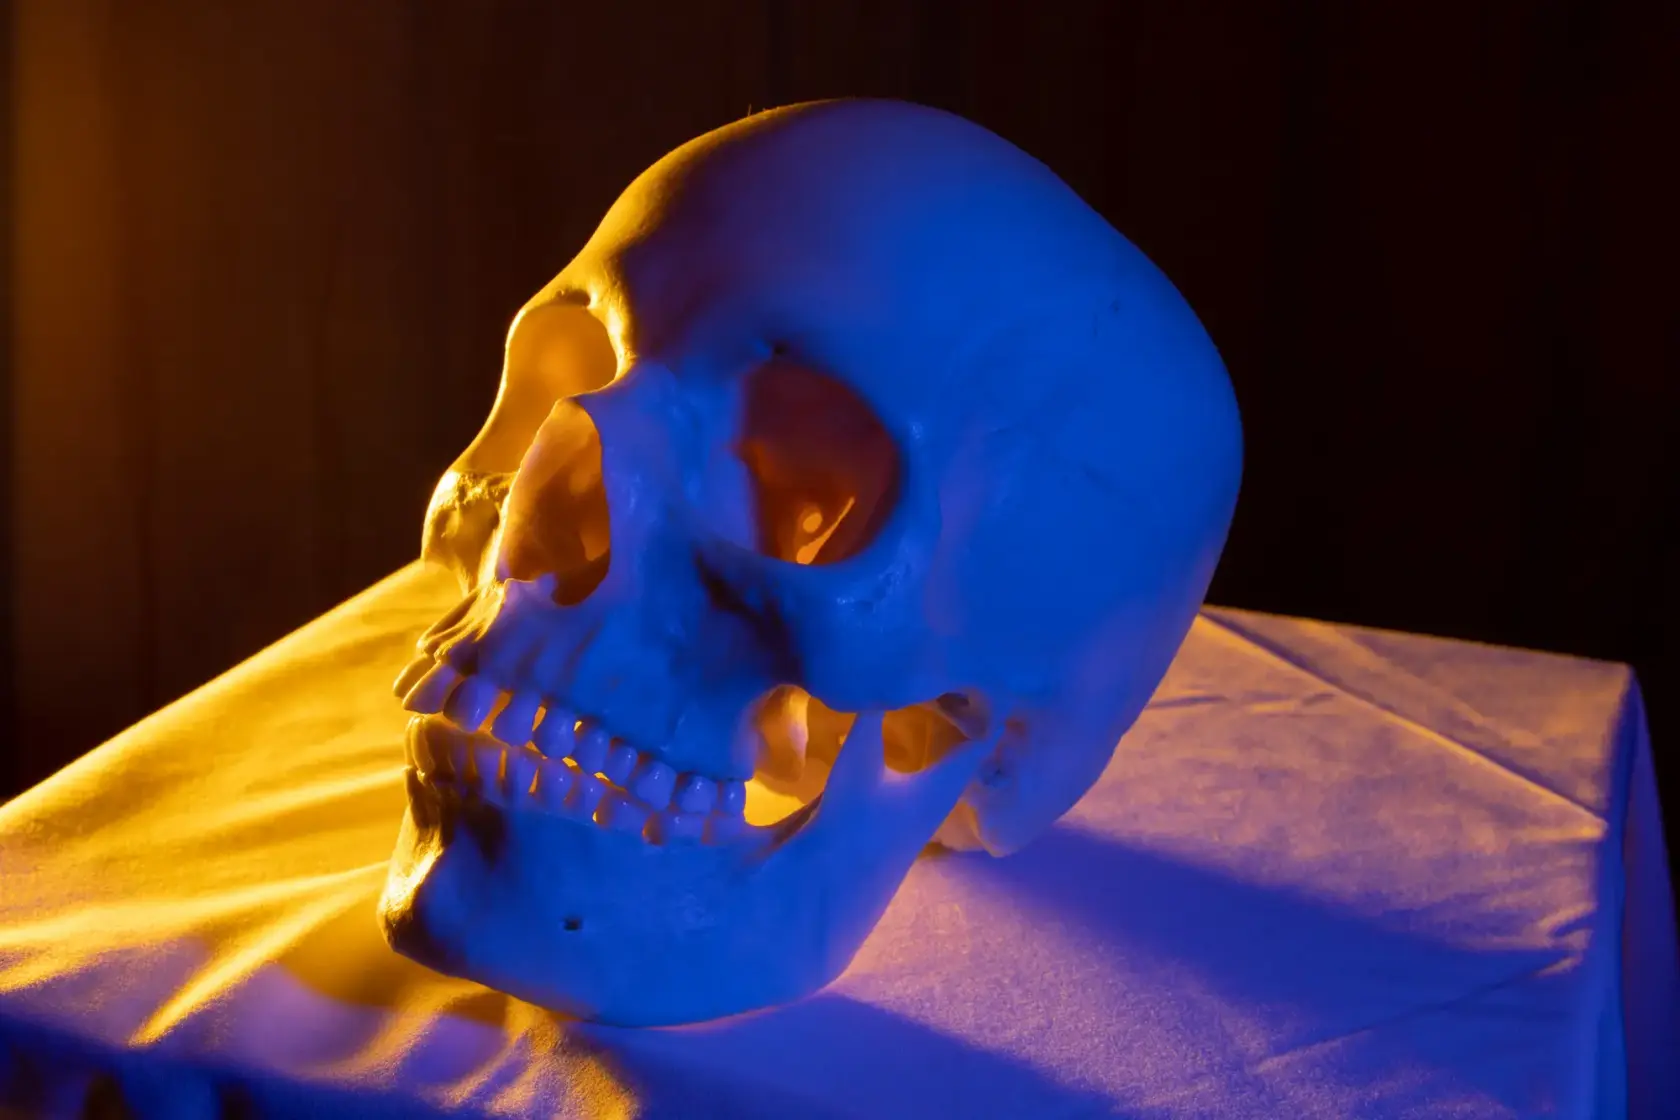
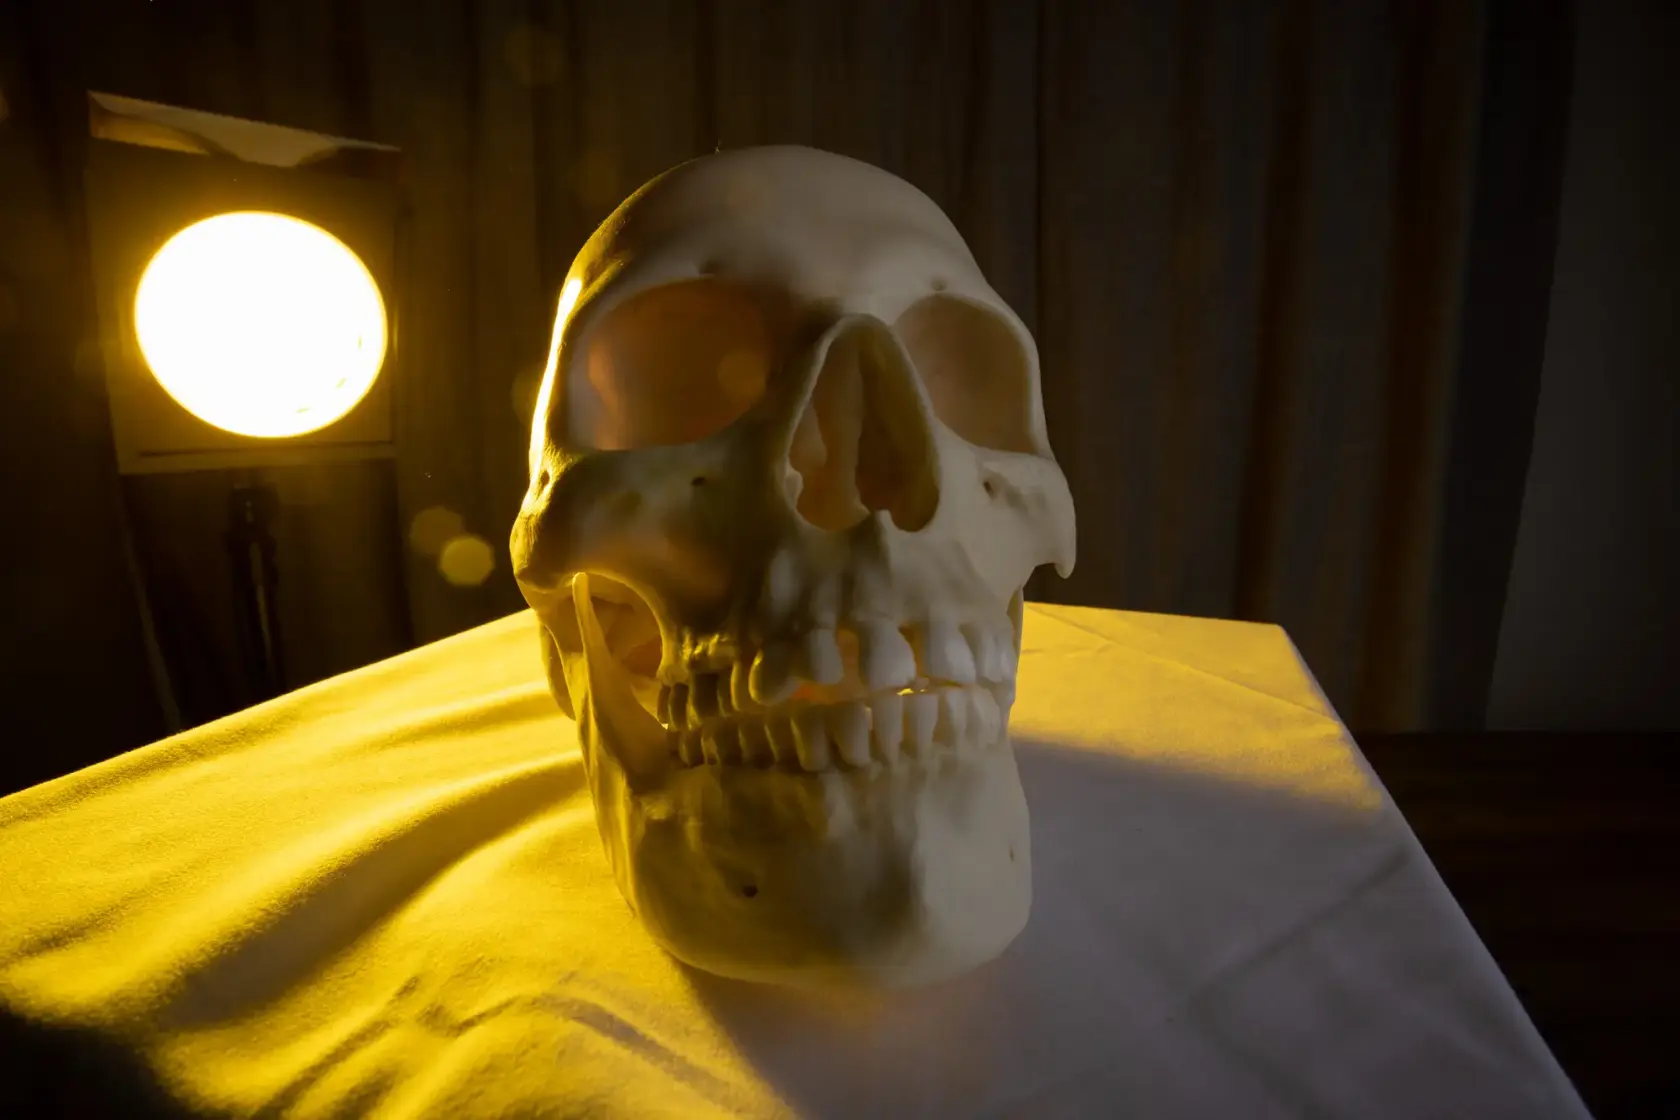
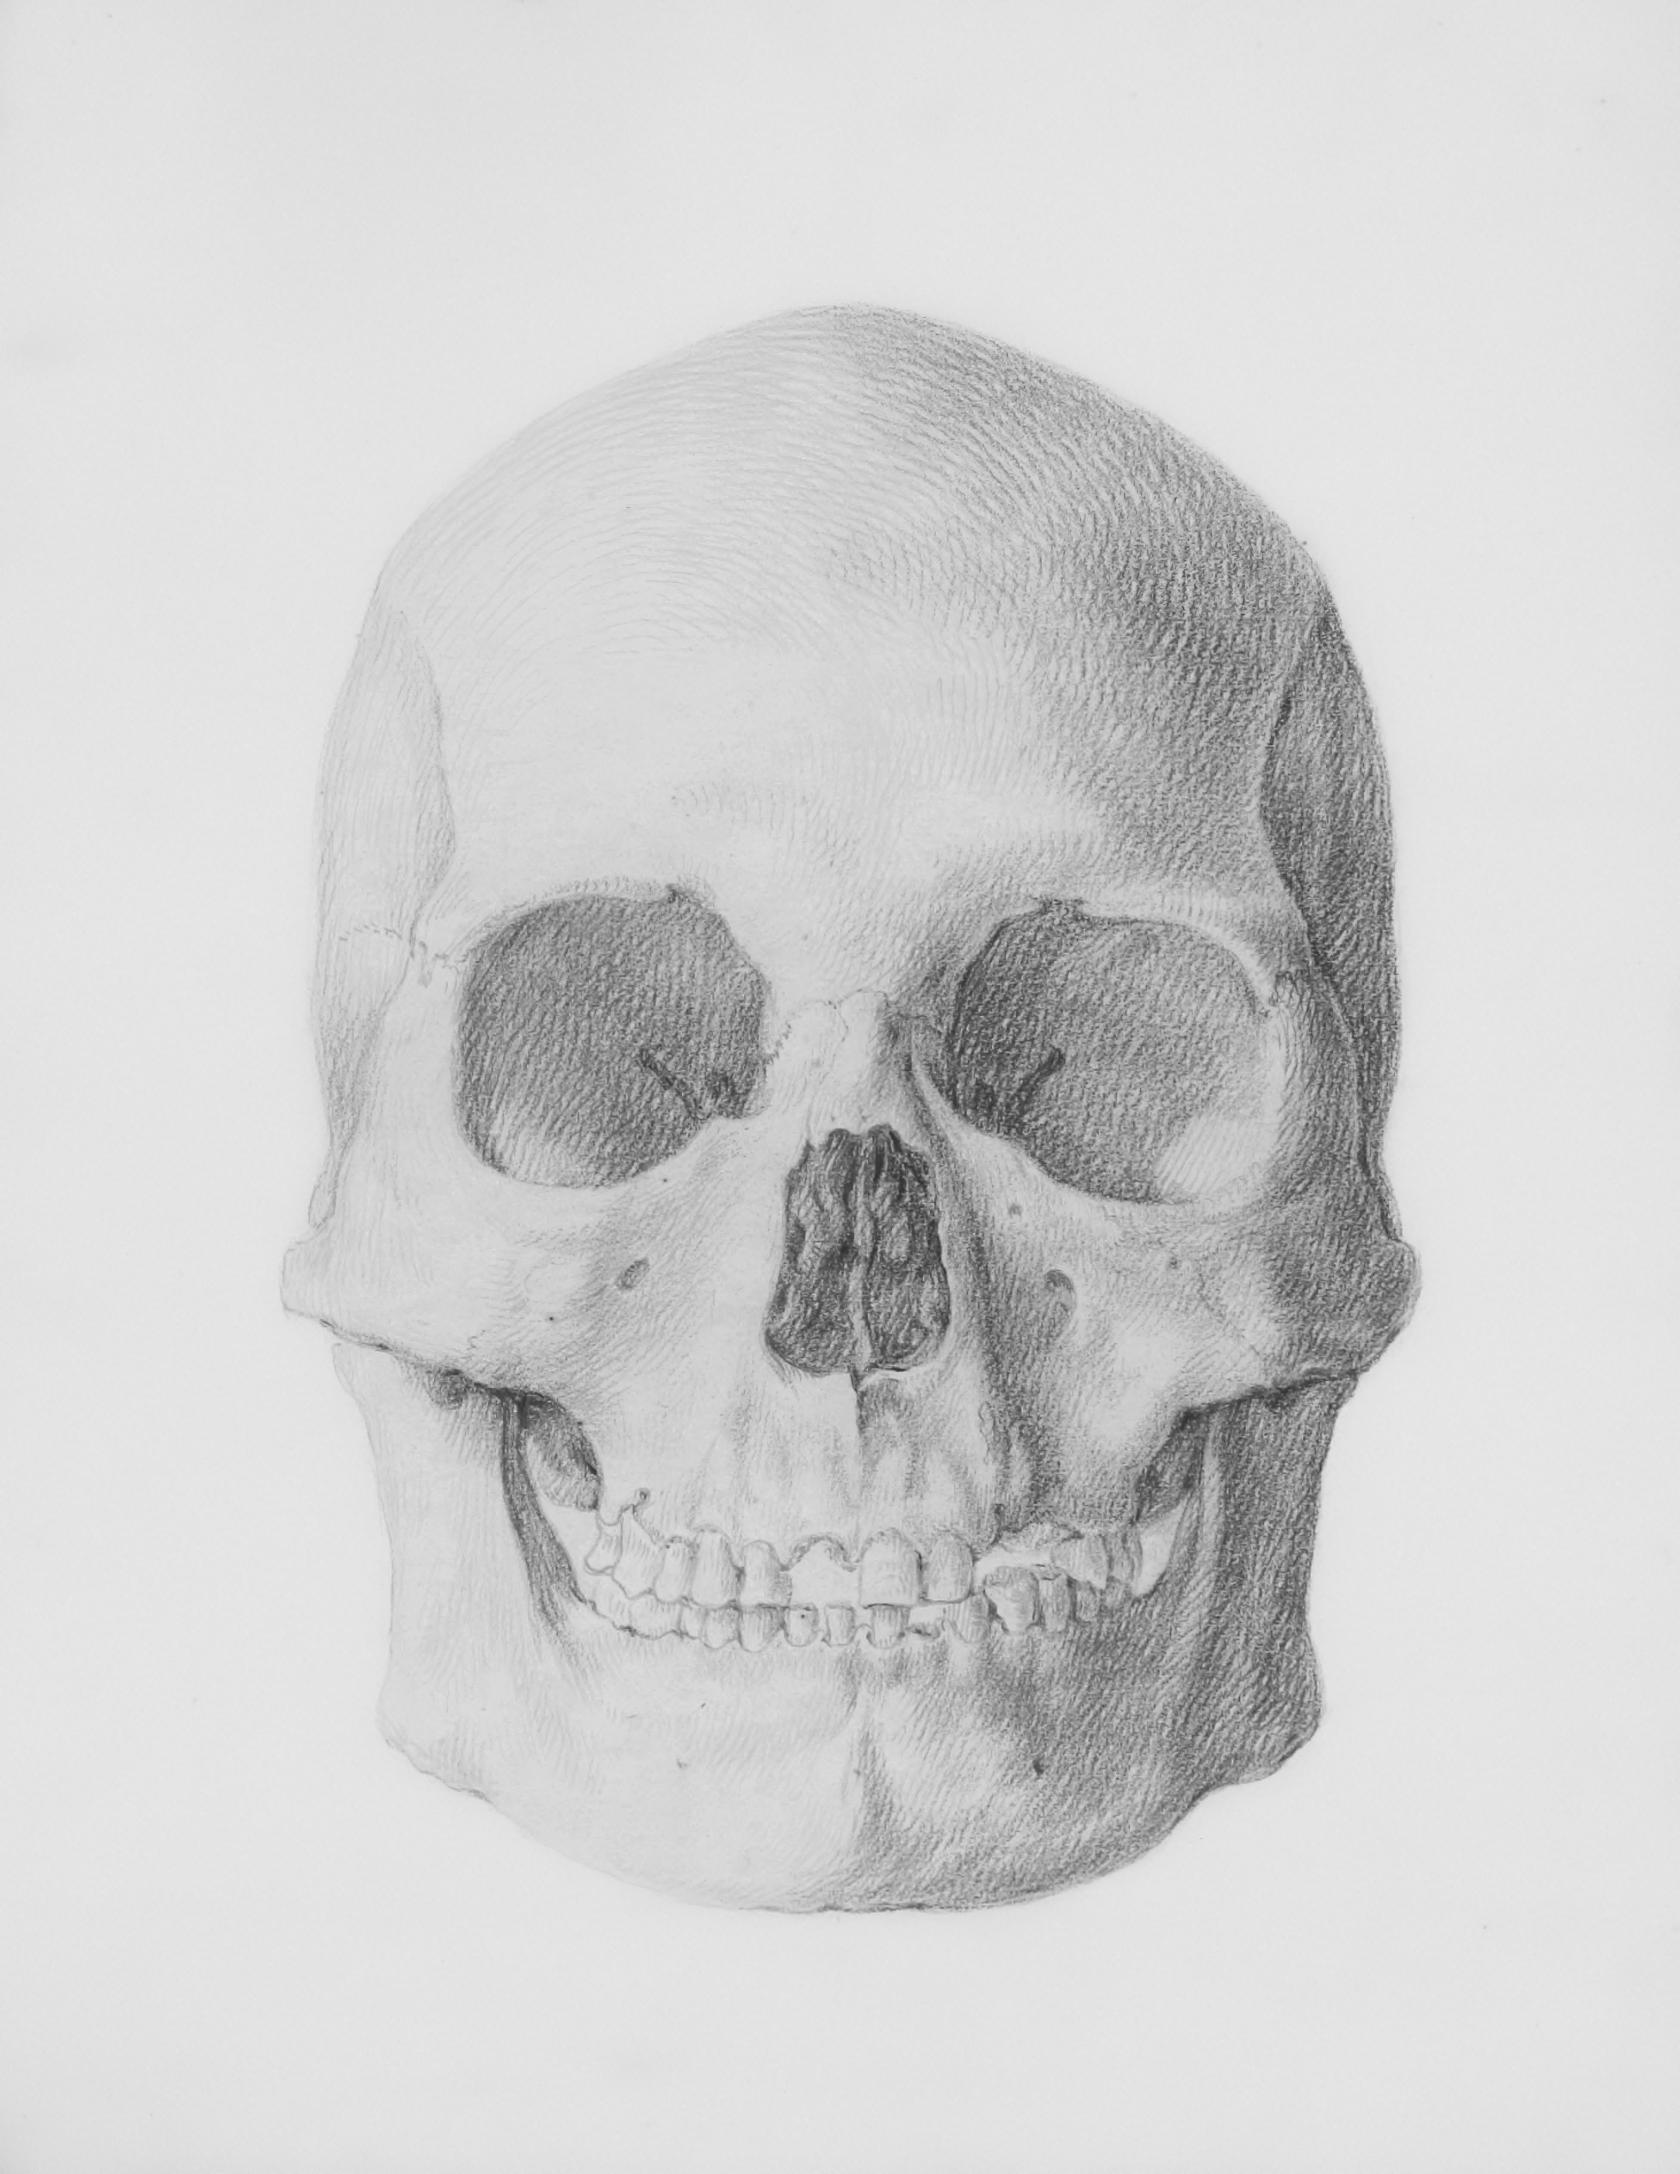
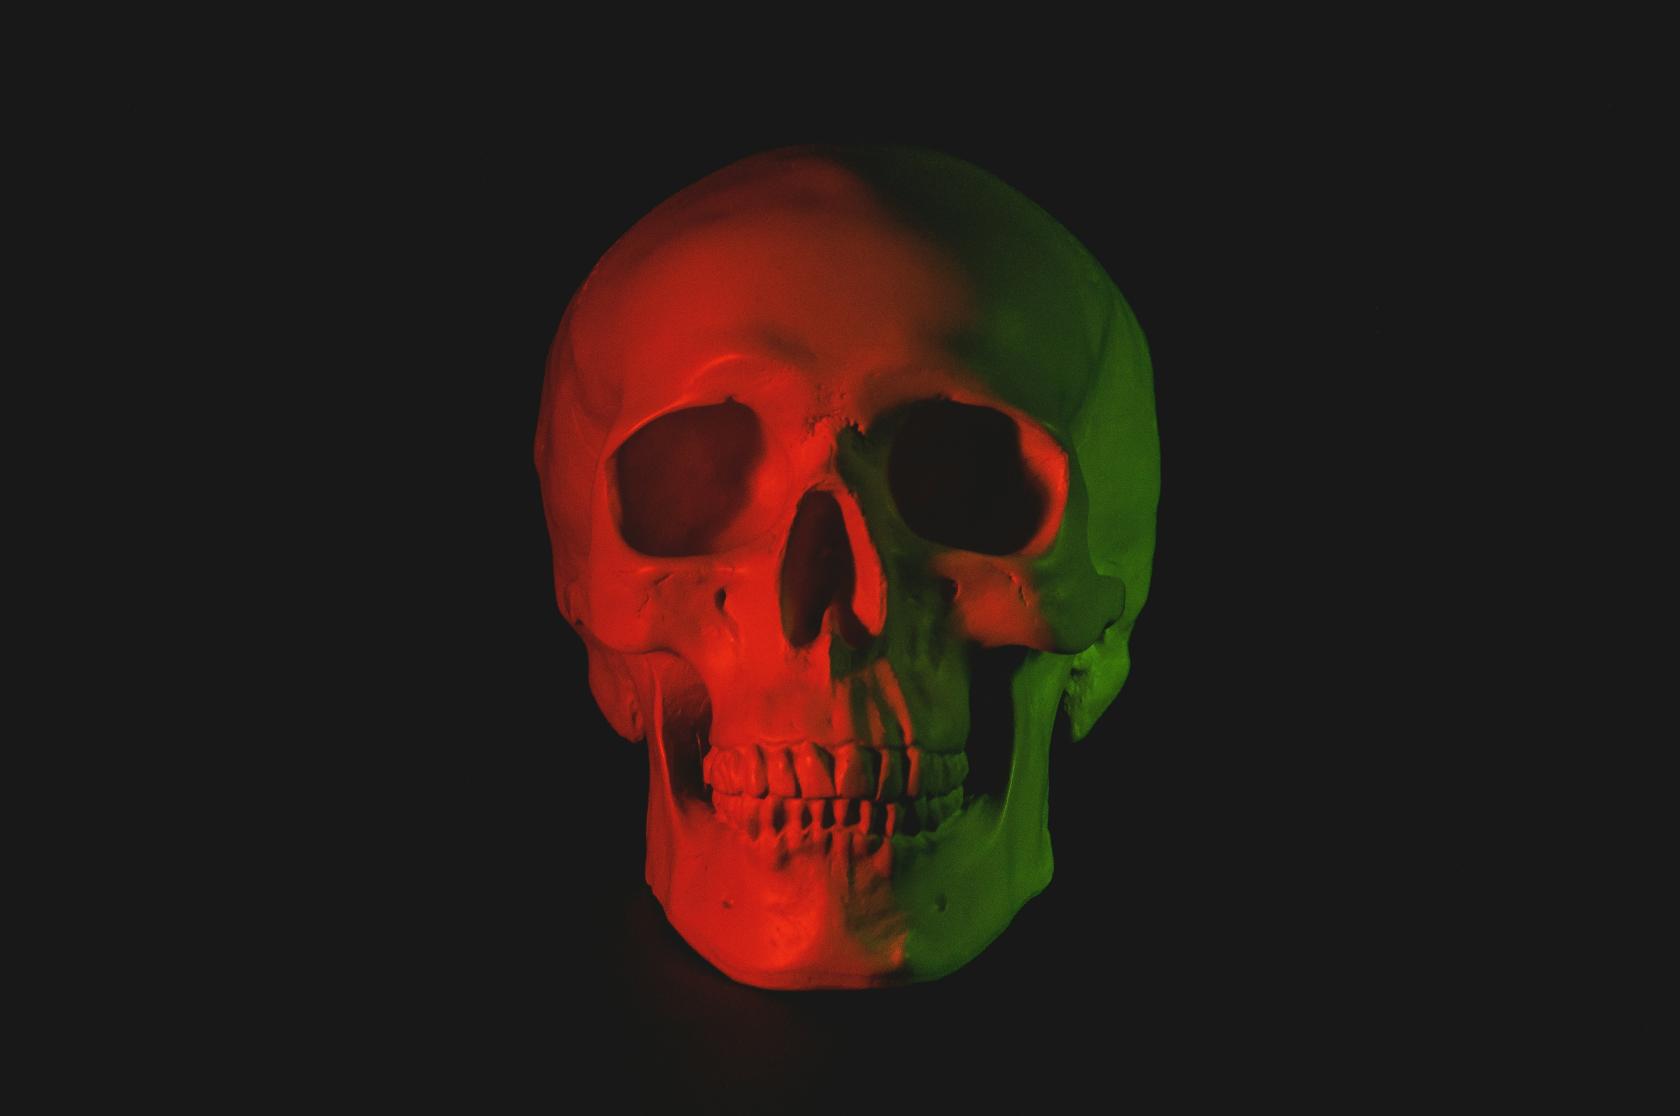
This study examines the human skull, which forms the structure of the head and foundation of the face. My favorite bone group to draw—though I find its symbolism with death or witchcraft rather satirical.
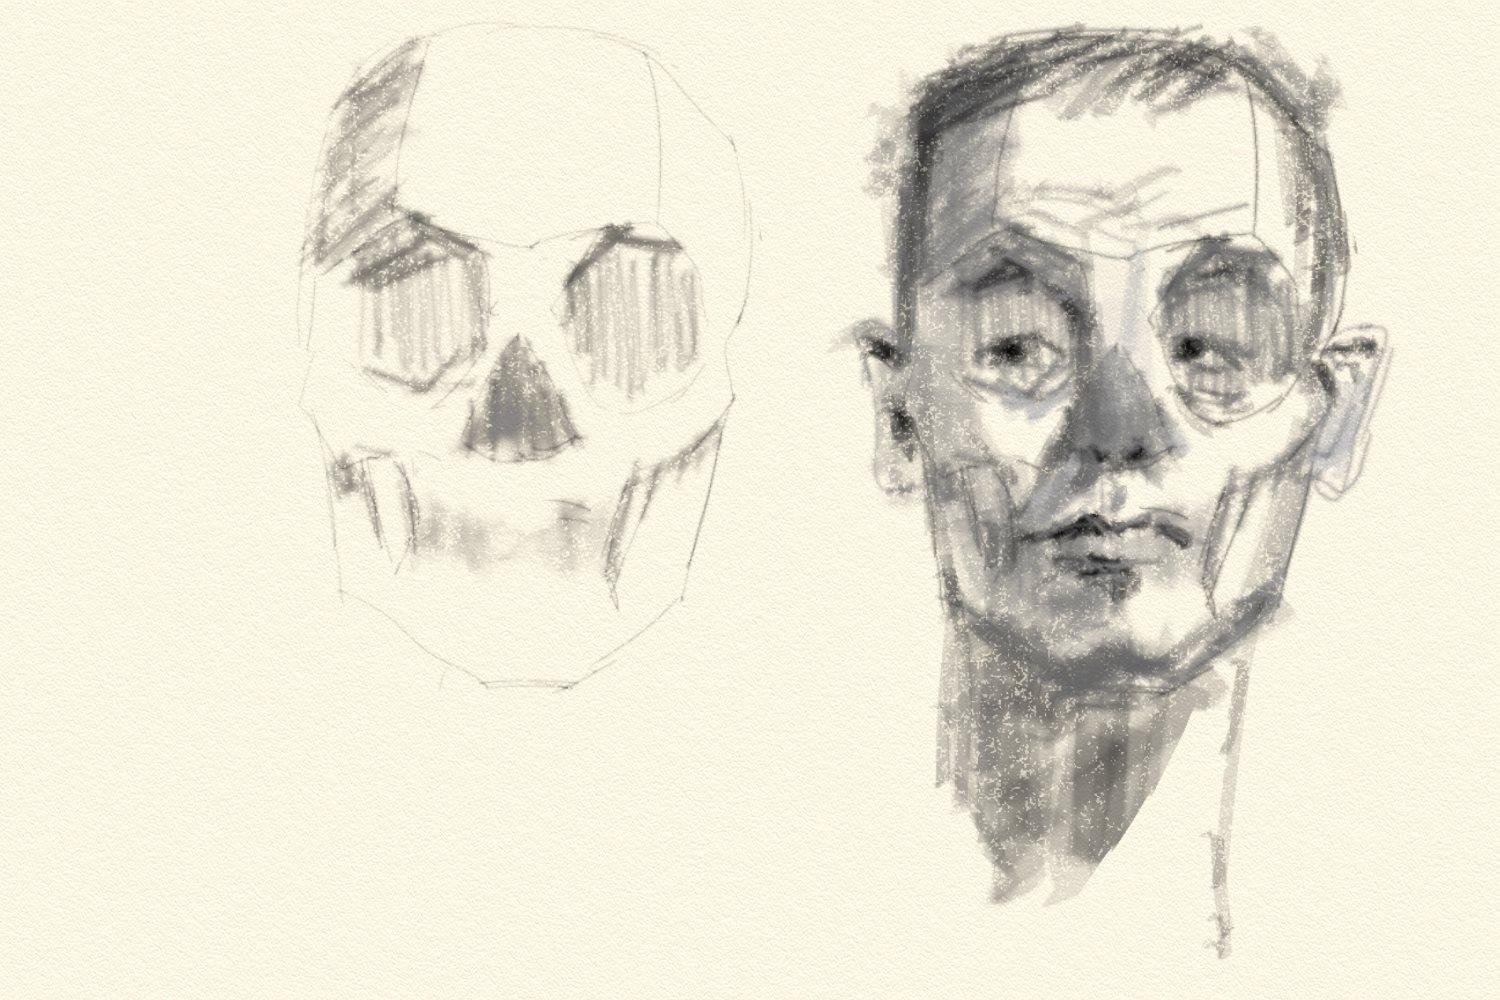
Everything beyond
Understanding the skull shows you where features sit - eyes at mid-skull, nose length from nasal bone to upper teeth, cheekbone height from zygomatic arch width. The skull's flat surfaces (forehead plane, cheekbone plane, jaw plane) help you light faces right and create solid volume, which helps when drawing heads tilted, turned, or seen from weird angles without reference. Wide vs narrow skulls, big vs flat cheekbones, strong vs weak jaws create different faces and character designs, and knowing what's bone vs soft tissue helps you draw aging faces since the skull stays the same while skin sags. The skull is where facial muscles attach, so understanding brow ridges, cheekbones, and jaw structure shows you why expressions create certain wrinkles and shadows. Every face you draw is the skull plus soft tissue - learn the skull well, and you can build any head from imagination, making it the base of all portrait and character work.
[](https://www.anatomyarchive.org/uploads/images/gallery/2026-01/scaled-1680-/after-basic.jpg)
from Reference.Pictures and Unsplash
[](https://www.anatomyarchive.org/uploads/images/gallery/2026-01/scaled-1680-/jackson-wilson-b5ddx7kx8yk-unsplash.jpg)
[](https://www.anatomyarchive.org/uploads/images/gallery/2026-01/scaled-1680-/anne-nygard-wkcwxluv3im-unsplash.jpg)
[](https://www.anatomyarchive.org/uploads/images/gallery/2026-01/scaled-1680-/reference-pictures-skull-123-copy.webp)
**credit to:** [**Reference.Pictures**](https://reference.pictures/ "Reference.Pictures")
[](https://www.anatomyarchive.org/uploads/images/gallery/2026-01/scaled-1680-/reference-pictures-skull-620-copy.webp)
**credit to:** [**Reference.Pictures**](https://reference.pictures/ "Reference.Pictures")
[](https://www.anatomyarchive.org/uploads/images/gallery/2026-01/scaled-1680-/reference-pictures-skull-461-copy.webp)
**credit to:** [**Reference.Pictures**](https://reference.pictures/ "Reference.Pictures")
[](https://www.anatomyarchive.org/uploads/images/gallery/2026-01/scaled-1680-/europeana-4lbwz7vaeha-unsplash.jpg)
[](https://www.anatomyarchive.org/uploads/images/gallery/2026-01/scaled-1680-/lina-white-k9nxgkyf-ri-unsplash.jpg)